
5 Series E60 M5 (S85) SAL
33 31 011
Replacing rear axle carrier
Important!
Adhere to the utmost cleanliness. Do not allow any dirt to
enter the hydraulic system.
Close off pipe connections with plugs.
Necessary preliminary tasks:
•
Remove rear differential
•
Remove complete rear axle carrier and if necessary with
other workers assisting set down on a suitable surface
•
Version with Dynamic Drive: Disconnect pressure lines for
oscillating motor of rear axle from rear axle carrier
•
Remove both stabilizer links from stabilizer
•
Remove stabilizer from rear axle carrier
•
Remove ride-height sensor with holder from rear axle carrier
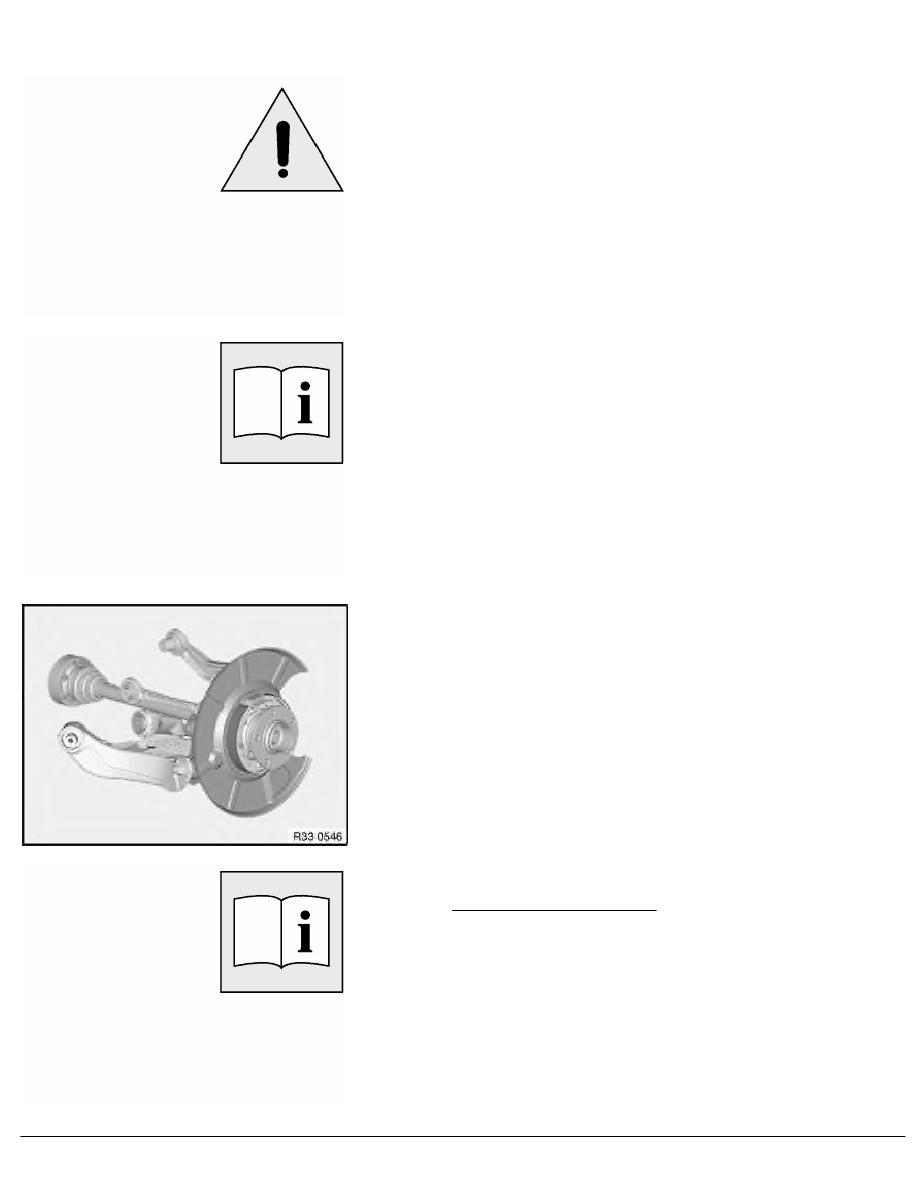
Remove swinging arm on both sides from rear axle carrier.
Remove control arm on both sides from rear axle carrier.
Remove guide arm on both sides from rear axle carrier.
Remove wheel carrier on both sides with output shaft, swinging
arm and suspension arms.
After installation:
•
Version with Dynamic Drive:
-
Fill and bleed hydraulic system
-
Check pipe connections for leaks
•
Adjust handbrake
•
Perform chassis alignment check
•
If necessary, carry out initial Dynamic Drive operation
RA Replacing rear axle carrier
BMW AG - TIS
22.02.2013 21:01
Issue status (12/2007) Valid only until next DVD is issued
Copyright
Page - 1 -