
5 Series E60 M5 (S85) SAL
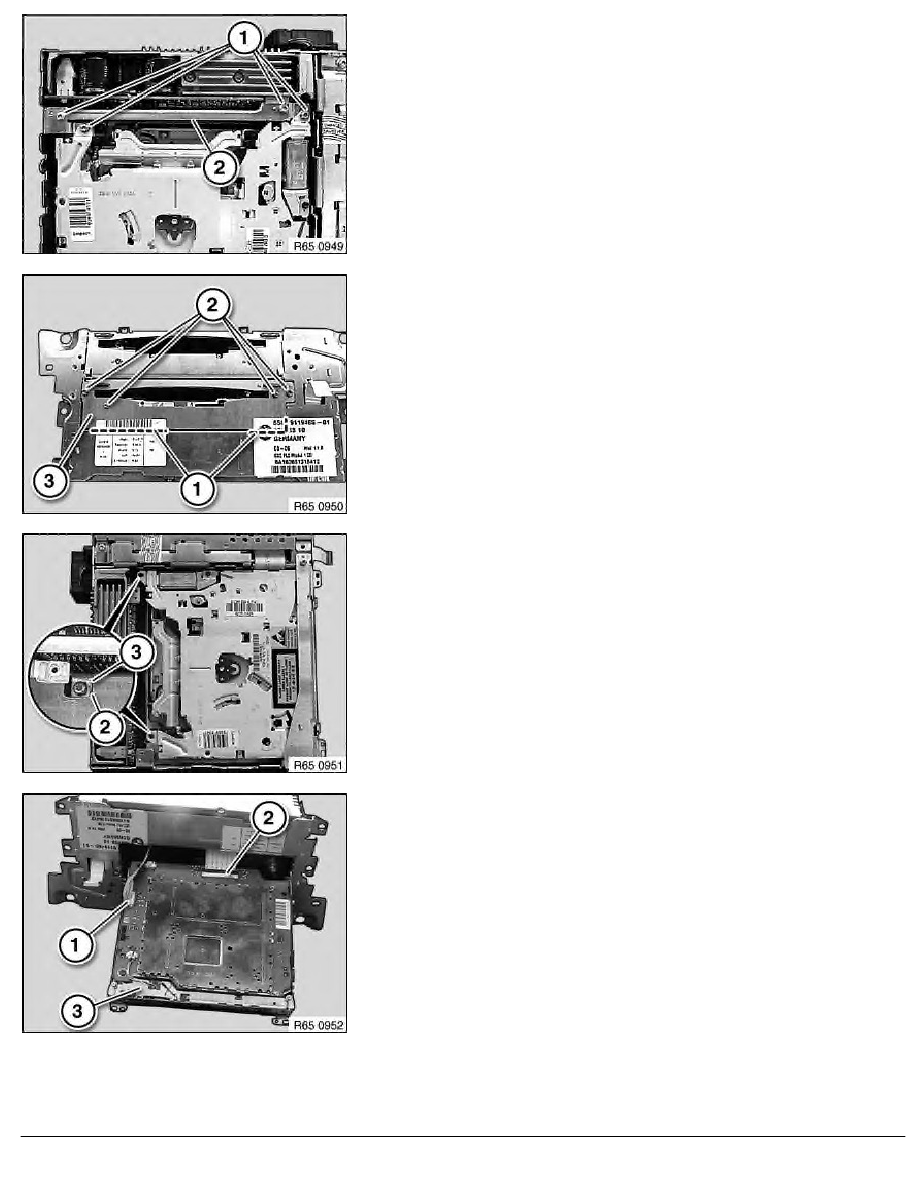
Release bolts (1).
Feed out bridge (2).
Installation:
Use special tool 00 9 450 to tighten down screws.
Tightening torque 65 11 3AZ
.
Cut through stickers at marked points (1).
Release screws (2) and remove trim (3).
Installation:
Use special tool 00 9 450 to tighten down screws.
Tightening torque 65 11 3AZ
.
Release screws (1) with magnetic screwdriver.
Installation:
Lug (2) of DVD drive must be above lug (3) of Car
Communication Computer.
Turn Car Communication Computer through 180
°
and carefully
feed out DVD drive.
Carefully disconnect plug connections (1, 2).
Remove DVD drive (3).
Installation:
Ensure correct cable routing.
RA Removing and installing/replacing DVD drive for Car Communication Computer
BMW AG - TIS
23.02.2013 08:39
Issue status (12/2007) Valid only until next DVD is issued
Copyright
Page - 2 -