
7 Series E38 730d (M57) SAL
Installation:
Top up grease fill.
Grease, refer to BMW Parts Service.
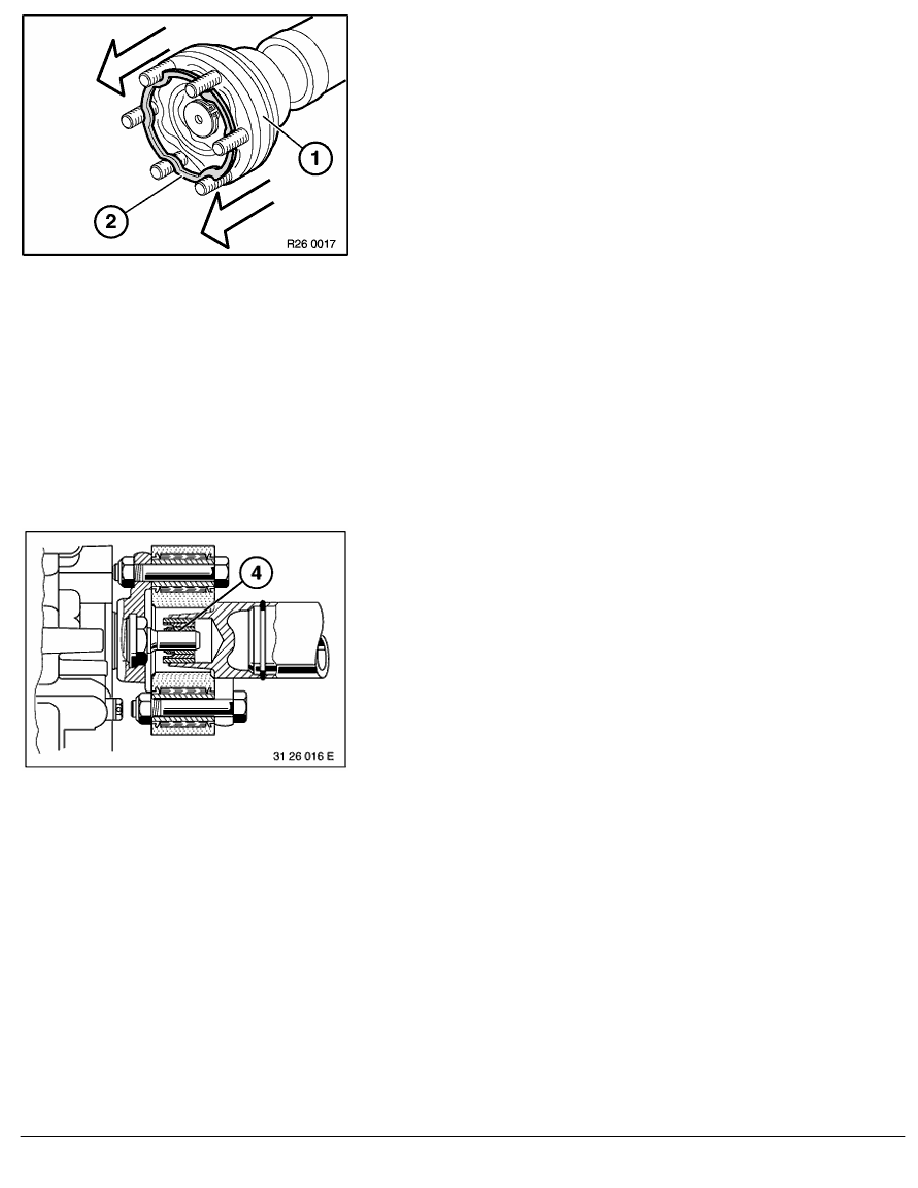
Remove constant-velocity joint (1) up to detent.
Remove grease from sealing faces of constant-velocity joint
and input flange.
Replace seal (2).
Use new nuts.
Fit propeller shaft with dismantled constant-velocity joint to
input flange of final drive.
Caution!
During assembly, the constant-velocity joint must not be
pushed together because the grease fill can force away the
sealing ring, preventing the constant-velocity joint from
providing an effective seal.
Alternately tighten 2 opposing nuts to draw constant-velocity joint
evenly into the input flange.
Then tighten down the remaining nuts.
Tightening Torque,
refer to Technical Data 26 11 4AZ.
Installation:
Check centering mount (4).
Replace damaged centering mount,
refer to 26 11 090.
Grease centering mount.
Grease, refer to BMW Service Operating Fluids.
RA Removing and installing complete propeller shaft
BMW AG - TIS
03.02.2013 05:43
Issue status (12/2007) Valid only until next DVD is issued
Copyright
Page - 3 -