
7 Series E38 740iL (M62) SAL
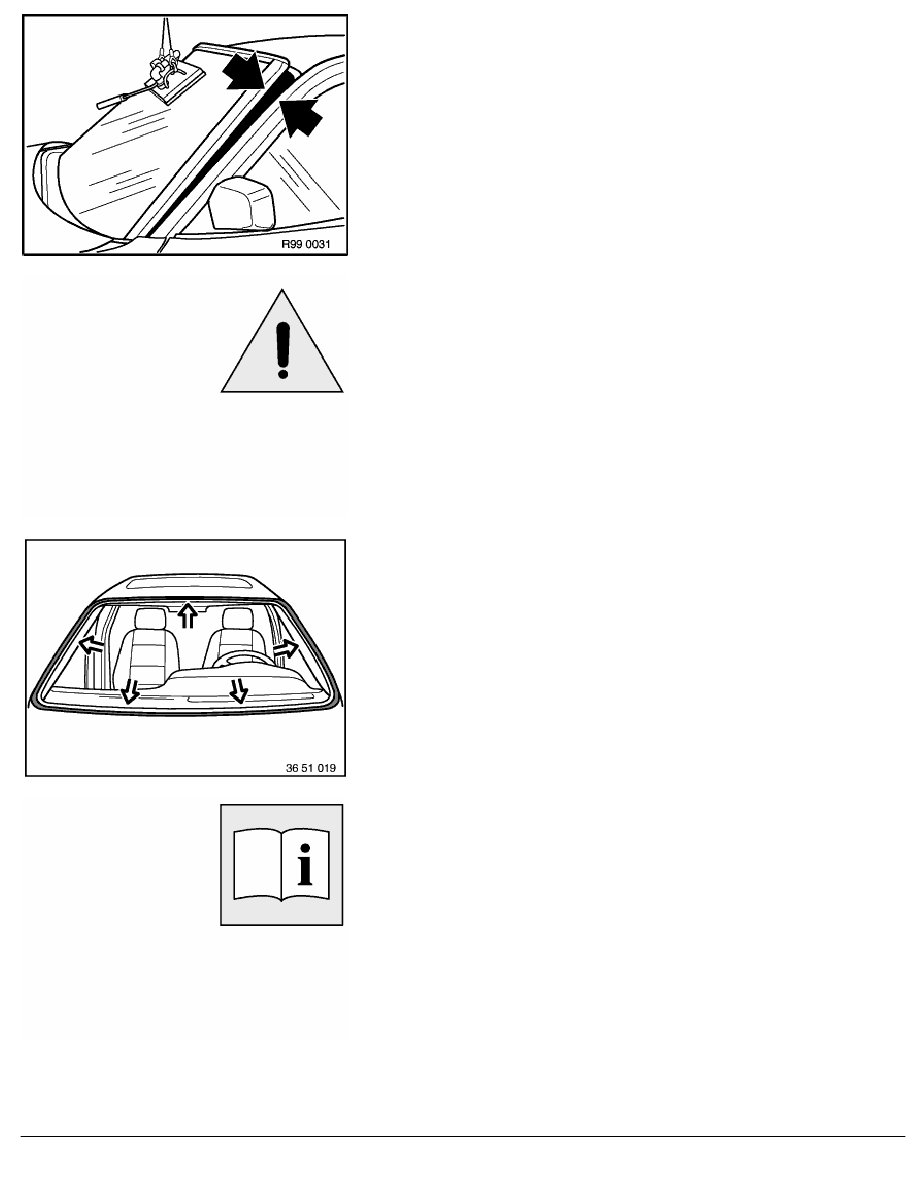
Raise windshield slightly with suction hoist. If necessary, remove
any residual traces of bonding carefully.
Lift out windshield and place on assembly stand.
Switch off vacuum pump.
Pull off adhesive masking tape all around.
Caution!
To ensure long-term corrosion protection, it is absolutely
essential to repair paintwork damage (scratches and large-
surface damage),
refer to 51 31 ...
Caution!
The basic filler must have hardened!
Treat body around glued area with BMW-approved materials
(repair kit, sourcing reference: BMW Parts Service),
refer to 51 31 ...
Note:
Note specified ventilation time!
Installation:
Installation of windshield is described separately from removal.
Assembly sequence for removal and installation is different.
RA Removing and installing windshield (Protection)
BMW AG - TIS
18.02.2013 08:42
Issue status (12/2007) Valid only until next DVD is issued
Copyright
Page - 7 -