
7 Series E65 730d (M57T2) SAL
37 12 220
Removing and installing / replacing rear
active stabilizer
Important!
Adhere to the utmost cleanliness. Do not allow any dirt to
enter the hydraulic system.
Seal off pipe connections with plugs.
Note:
A light film of grease on the anti-friction bearing in no way impairs
the operational capability of the stabilizer.
In a warranty case you must always provide a fault memory
printout, even where there is no fault memory entry, with the
defective part.
Necessary preliminary tasks:
•
Remove complete rear axle carrier
Important!
To prevent the stabilizer from being distorted, secure first the
left retaining bracket (without elongated holes) and then the
right retaining bracket (with elongated holes) to the front axle
carrier.
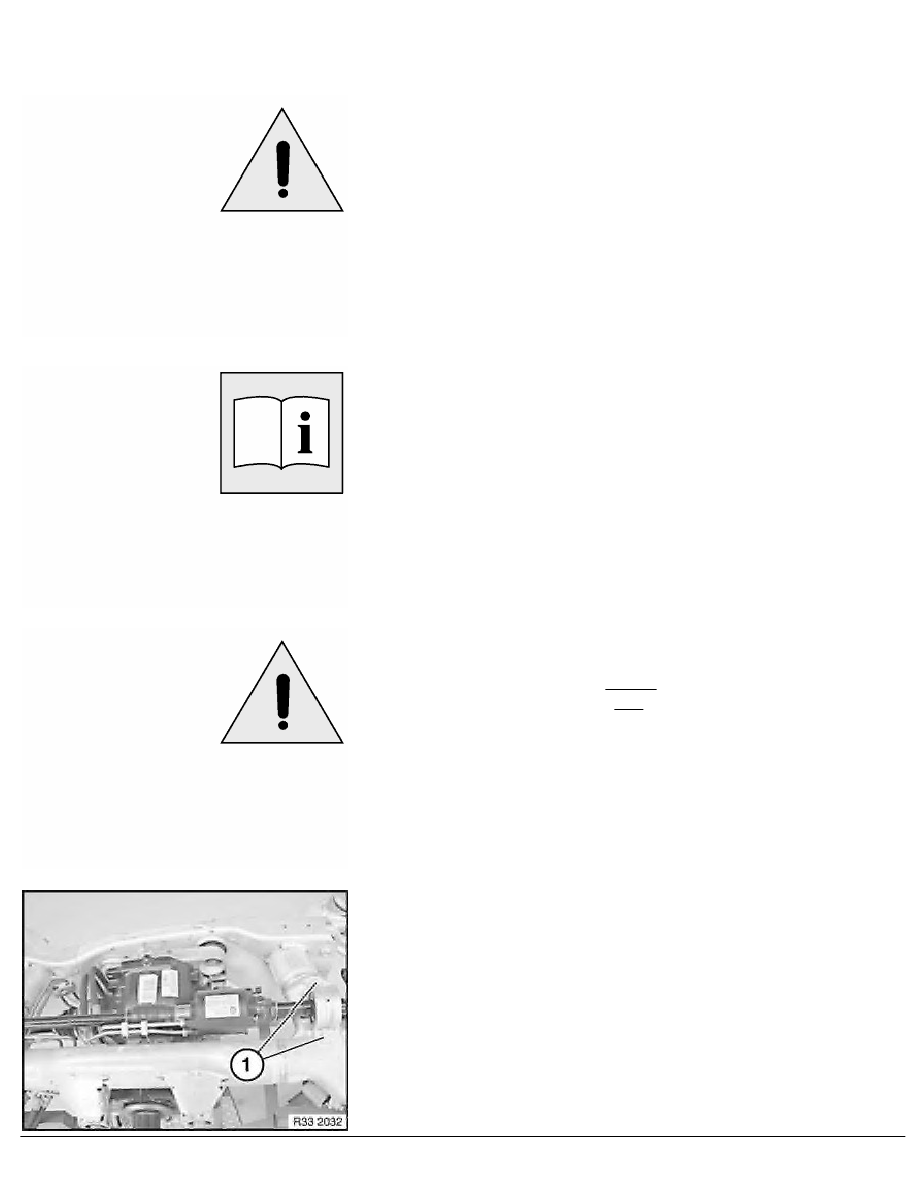
Release screws (1) on both sides.
Check anti-friction bearing on both sides for damage; if necessary,
replace stabilizer (observe note at start of repair instruction).
Installation:
Check rubber mount on both sides, replace if necessary.
Tightening torque 33 55 3AZ
.
RA Removing and installing / replacing rear active stabilizer
BMW AG - TIS
02.02.2013 20:13
Issue status (12/2007) Valid only until next DVD is issued
Copyright
Page - 1 -