
7 Series E65 730d (M57TU) SAL
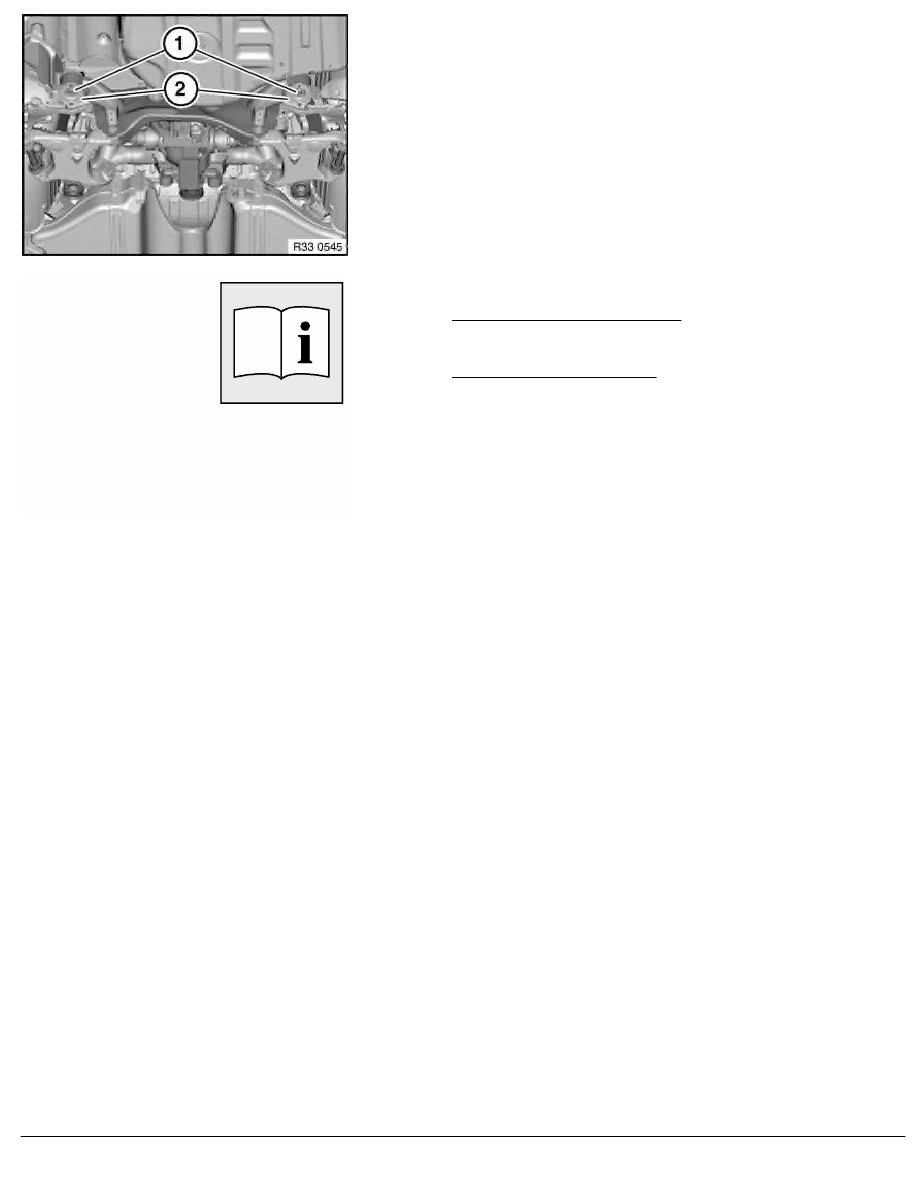
Release bolts (1), stop plates (2) and damping discs at bottom.
Lower rear axle carrier.
Installation:
Check threads for damage; if necessary, repair with Helicoil thread
inserts.
First install tension struts and then tighten down bolts (1).
Tightening torque 33 33 3AZ
.
After installation:
•
Version with ride-height control:
-
Activate and fill air suspension system
•
Version with Dynamic Drive:
-
Fill and bleed hydraulic system
-
Check pipe connections for leaks
-
If necessary, carry out initial Dynamic Drive operation
•
Adjusting parking brake
RA Removing and installing complete rear axle carrier
BMW AG - TIS
04.02.2013 04:16
Issue status (12/2007) Valid only until next DVD is issued
Copyright
Page - 3 -