
7 Series E65 740i (N62TU) SAL
Important!
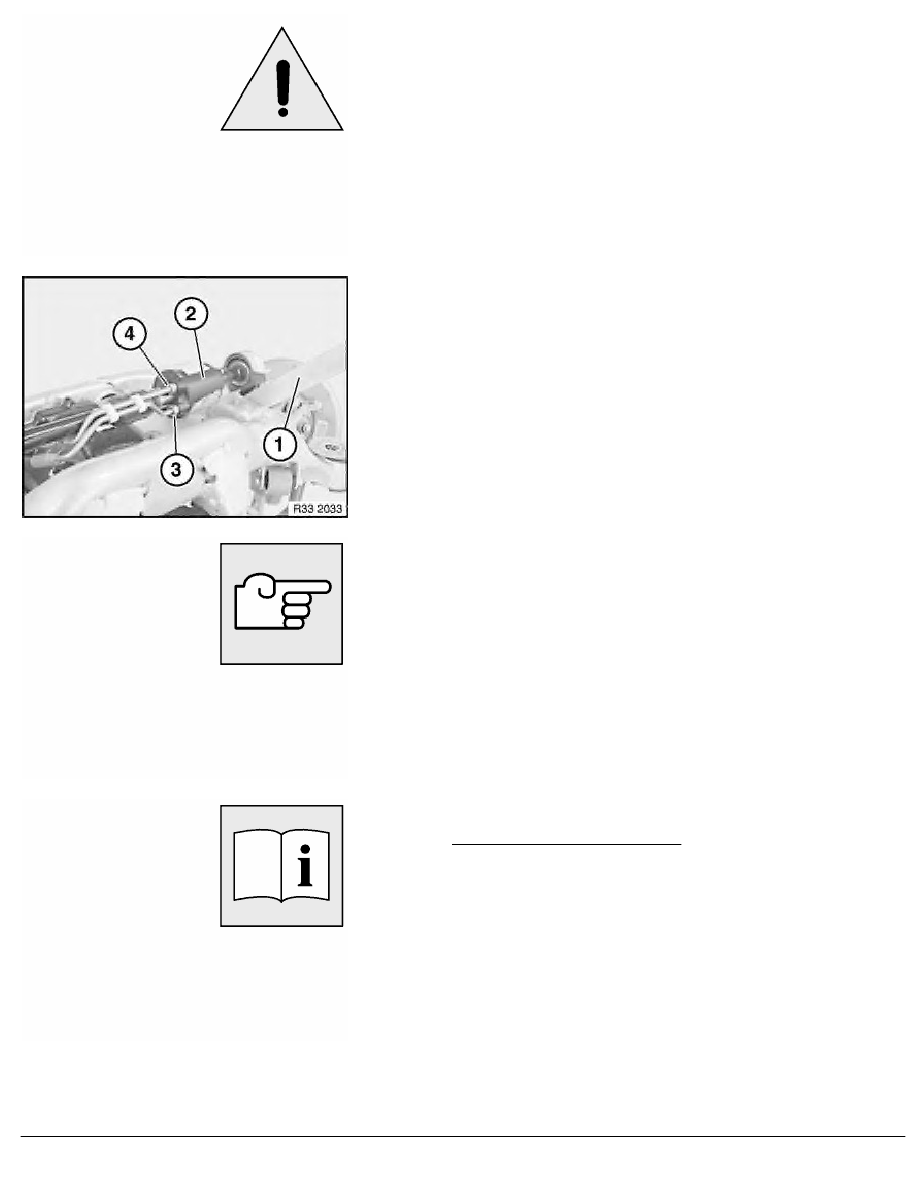
Risk of damage! Pressure lines must not have any contact
with the stabilizer (minimum distance 5 mm)!
Carefully raise stabilizer (2) with a lever (1) until screw (3) is
accessible.
Release nuts (3, 4).
Installation:
Pressure lines are protected against being mixed up by different
thread diameters on the oscillating motor connection.
Tightening torque 37 14 18AZ
.
Replacement:
Remove rubber mount on both sides from stabilizer.
After installation:
•
Version with ride-height control:
-
Activate and fill air suspension system
•
Fill and bleed hydraulic system
•
Check pipe connections for leaks
•
If necessary, carry out initial Dynamic Drive operation
•
Adjusting parking brake
RA Removing and installing / replacing rear active stabilizer
BMW AG - TIS
11.02.2013 08:00
Issue status (12/2007) Valid only until next DVD is issued
Copyright
Page - 2 -