
7 Series E65 745d (M67TU) SAL
If necessary, replace connecting rods.
The BMW Parts Service only supplies connecting rods in
complete sets.
Note:
It should be possible to press piston pin into bush by hand
using only slight pressure. Clearance should then be minimal.
Important!
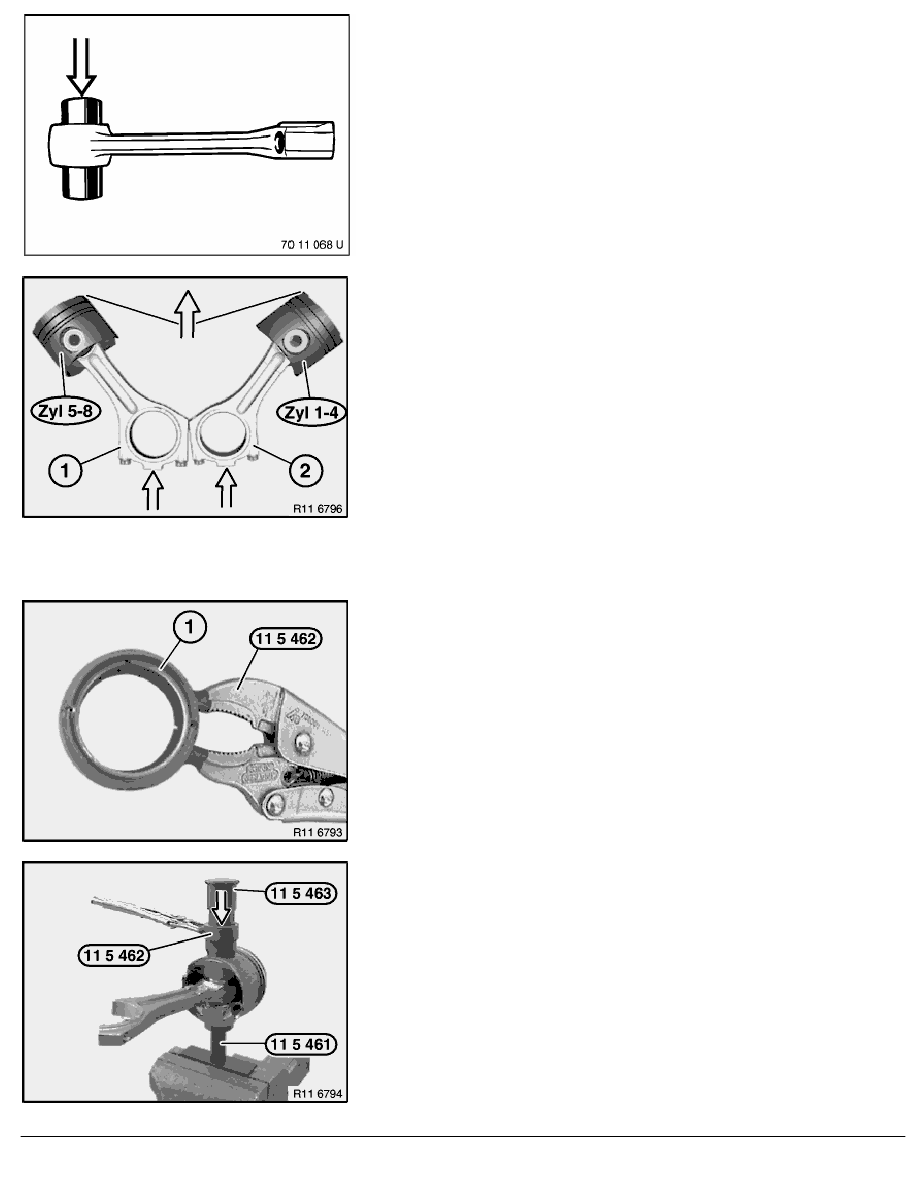
Conrods are identical on cylinders (1-4 and 5-8) and can be
installed incorrectly.
Arrow on piston crown must point in direction of travel.
Cylinders 1 - 4:
Mount conrod (2) on (cyl. 1-4) on piston (cyl. 1-4) in such a
way that big end (2) points to left and bolts point vertically
downwards.
Cylinders 5 - 8:
Mount conrod (1) on (cyl. 5-8) on piston (cyl. 5-8) in such a
way that big end (1) points to right and bolts point vertically
downwards.
Warning!
Protective goggles must be worn.
Important!
Setting of special tool 11 5 462 must not be altered (risk of
damage).
Insert circlip in special tool 11 5 462 in such a way that circlip
opening points upwards (12 o'clock position).
Warning!
Protective goggles must be worn.
Secure piston with conrod to special tool 11 5 461 .
Drive in piston circlip with special tools 11 5 462 and 11 5 463
in direction of arrow with a hammer.
RA Removing and installing/replacing all pistons (M67TU)
BMW AG - TIS
12.02.2013 13:24
Issue status (12/2007) Valid only until next DVD is issued
Copyright
Page - 4 -