
7 Series E66 730Li (M54) SAL
The air spring strut must be replaced if the seal paint on the
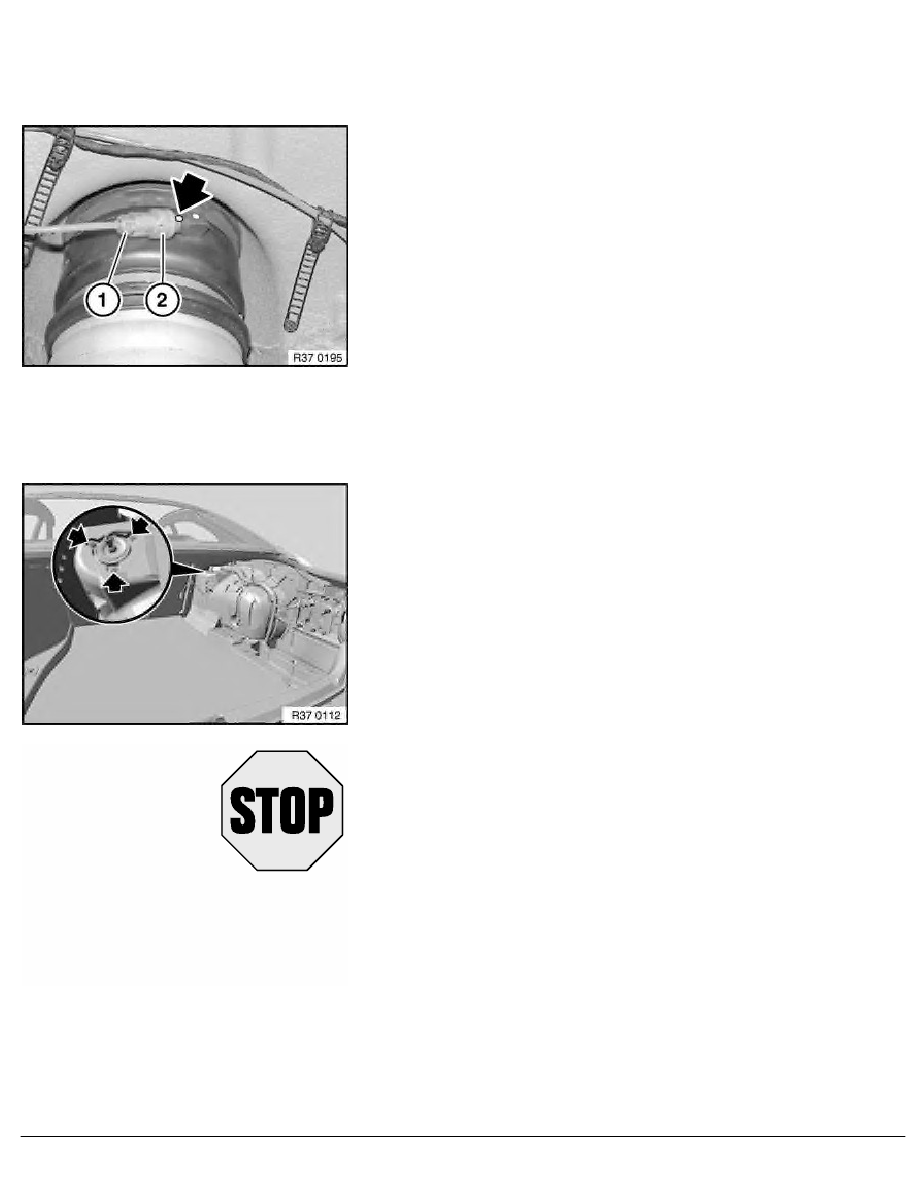
screw connection (residual pressure holding valve to air
spring strut) has been damaged.
Do not kink, twist or crush lines.
Carefully slacken banjo bolt (1) until the sound of escaping air
can be heard. In so doing, grip residual pressure holding
valve (2) to avoid damaging the seal paint (arrow).
Note:
Wait roughly 2 minutes until the pressure on the left or right side
of the air spring system is completely reduced (hissing sound
stops).
Only fully release banjo bolt (1) after pressure has completely
reduced.
Installation:
Check banjo bolt for dirt, clean if necessary.
Tightening torque 37 12 3AZ
.
Remove trim panel for luggage compartment partition
wall/luggage compartment wheel arch trim.
If necessary, remove sound insulation.
Version with Electronic Damper Control: Disconnect plug
connection.
Unscrew nuts.
Installation:
Replace self-locking nuts.
Tightening torque 33 52 3AZ
.
Warning!
Danger of injury!
Wheel carrier moves approx. 3 cm upwards immediately
after air spring strut is removed.
RA Removing and installing / replacing rear left or right air spring strut
BMW AG - TIS
05.02.2013 01:17
Issue status (12/2007) Valid only until next DVD is issued
Copyright
Page - 2 -