
X Series E53 X5 3.0i (M54) OFFRD
41 00 ...
Installing a cavity bulkhead (expanded)
The following repair represents the procedure for an already
expanded cavity bulkhead.
The cavity bulkhead remains on the body in this instance.
The following illustrations are intended as a general guide and are
to be applied to the work area in question.
Before these work steps, the new part to be fitted should be
prepared ready for installation (adjusted to fit, cut to size, coated
with zinc dust paint etc.).
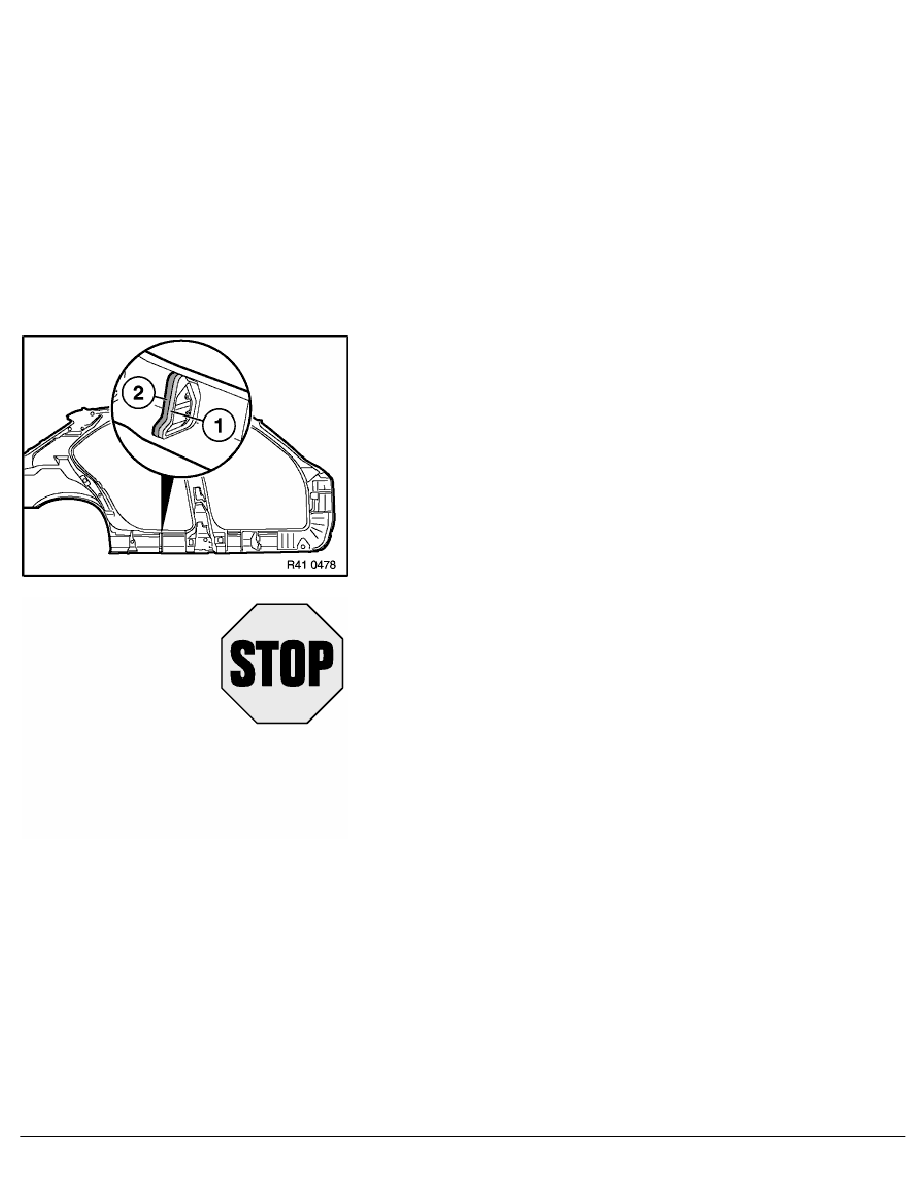
Sand contact surface of expanded cavity bulkhead (1) with
coarse-grained abrasive paper (grain 50 - 100).
Clean contact surface (1) with activator for original BMW window
adhesive.
Apply an approx. 15 mm high bead (2) of original BMW window
adhesive to contact surface (1).
Fit, secure and weld up new part.
Warning:
Ensure adequate ventilation over entire processing period.
RA Installing a cavity bulkhead (expanded)
BMW AG - TIS
06.02.2013 22:30
Issue status (12/2007) Valid only until next DVD is issued
Copyright
Page - 1 -