
X Series E70 X5 3.0Sd (M57T2) OFFRD
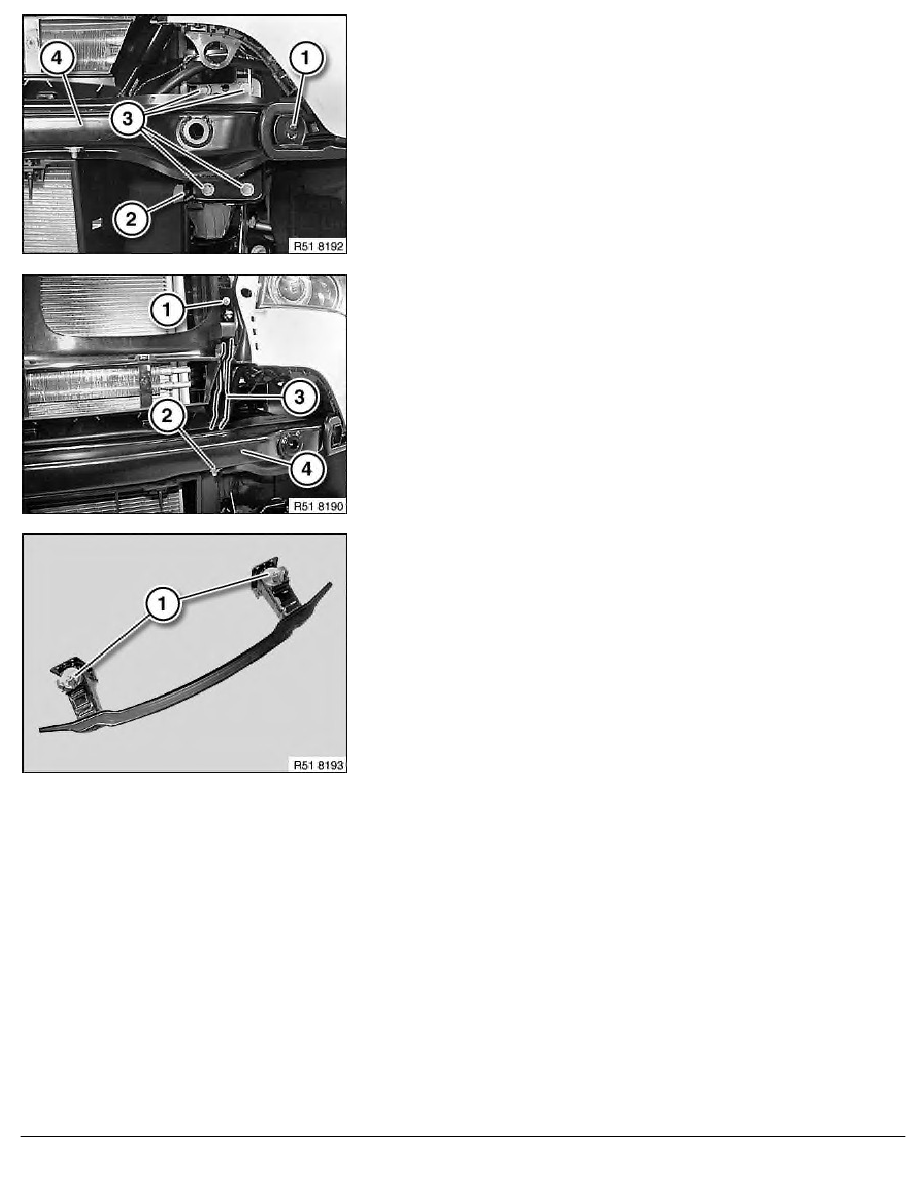
Release screws (1 and 2) on left/right.
Note:
Carrier (4) must be held by a second person during releasing
operation.
Release bolts (3) on left and right and feed out member (4) in
downward direction.
Tightening torque 51 11 2AZ
.
Release nuts (1 and 2) on strut (3) on left/right.
Installation:
When installing carrier (4), make sure struts (3) on left and right
are correctly fed in.
Tightening torque 51 11 5AZ
.
Replacement:
Remove fanfare horns (1).
RA Removing and installing/replacing carrier for front bumper trim
BMW AG - TIS
05.02.2013 11:02
Issue status (12/2007) Valid only until next DVD is issued
Copyright
Page - 2 -