X Series E70 X5 3.0Si (N52K) OFFRD

Important!
Risk of damage!
To prevent the rubber mounts from overstretching when the
bolts are pulled out, ensure the bolts remains in the rubber
mounts.
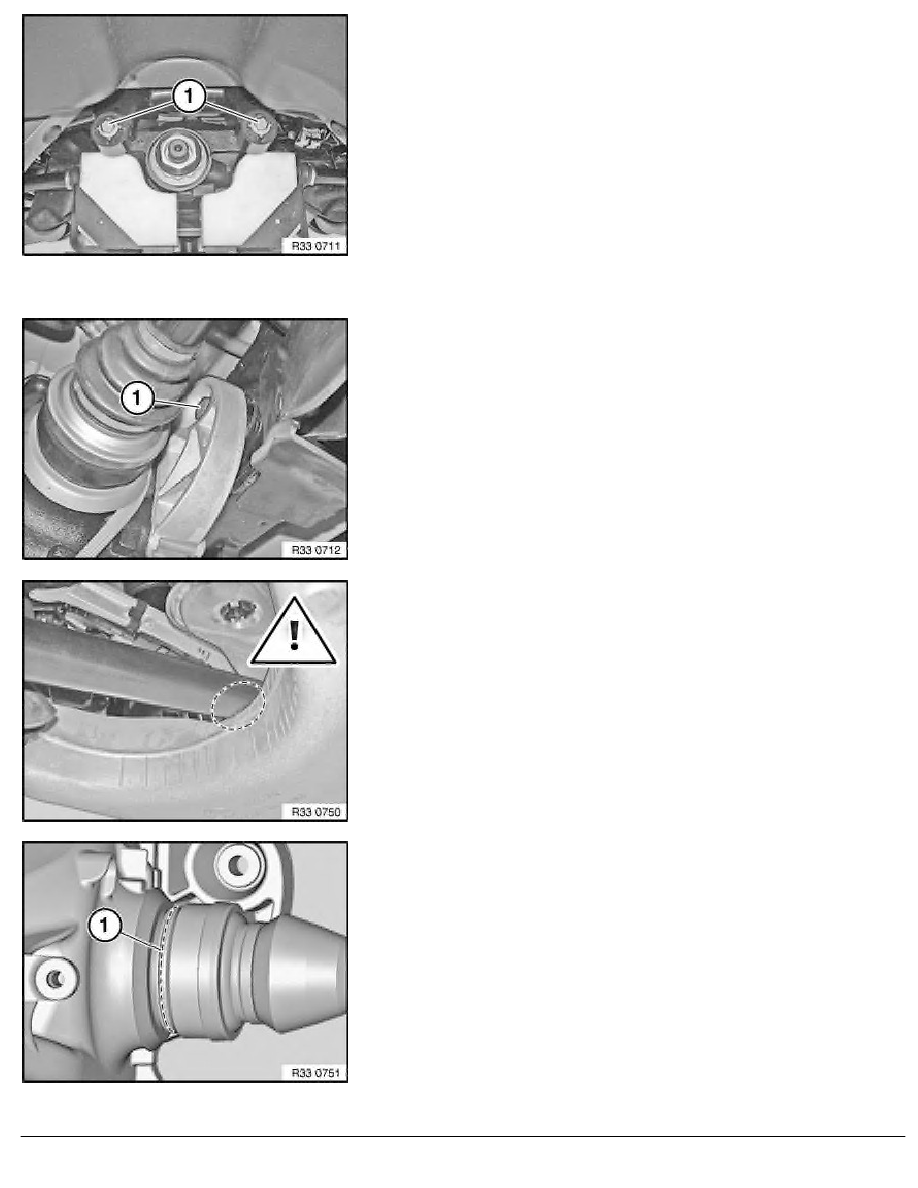
Release screws (1).
Installation:
Adhere to the installation sequence at the end of the document in
order to prevent distortion of the rear differential during installation
and thereby avoid potential complaints about noise.
Release nut and remove bolt (1) towards front.
Installation:
Adhere to the installation sequence at the end of the document in
order to prevent distortion of the rear differential during installation
and thereby avoid potential complaints about noise.
Important!
Risk of damage!
Output shafts must not under any circumstances rest on
swinging arms.
Tape off output shafts or place a cloth on swinging arm.
Lower rear differential slowly with aid of workshop jack and press
to one side.
Important!
Special tools 33 5 120 and 33 5 125 must be inserted in
all-round slot (1) on output shaft!
RA Removing and installing/replacing rear differential
BMW AG - TIS
06.02.2013 19:02
Issue status (12/2007) Valid only until next DVD is issued
Copyright
Page - 2 -
