
X Series E70 X5 3.0Si (N52K) OFFRD
Important!
Do not kink, twist or crush pipe.
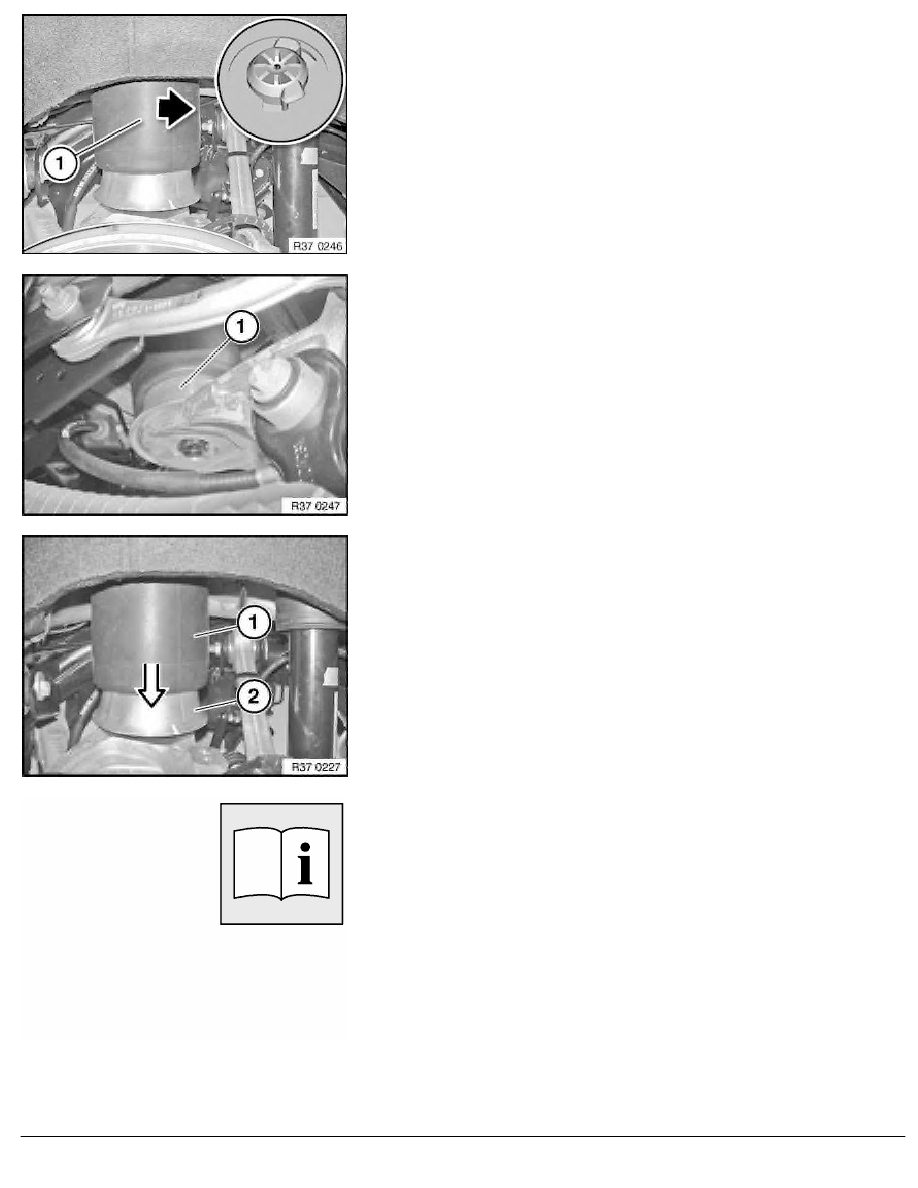
Insert air spring (1) into locator or frame side member and turn
clockwise as far as it will go.
Check air spring (1) for correct installation in locator or frame side
member; correct if necessary.
Important!
Do not use any tools to install the lower section of the air
spring (1).
Press lower section of air spring (1) by hand into wheel carrier
until it can be seen and heard to snap into place.
Note:
In so doing, make sure that orientation lug is correctly aligned to
groove in wheel carrier.
Check air spring for uniform formation of rolling lobe (1).
If necessary, slide rolling lobe (1) by hand downwards and shape
on lower section of air spring (2).
After installation:
•
Activate and fill air suspension system
RA Removing and installing/replacing left or right air spring
BMW AG - TIS
06.02.2013 20:27
Issue status (12/2007) Valid only until next DVD is issued
Copyright
Page - 4 -