
X Series E70 X5 3.0Si (N52K) OFFRD
Tightening torque 41 51 2AZ
.
Tightening torque 41 52 2AZ
.
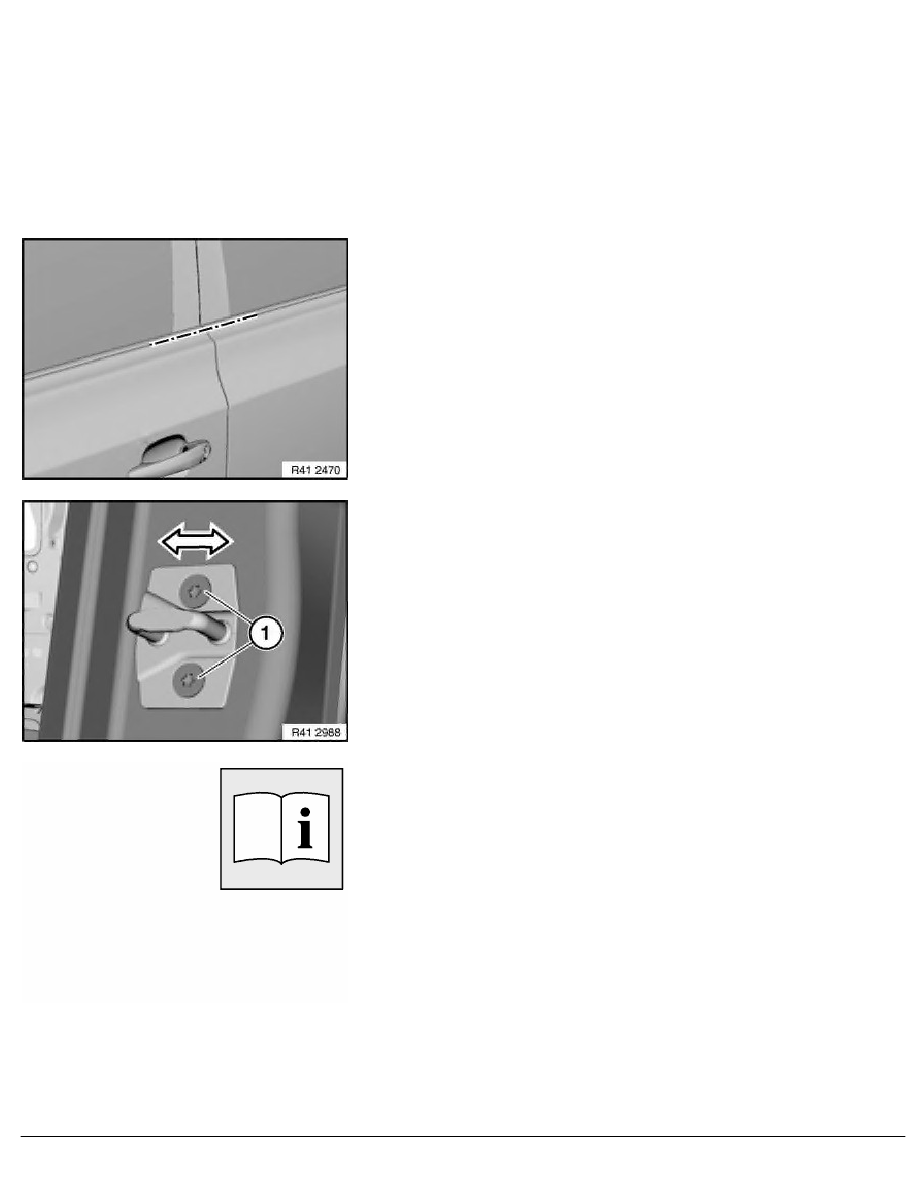
If adjustment range is not sufficient, slacken screws (1) on body.
Note:
Rear door screw connection accessible from inside only.
Tightening torque 41 51 3AZ
.
Tightening torque 41 52 3AZ
.
Check that adjoining body parts are flush in terms of height and
correct if necessary.
Note:
Vertical adjustment of door must not be influenced by lock
striker.
When the door is closed, the lock striker must not touch or
scrape against the door lock. Look out for scratches.
Tighten down screws (1) until lock striker can still just be moved.
Move lock striker sideways in order to adjust transition between
door and rear side panel.
Tightening torque 51 21 2AZ
.
Note:
When the door is closed, the lock striker must not touch or
scrape against the door lock. Look out for scratches.
After installation:
•
Tighten all screws to specified torque.
•
Touch up unpainted surfaces in the appropriate colour.
•
If necessary, adjust front door.
RA Adjusting door
BMW AG - TIS
06.02.2013 21:24
Issue status (12/2007) Valid only until next DVD is issued
Copyright
Page - 2 -