
X Series E83 X3 2.5i (M54) OFFRD
51 14 008
Replacing (removing and installing)
number/letter combination on front left or
right side panel
Important!
The "Instructions for number/letter combination cementing"
serve as the basis for these repair instructions and must be
followed without fail.
Note:
Procedure and dimensions are also mandatory for right side, outer
edge of number is then positioned.
Note:
Number/letter combination is stuck on at a height level with turn
indicator.
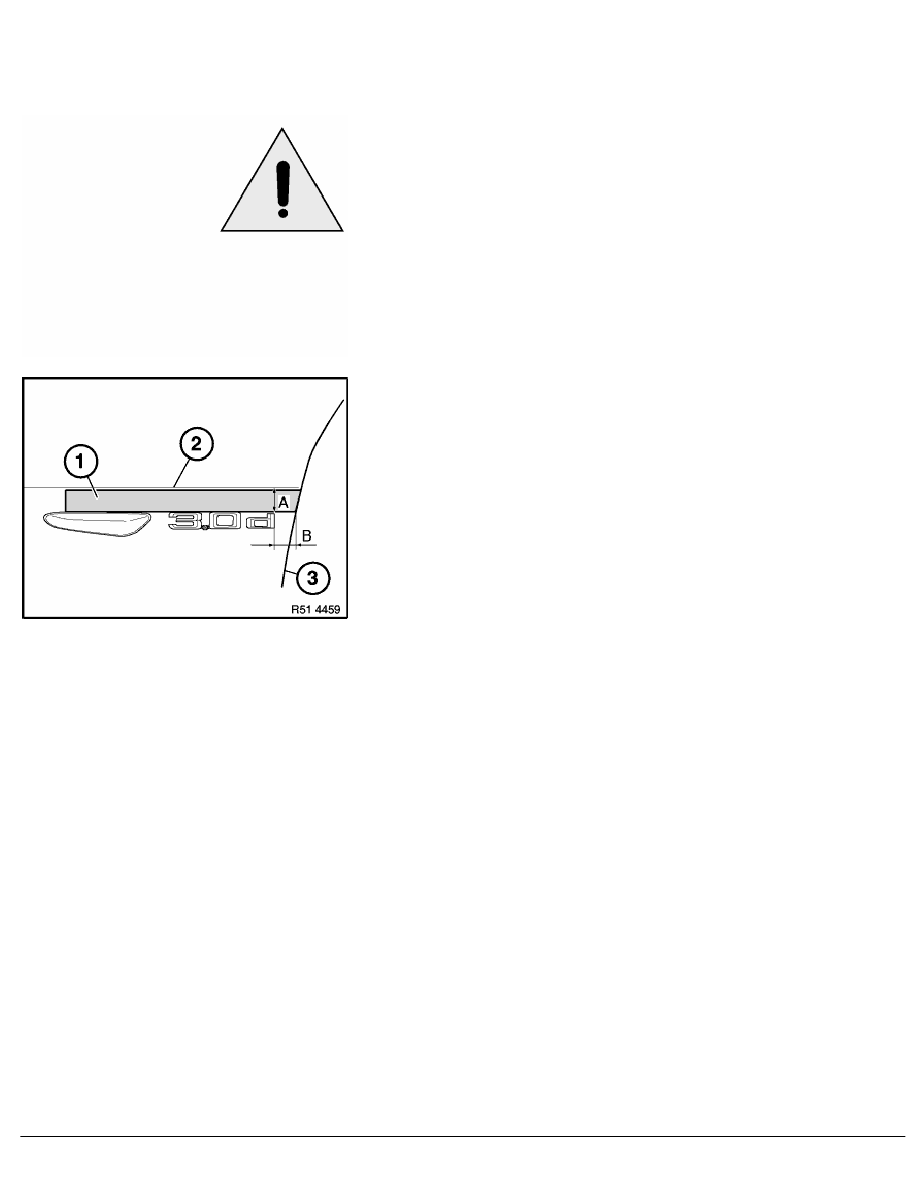
Stick on adhesive tape (1) for contour edge (2) to side panel up
to turn indicator lamp.
Mark measurement "B" from side edge (3) on adhesive tape.
Dimensions:
A= 30 mm
B= 22 mm
RA Replacing (removing and installing) number/letter combination on front left or r
BMW AG - TIS
10.02.2013 00:40
Issue status (12/2007) Valid only until next DVD is issued
Copyright
Page - 1 -