
X Series E83 X3 2.5Si (N52K) OFFRD
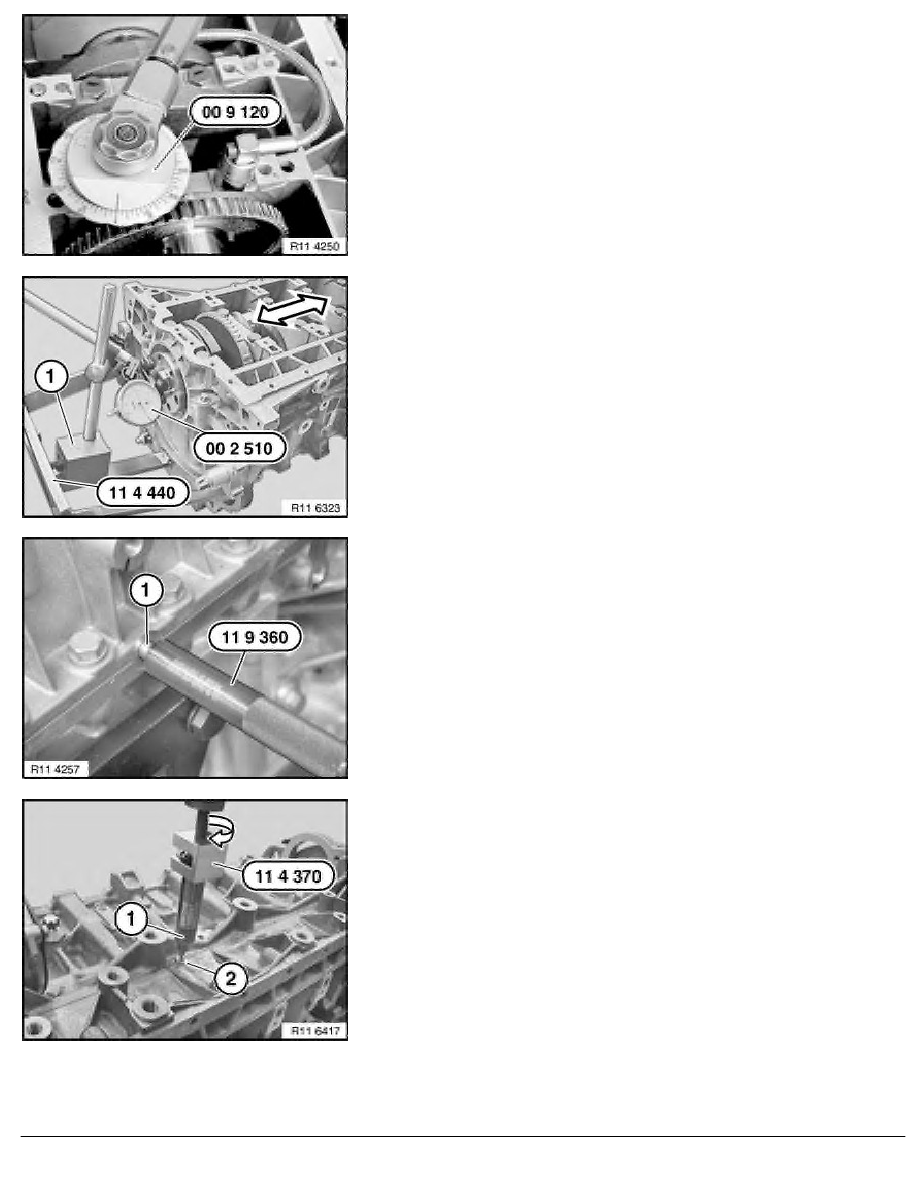
Tighten aluminium screws exclusively with special tool 00 9 120 .
Important!
In the case of aluminium screws, jointing torque and angle of
rotation must be observed without fail.
Set up stand with magnetic foot (1) on special tool 11 4 440 .
Set up special tool 00 2 510 on stand.
Position special tool 00 2 510 on crankshaft.
Move crankshaft in direction of arrow.
Determine bearing play.
Drive in both nozzles (1) with special tool 11 9 360 on left and
right into crankcase.
Installation:
Always replace nozzles (1).
Installation:
Prepare sealing compound (1) in special tool 11 4 370 .
Screw on nozzle (2) for injecting sealing compound.
Slowly insert sealing compound (1) with special tool 11 4 370 in
direction of arrow.
RA Replacing crankshaft (N52K)
BMW AG - TIS
11.02.2013 04:51
Issue status (12/2007) Valid only until next DVD is issued
Copyright
Page - 4 -