
Z Series E85 Z4 2.5i (N52) ROADST
Remove compression strut and insert bolts for rear axle carrier at
front until contact is made.
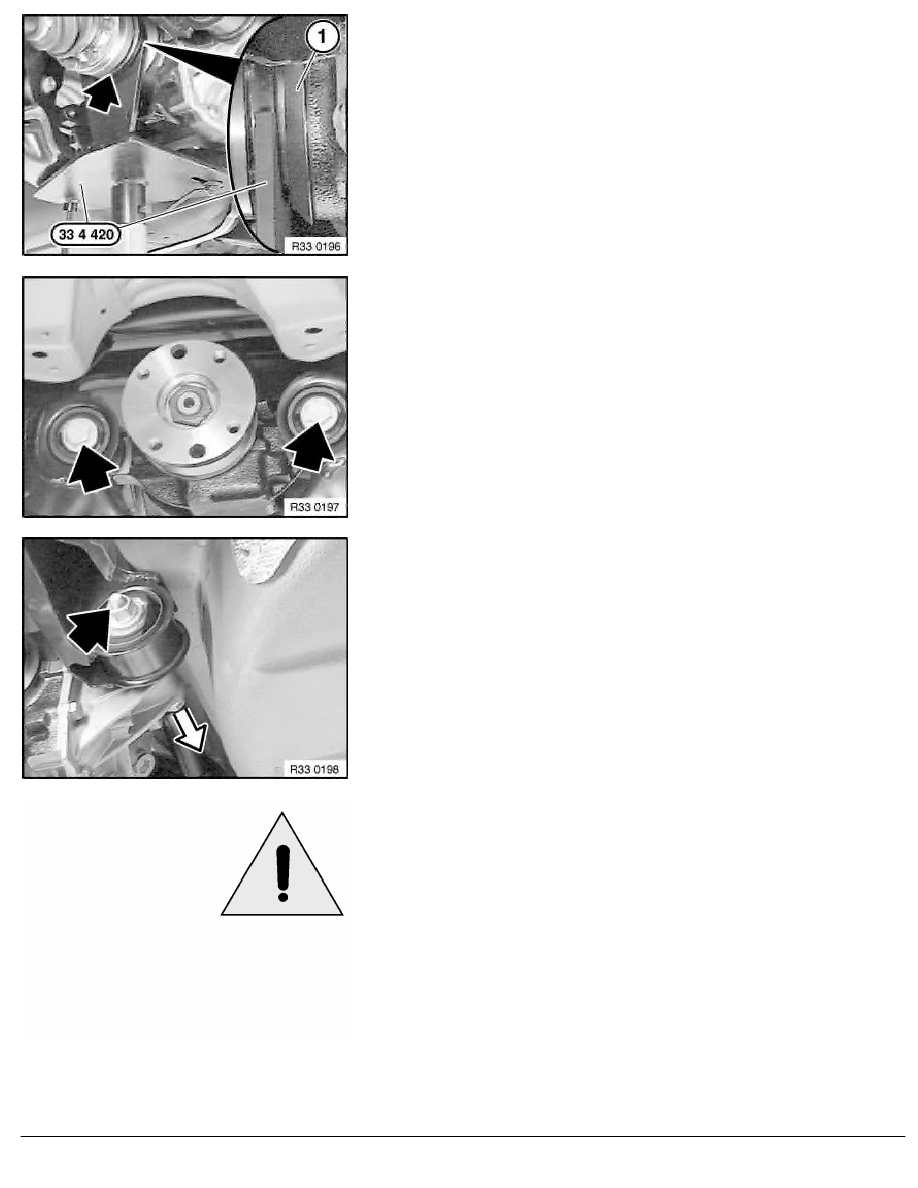
Support rear differential with workshop jack and special tool
33 4 420 .
Important!
Observe gap between special tool 33 4 420 and dust
plates (1).
To avoid grinding noises, make sure the dust plates (1) are
not damaged (e.g. bent).
Release screws.
Unfasten nut.
Unscrew bolt to centre of car; if necessary, remove spacer.
Slowly lower workshop jack and tip rear differential out towards
rear.
Important!
Adhere to the following installation sequence in order to
prevent distortion of the rear differential during installation and
thereby avoid potential complaints about noise.
RA Removing and installing/replacing rear differential
BMW AG - TIS
12.02.2013 06:50
Issue status (12/2007) Valid only until next DVD is issued
Copyright
Page - 2 -