
Z Series E85 Z4 3.0i (M54) ROADST
Note:
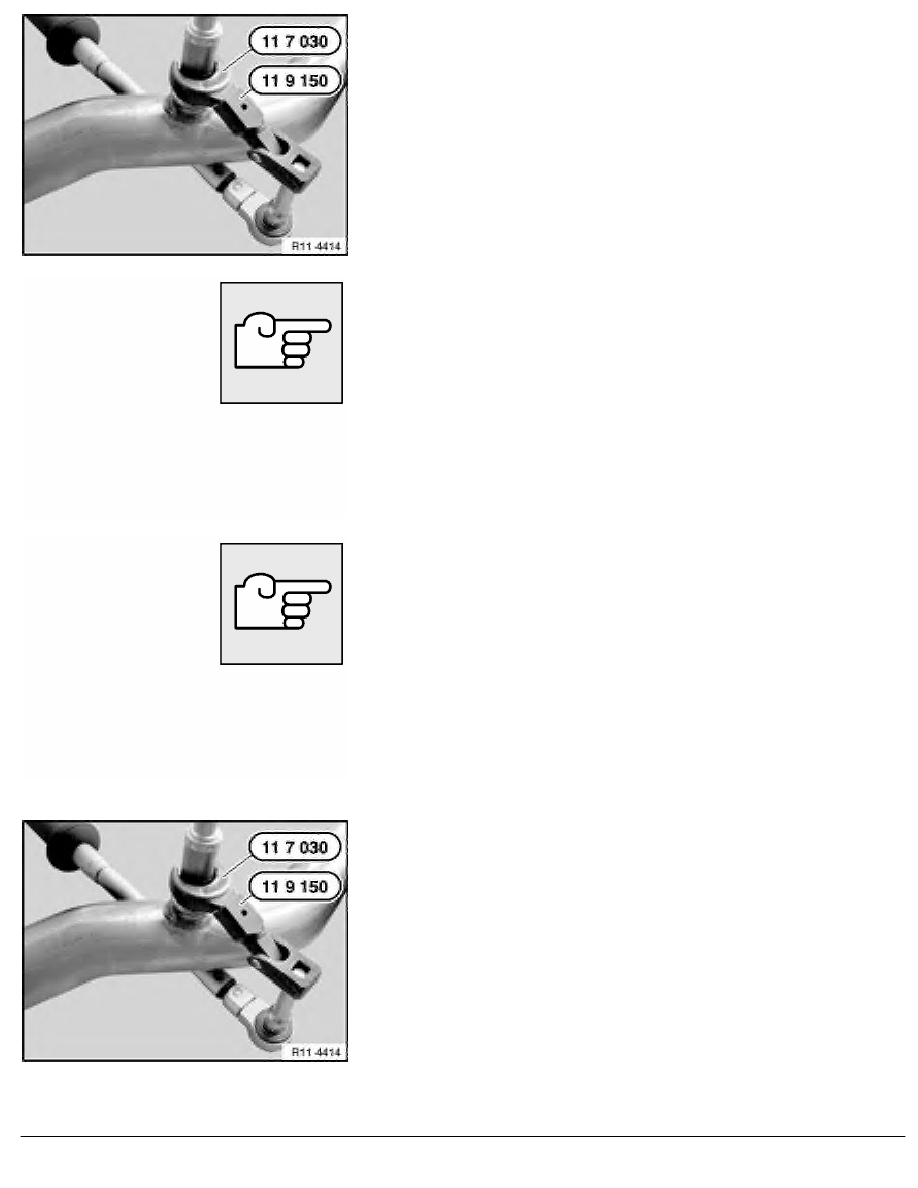
For a better overview, this work step is shown on an exhaust
manifold that has been removed.
Automatic transmission:
Release oxygen monitor sensor with special tool 11 7 030 in
conjunction with special tool 11 9 150 .
Manual transmission:
Release oxygen monitor sensor with special tool 11 7 020 .
Installation:
The threads of new oxygen monitor sensors are already
coated with Never Seez compound.
If an oxygen monitor sensor is reused, only apply a thin and
uniform coat of Never Seez compound (refer
to BMW Parts Service) to thread.
Oxygen monitor sensor section projecting into exhaust system
branch must not be cleaned or come into contact with
lubricant.
Cover oxygen monitor sensor when applying underseal.
Pay attention to cable routing for oxygen monitor sensor.
Automatic transmission:
Installation:
When special tool 11 9 150 is used in conjunction with special
tool 11 7 030 , 53 Nm on the torque wrench dial corresponds
to an actual tightening torque of 50 Nm.
To tighten down oxygen monitor sensor, fit torque wrench and
special tools 11 7 030 / 11 9 150 as shown in illustration.
Check stored fault messages.
Now clear the fault memory.
RA Replacing oxygen monitor sensor (cylinders 4-6)
BMW AG - TIS
15.02.2013 12:04
Issue status (12/2007) Valid only until next DVD is issued
Copyright
Page - 2 -