
Z Series E85 Z4 3.0Si (N52) ROADST
52 13 000
Removing and installing left or right front seat
Necessary preliminary tasks:
•
If necessary, remove head restraint
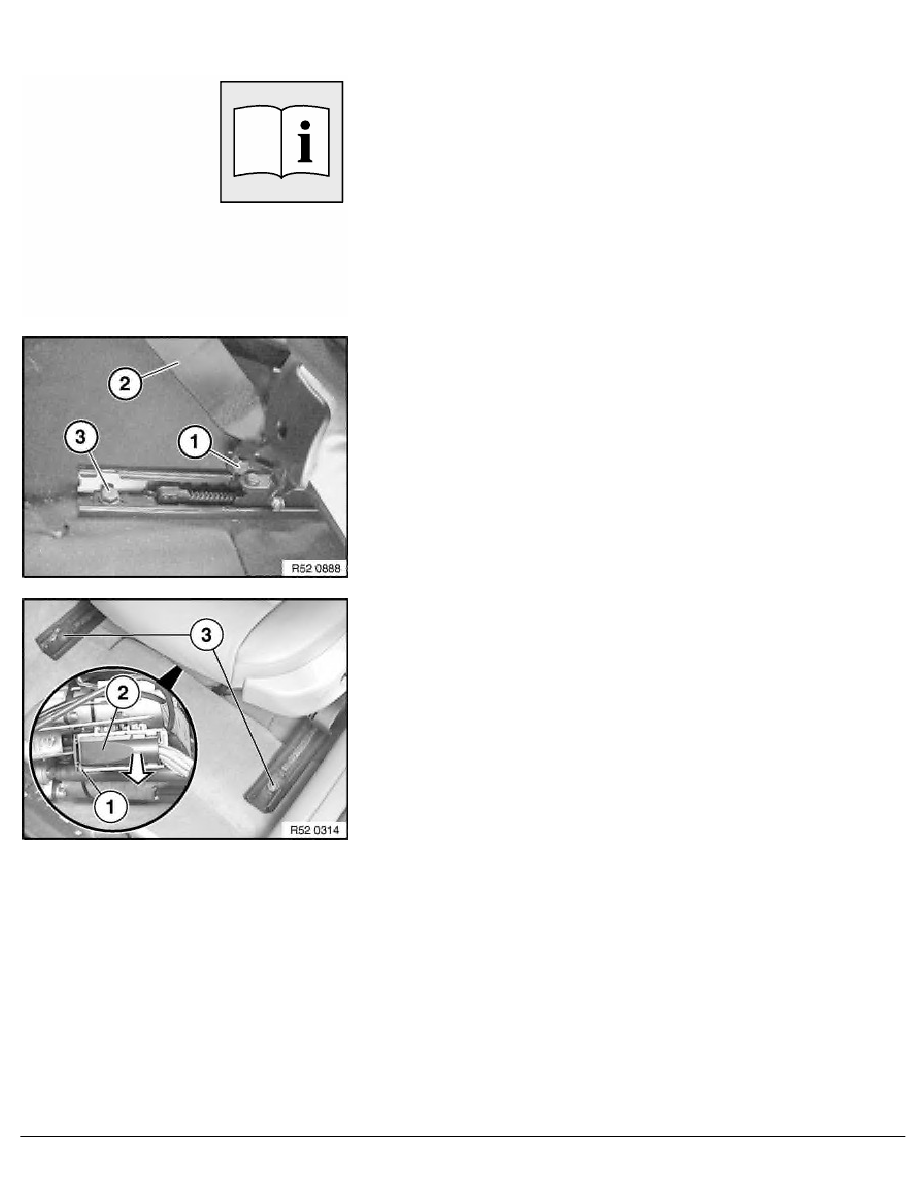
Release screw (1).
Remove seat belt (2).
Tightening torque 72 11 02AZ
.
Release screws (3) on left and right.
Installation:
Replace microencapsulated nuts.
Tightening torque 52 10 01AZ
.
Move front seat as far back as possible.
Unscrew nuts (3).
Installation:
Replace microencapsulated nuts.
Tightening torque 52 10 01AZ
.
Release lock (1).
Disconnect plug connection (2).
Carefully lift out front seat (risk of damage).
Installation:
Carpet must not get between seat rails and floor pan in area of
fastening points (grating noises).
RA Removing and installing left or right front seat
BMW AG - TIS
17.02.2013 13:42
Issue status (12/2007) Valid only until next DVD is issued
Copyright
Page - 1 -