
Century V6-173 2.8L (1986)
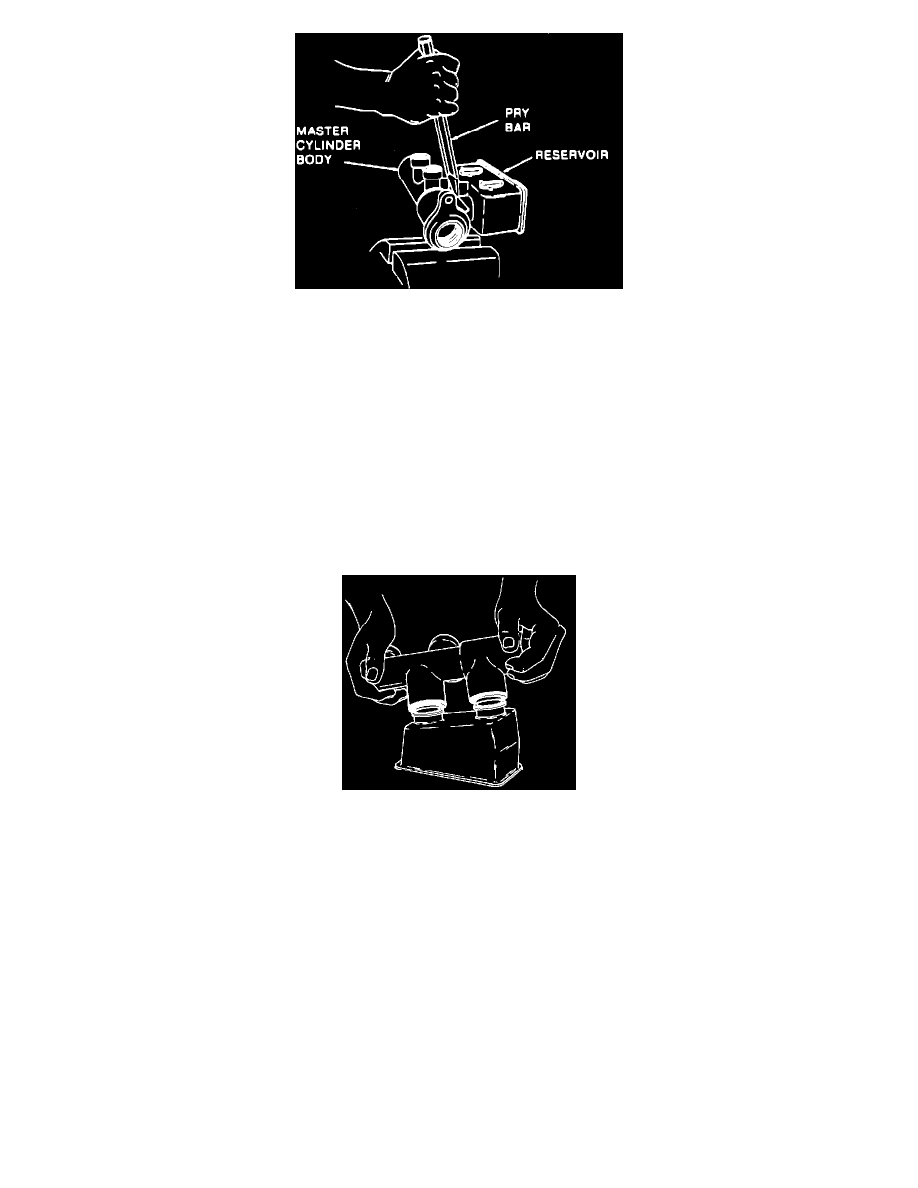
Removing Master Cylinder Reservoir
9. Clamp master cylinder in a vise, then remove reservoir using a pry bar. Remove reservoir grommets.
CAUTIONS:
^
Do not clamp on master cylinder body, instead clamp on mounting flange.
^
Do not remove quick take-up valve from body. The valve is not serviceable separately.
10. Inspect master cylinder bore for corrosion.
NOTE: Do not use abrasive material on master cylinder bore. Replace if bore is corroded.
Assembly
1. Clean all parts in clean denatured alcohol. Dry with compressed air.
2. Lubricate new reservoir grommets with brake fluid, then press grommets into master cylinder body. Ensure grommets are properly seated.
Installing Reservoir
3. Lay reservoir upside down on flat, hard surface. Press master cylinder body onto reservoir using rocking motion.
4. Lubricate new seals with brake fluid and install on secondary piston.
5. Install spring, spring retainer and secondary piston assembly into cylinder.
6. Lubricate seals then install primary piston. Depress primary piston into cylinder, then install lock ring.
7. Install switch piston, failure warning switch, and proportioners, if equipped.
Switch Piston
- Install switch piston into master cylinder body.
- Install O-ring on plug.
- Plug into master cylinder body and torque to 4.5-16 Nm (40-140 in. lb.).
- Install failure warning switch.
Failure Warning Switch
- Install new 0-ring on failure warning switch.
- Install switch assembly and torque to 1.7 - 5.6 Nm (15 - 50 in. lb.).
-
Install electrical lead.
Proportioner Valve Assemblies