
Century V6-204 3.3L VIN N FI (1990)
Oil Pan: Service and Repair
REMOVE OR DISCONNECT
1. Negative battery cable.
2. Raise vehicle and suitably support.
3. Engine oil.
4. Lower flap and splash shield.
5. Crankshaft pulley.
6. Crank sensor cover.
7. A/C compressor electrical connector.
8. A/C compressor from bracket and suitably support. Remove hose support from the suspension support.
9. Bolts at front of right suspension support.
10. Loosen all suspension support bolts so that the supports drop about 38 mm (1.5 in.) at the front.
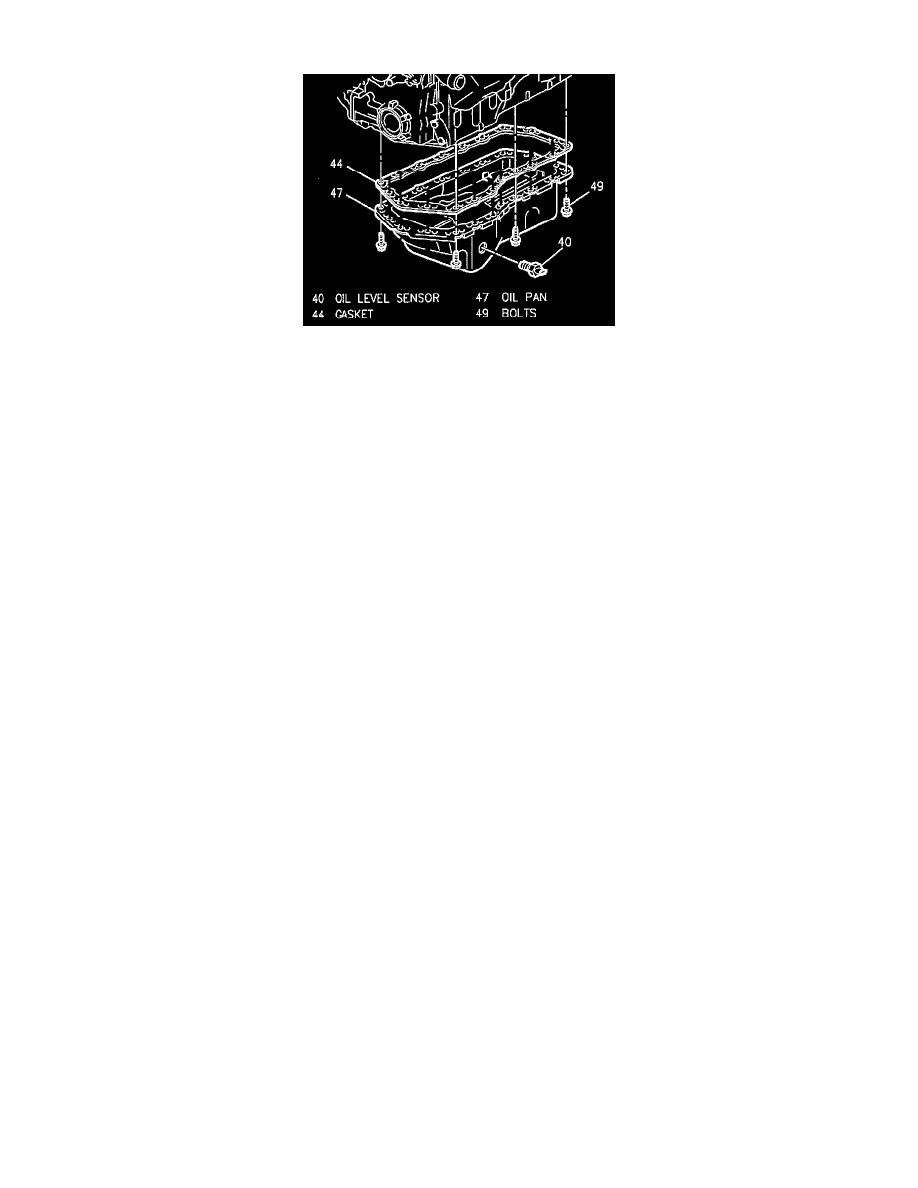
11. Oil level sensor from the oil pan.
12. Transaxle converter cover.
13. Oil pan retaining bolts.
14. Oil pan. Move the A/C line to obtain clearance.
15. Old oil pan gasket and discard. The formed rubber oil pan gasket cannot be re-used.
16. Clean oil pan and cylinder block mating surfaces.
INSTALL OR CONNECT
1. New formed rubber oil pan gasket to oil pan flange.
2. Oil pan.Tighten oil pan bolts to 14 Nm (124 lbs. in.).
NOTICE: Do not overtighten bolts or damage to the oil pan will occur, resulting in an oil leak and possible engine damage.
3. Oil level sensor to the oil pan.
4. Suspension support bolts.
5. A/C compressor and hose support.
6. A/C compressor electrical connector.
7. Crank sensor cover.
8. Crankshaft pulley.
9. Lower flap and splash shield.
10. Transaxle converter cover.
11. Lower vehicle.
12. Engine oil.
13. Negative battery cable.