
Century V6-260 4.3L DSL (1984)
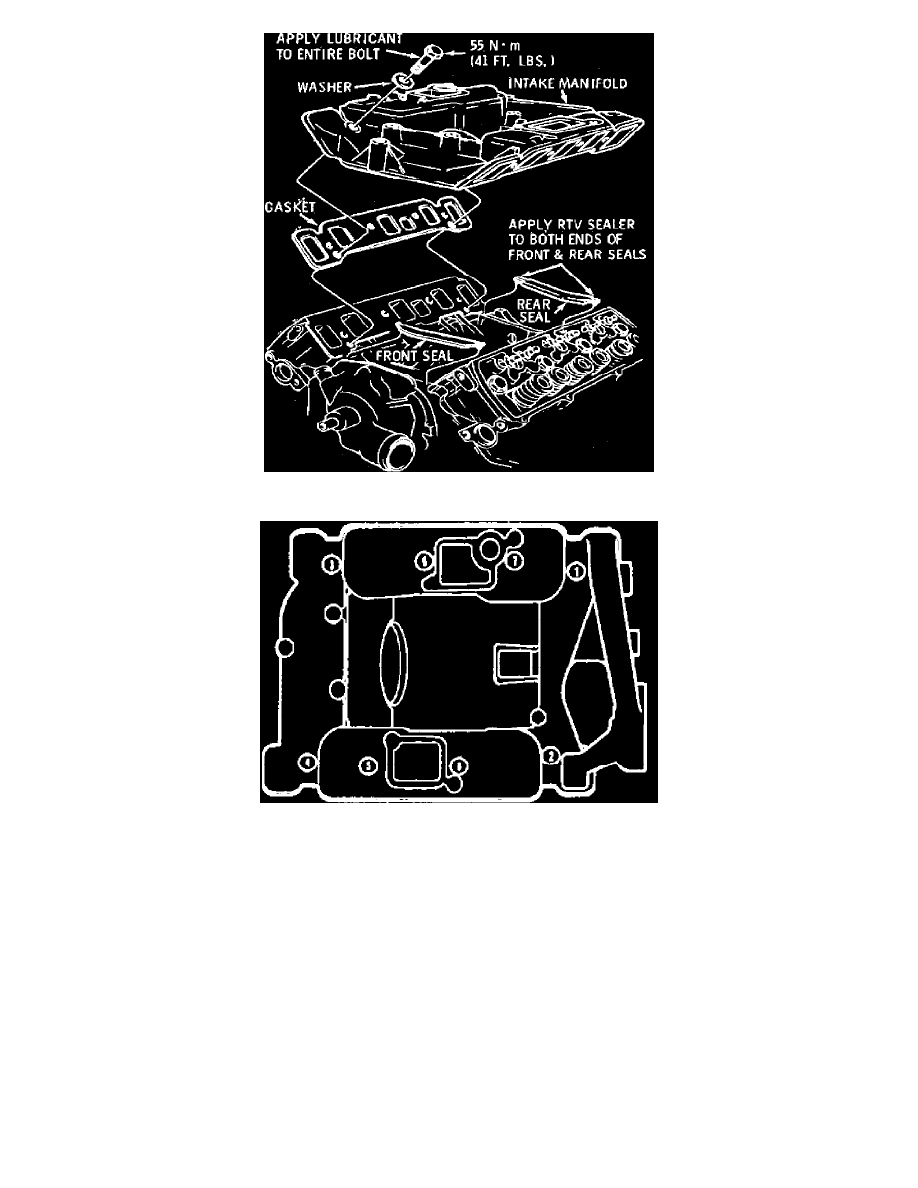
Fig. 13 Intake manifold installation
Fig. 14 Intake manifold torquing sequence
INSTALLATION
1.
Thoroughly clean machined surfaces of cylinder head and intake manifold, ensuring neither surface becomes gouged or scratched. Clean all bolts
and bolt holes.
2.
Using a suitable sealer, coat both sides of the manifold to head sealing gasket surface, and place in position, Fig. 13.
3.
Install end seals, ensure ends are positioned under cylinder heads. Apply RTV sealer to each end of seal, Fig. 13. The end seals and mating
surfaces must be dry to prevent gasket slippage.
4.
Carefully position intake manifold on engine.
5.
Lubricate intake manifold bolts entire length with lubricant 1052080 or equivalent.
6.
Install bolts. Torque to specifications following sequence shown in Fig. 14, to 15 ft. lbs. Then retorque to specifications.
7.
Reverse steps 1 through 15 of removal procedure to complete installation.