
Century V6-3.1L VIN J (2005)
Front Door Window Regulator: Service and Repair
Door Window Regulator Replacement (Manual)
Window Regulator Replacement - Front Door
Removal Procedure
1. Remove the front door water deflector. Refer toWater Deflector Replacement - Front Door See: Front Door Panel/Service and Repair.
2. Remove the front door window. Refer toWindow Replacement - Front Door (See: Front Door Window Glass/Service and Repair) .
3. Remove the arm rest bracket. Refer toArmrest Replacement (See: Front Door Panel/Service and Repair/Armrest Replacement) .
Important: The window regulator screws are seated into key slots in the inner door panel and is unnessessary to remove the screws
completely from the window regulator.
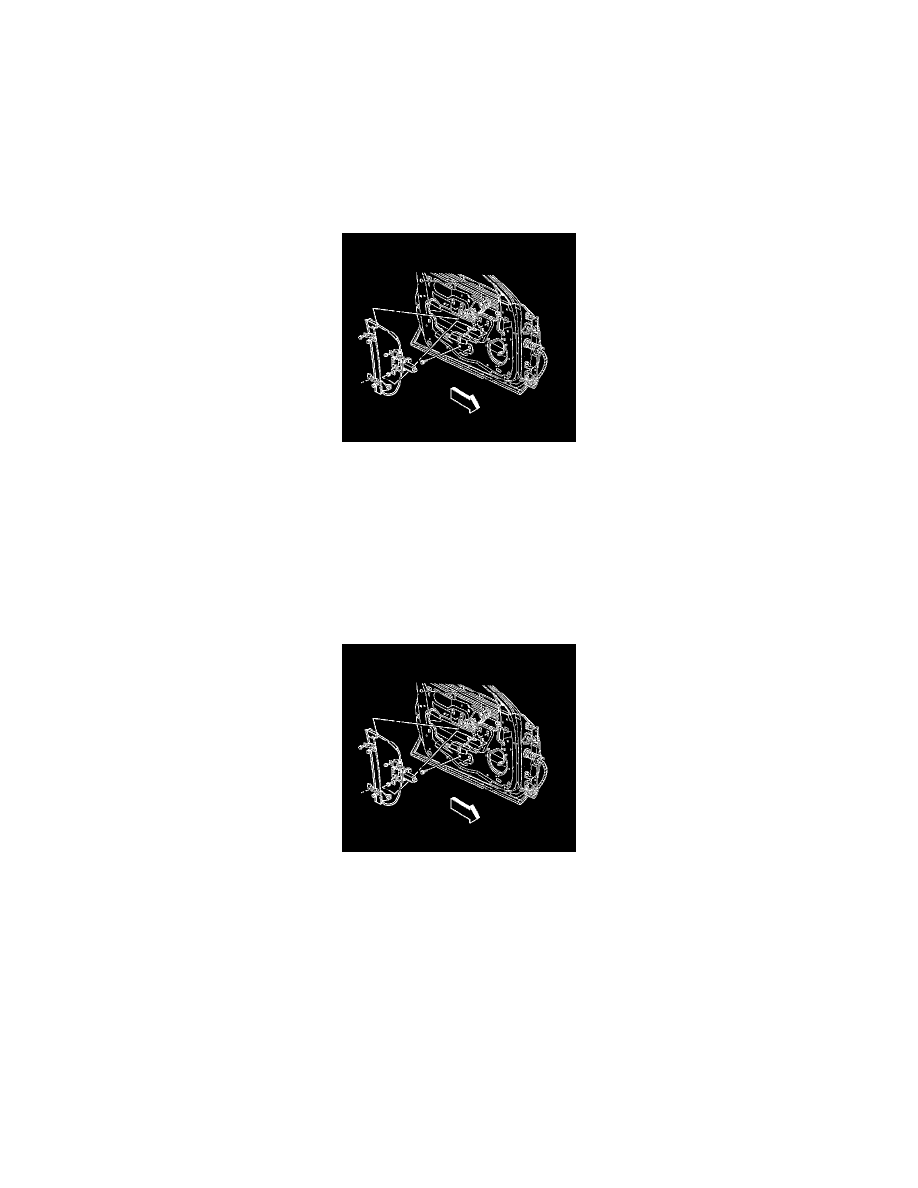
4. Loosen the front door window regulator mounting screws.
5. Remove the front door window regulator rail left lower mounting screw.
6. Lower the front door window regulator motor into the front door to gain access to the electrical connector.
7. Disconnect the front door window regulator motor electrical connector.
8. Remove the front door window regulator from the front door.
Installation Procedure
1. Position the front door window regulator into the front door.
2. Connect the front door window regulator motor electrical connector.
3. Position the front door window regulator motor inside the front door and install it into the key slots in the inner door panel.
4. Position the front door window regulator rail assembly into the key slots in the inner door panel.
Notice: Refer toFastener Notice in Cautions and Notices.
5. Install the front door window regulator rail left lower mounting screw.
Tighten the screw to 10 Nm (89 lb in).
Important: In order to ensure proper orientation of the window regulator to the door, tighten the remaining window regulator screws in
the specified sequence; lower rear, upper rear, lower front, upper front.
6. Hand tighten the remaining front door window regulator screws.