
Century V6-3.1L VIN J (2005)
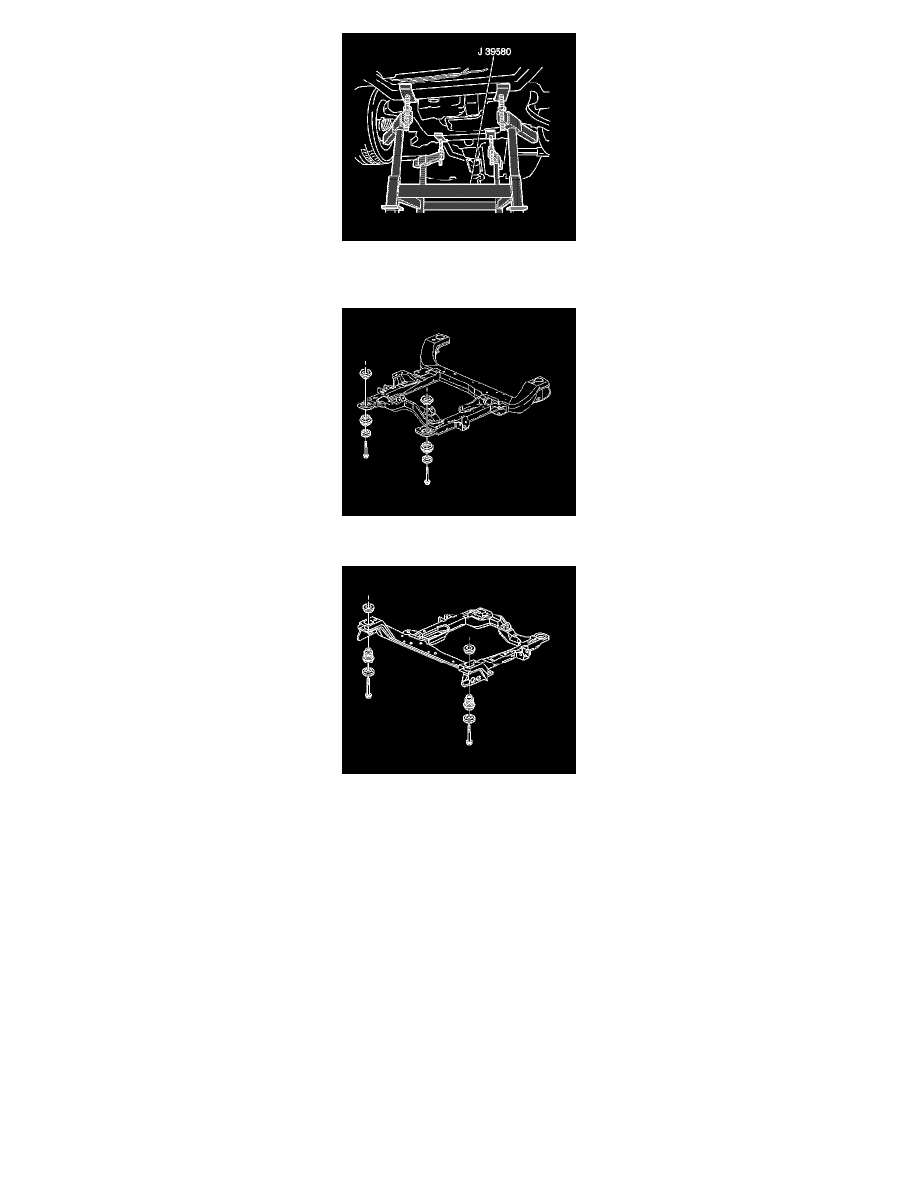
2. Position the engine support table with the frame under the vehicle.
3. Lower the vehicle to the frame.
4. Loosely install the bolts which secure the rear frame to the body.
5. Loosely install the bolts which secure the front frame to the body.
6. Align the frame to the body by inserting two 19 x 203 mm (0.74 x 8.0 in) pins in the alignment holes on the right side of the frame.
Notice: Refer toFastener Notice in Cautions and Notices.
7. Install the frame bolts.
*
Tighten the rear bolts to 160 Nm (118 lb ft).
*
Tighten the front bolts to 145 Nm (107 lb ft).
8. Connect both the lower ball joints to the steering knuckle. Refer toLower Ball Joint Replacement in Front Suspension.
9. Install the nuts which secure the engine mount to the frame. Refer toEngine Mount Replacement in Engine Mechanical - 3.1L.
10. Install the nuts which secure the transaxle mount to the frame. Refer toAutomatic Transmission Mount Replacement in Automatic Transaxle -
4T65-E.
11. Install the steering gear mounting bolts. Refer toPower Steering Gear Replacement in Power Steering System.
12. Install the stabilizer shaft links. Refer toStabilizer Shaft Link Replacement in Front Suspension.