
Century V6-3.1L VIN J (2005)
Headliner: Service and Repair
Headliner Replacement
Tools Required
J 38778 Door Trim Clip Remover
Removal Procedure
Caution: Do not attempt to repair or alter the head impact energy-absorbing material glued to the headliner or to the garnish trims. If the material
is damaged, replace the headliner and/or the garnish trim. Failure to do so could result in personal injury.
1. Remove the sunshades. Refer toSunshade Replacement (See: Sun Visor/Service and Repair/Removal and Replacement/Sunshade Replacement) .
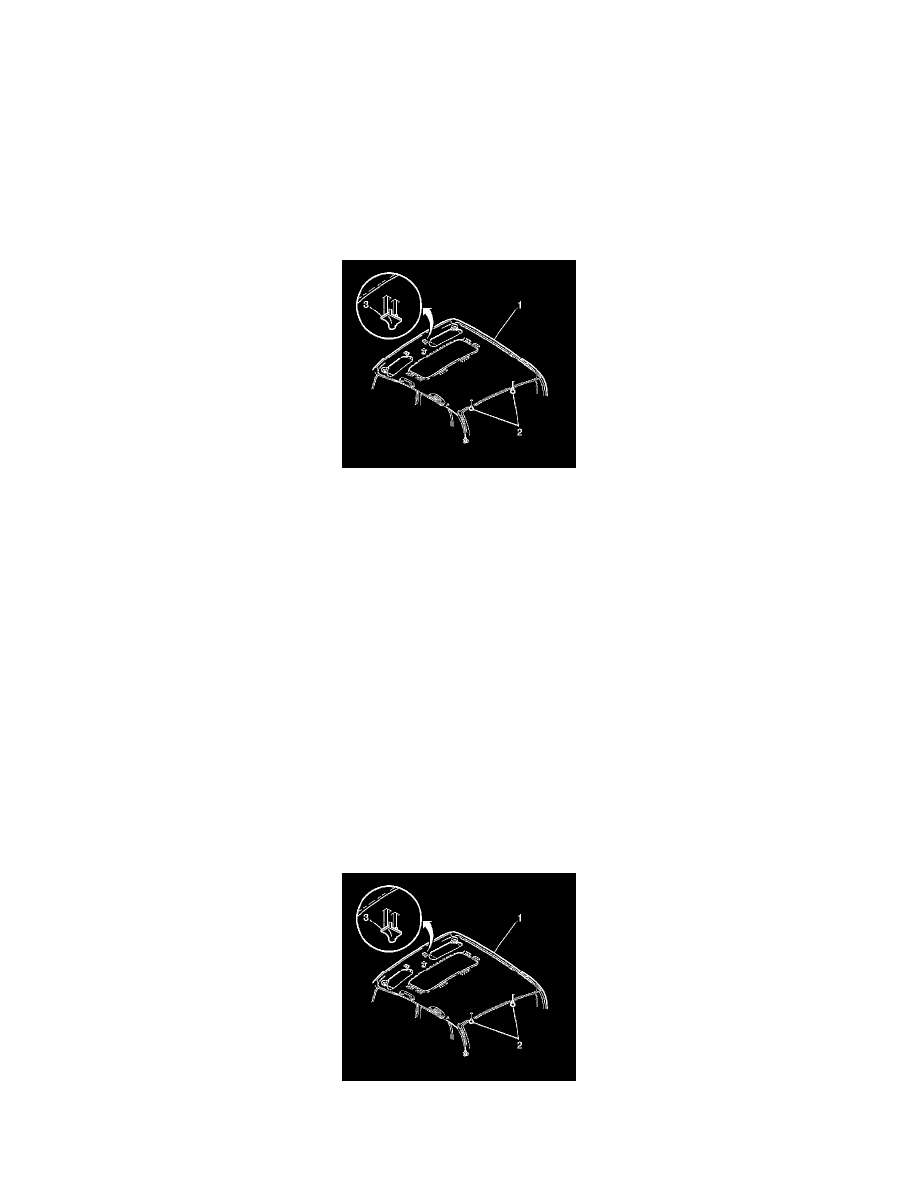
2. Remove the sunshade retainers (3). Refer toSunshade Anchor Replacement (See: Sun Visor/Service and Repair/Removal and
Replacement/Sunshade Anchor Replacement) .
3. Disconnect the electric connectors to the rear view mirror and to the front antenna.
4. Remove the dome lamp, if equipped. Refer toDome Lamp Replacement in Lighting Systems.
5. Remove the assist handles. Refer toAssist Handle Replacement - Front (See: Passenger Assist Handle/Service and Repair/Assist Handle
Replacement - Front) and toAssist Handle Replacement - Rear (See: Passenger Assist Handle/Service and Repair/Assist Handle Replacement -
Rear) .
6. Remove the side upper garnish molding from the windshield. Refer toGarnish Molding Replacement - Windshield Pillar (See: Trim
Panel/Service and Repair/Garnish Molding Replacement - Windshield Pillar) .
7. Remove the upper quarter trim panels. Refer toTrim Panel Replacement - Rear Quarter Upper (See: Trim Panel/Service and Repair/Trim Panel
Replacement - Rear Quarter Upper) .
8. Pull down on the door opening weatherstrip seal on both the front and the rear doors.
9. Remove the rear window trim panel. Refer toTrim Panel Replacement - Rear Window Shelf (See: Rear Shelf/Service and Repair) .
10. Disconnect the headliner electrical harness connector, located behind the right rear speaker.
11. Disconnect the OnStar(R) electrical connector, if equipped.
12. Disconnect the headliner electrical harness and the antenna lead, located behind the left rear speaker.
13. UseJ 38778 in order to remove the rear retainers (2).
14. Rotate the right front seatback to a horizontal position.
15. Remove the headliner (1) from the vehicle through the right front door.
Installation Procedure
Important: Do NOT bend the headlining too much when loading the headliner (1).
1. Install the headliner (1) in the vehicle through the right front door.