
Century V6-3.1L VIN J (2005)
Air Door Actuator / Motor: Service and Repair
Air Temperature Actuator - Left
AIR TEMPERATURE ACTUATOR REPLACEMENT - LEFT
REMOVAL PROCEDURE
1. Remove the left instrument panel insulator.
2. Remove the knee bolster.
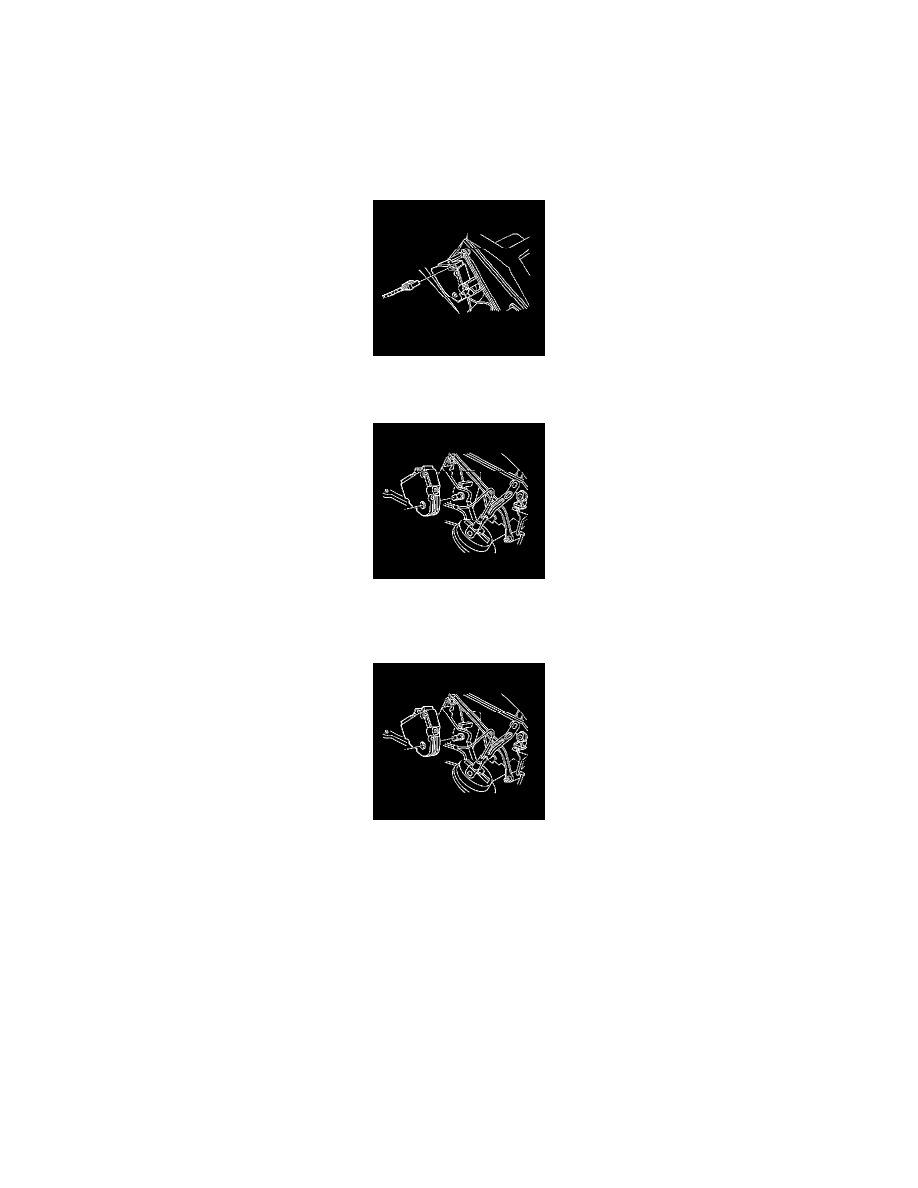
3. Disconnect the electrical connector from the left air temperature actuator.
4. Remove the mounting screws from the left air temperature actuator.
5. Remove the left air temperature actuator.
INSTALLATION PROCEDURE
1. Position the left air temperature actuator, then align the slots in the electric actuator driver to the flats on the shaft.
2. Align the locating hole to the alignment pin on the HVAC module case.
3. Slide the actuator driver on to the shaft. The actuator driver should set completely on the shaft and the mounting holes should be flush with the
mounting bolts on the HVAC module case.
4. Install the mounting screws to the left air temperature actuator.
Tighten the screws to 1.5 N.m (13 lb in).
NOTE: Refer to Fastener Notice in Service Precautions.