
Century V6-3.1L VIN J (2005)
Fuel Gauge Sender: Service and Repair
FUEL SENDER ASSEMBLY REPLACEMENT
REMOVAL PROCEDURE
1. Relieve the fuel system fuel pressure. Refer to Fuel Pressure Relief Procedure.
CAUTION: Fuel Vapors can collect while servicing fuel system parts in enclosed areas such as a trunk. To reduce the risk of fire and
increased exposure to vapors:
-
Use forced air ventilation such as a fan set outside of the trunk.
-
Plug or cap any fuel system openings in order to reduce fuel vapor formation.
-
Clean up any spilled fuel immediately.
-
Avoid sparks and any source of ignition.
-
Use signs to alert others in the work area that fuel system work is in process.
NOTE: Clean all of the following areas before performing any disconnections in order to avoid possible contamination in the system:
-
The fuel pipe connections
-
The hose connections
-
The areas surrounding the connections
IMPORTANT: Always maintain cleanliness when servicing fuel system components.
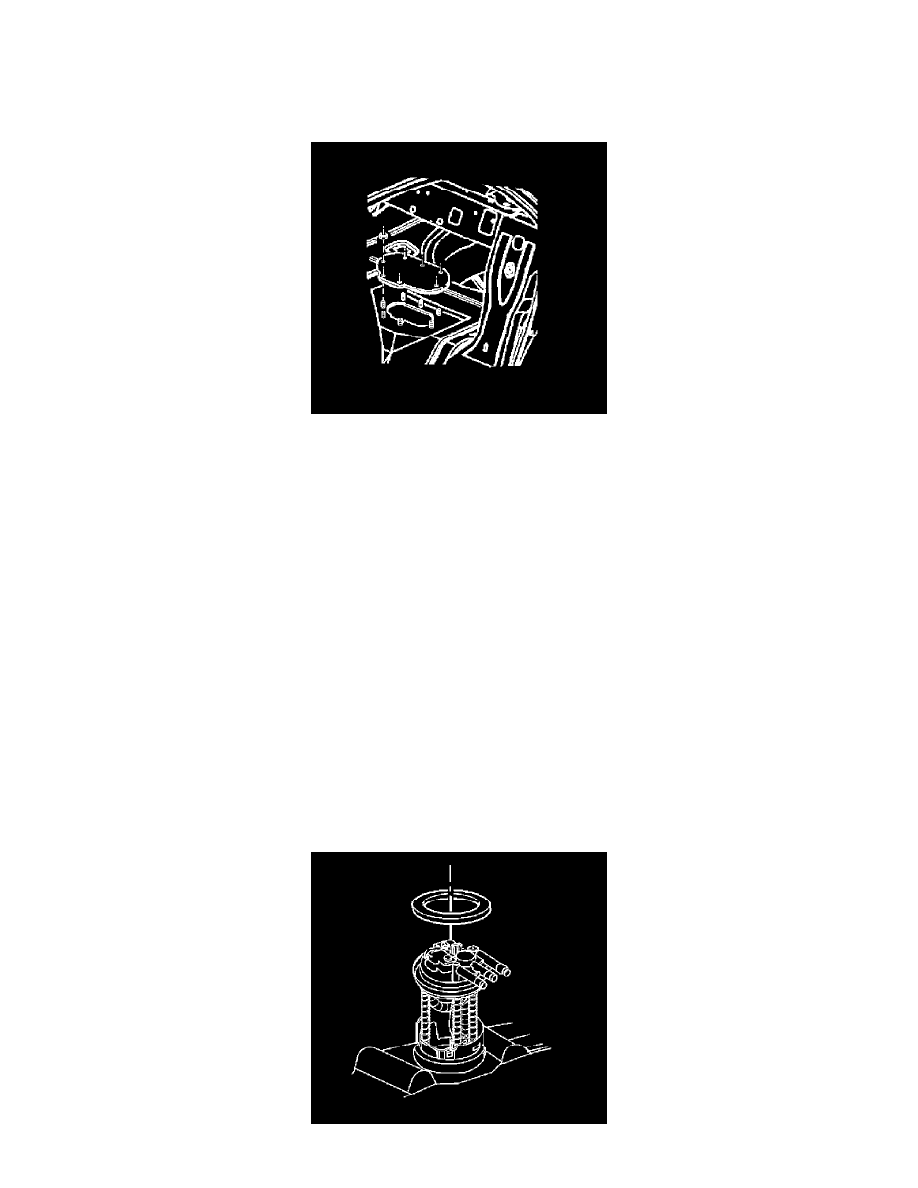
2. Remove the rear compartment trim panel.
3. Remove the fuel sender access panel nuts.
4. Remove the fuel sender access panel.
5. Disconnect the fuel tank pressure (FTP) sensor electrical connector.
6. Remove the fuel tank pressure sensor.
7. Disconnect the fuel sender electrical connector.
8. Clean the fuel pipes, and fuel sender assembly to prevent possible fuel contamination during removal.