
Century V6-3100 3.1L VIN M SFI (1998)
6. Remove the brake fluid reservoir cover.
7. Inspect the brake fluid level in the reservoir. Fill the reservoir to the correct level if necessary.
8. Install the brake fluid reservoir cover.
9. Complete the following steps in order to prime the traction control module.
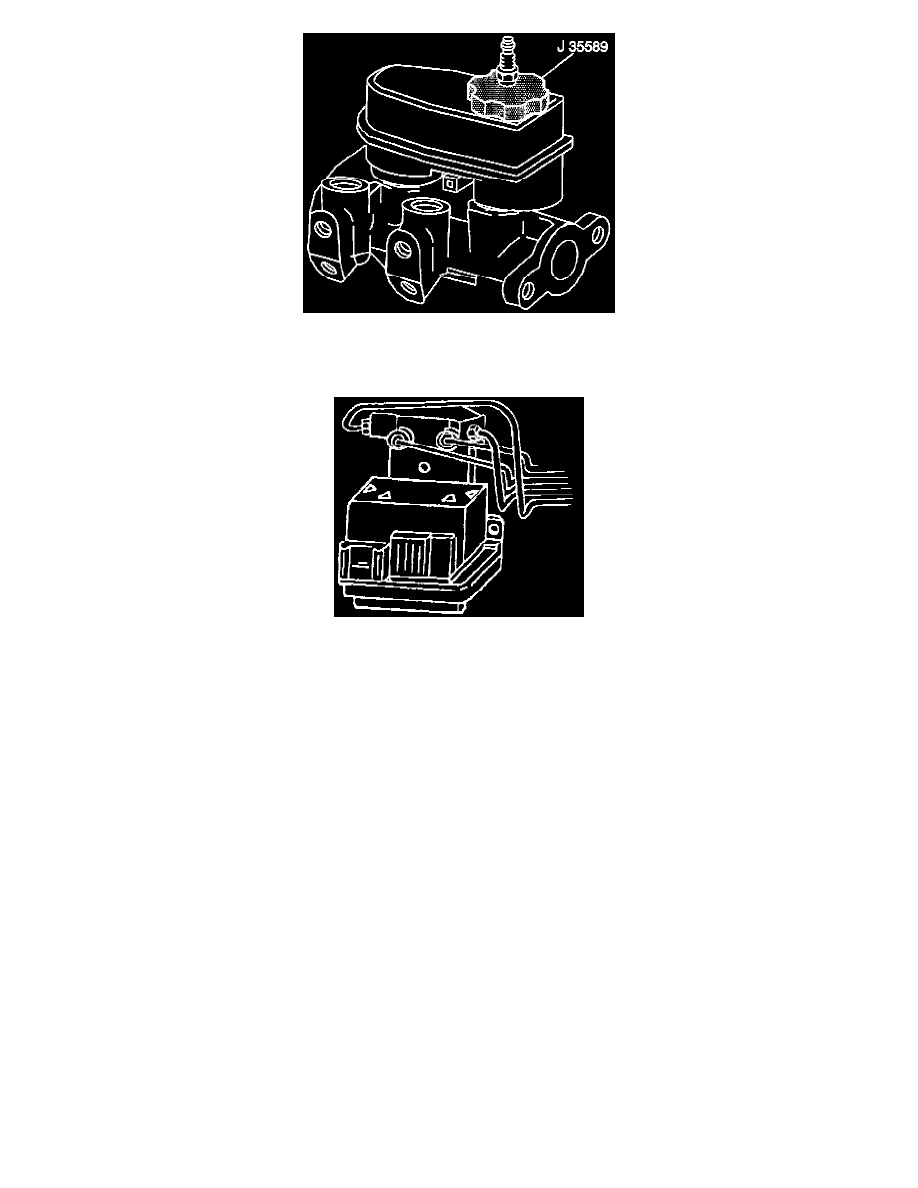
9.1. Remove the traction control module bracket bolt in order to access bleeder valves.
9.2. Attach the bleeder hose to the right side bleeder valve.
9.3. Submerge the opposite hose end in a clean container partially filled with clean brake fluid.
9.4. Depress the brake pedal slowly and hold the pedal until the fluid begins to flow.
9.5. Close the valve and release the brake pedal.
IMPORTANT: Once the fluid is visibly flowing from both bleeder valves, the traction control module is sufficiently full of fluid. However, it
may not be completely purged of air. At this point, bleed the wheels brakes. Bleeding the wheel brakes ensures that the lowest points in the system
are completely free of air. Then, purge the traction control module of any remaining air.
9.6. Repeat the previous four steps until air bubbles are no longer present.
9.7. Relocate the bleeder hose to the left side bleeder valve.
9.8. Submerge the opposite hose end in a clean container partially filled with clean brake fluid.
9.9. Depress the brake pedal slowly and hold the pedal until the fluid begins to flow.
9.10. Close the valve and release the brake pedal.
9.11. Repeat the previous four steps until air bubbles are no longer present.
^
Tighten the traction control module bleeder valves to 9 Nm (80 inch lbs).
^
Tighten the traction control module bracket bolt to 3 Nm (27 inch lbs).