
Electra Estate Wagon V8-350 5.7L DSL (1983)
Radio/Stereo: All Technical Service Bulletins
Radio - Ignition Noise With Windshield Antenna
Model Year
1983
Bulletin No. 83-230
File in Group 90
Number
14
Date
June '84
SUBJECT:
RADIO IGNITION NOISE WITH WINDSHIELD ANTENNA
MODELS AFFECTED:
1983 LESABRE
The following procedure is recommended when servicing 1983 LeSabre models equipped with a windshield antenna that may experience an ignition
generated noise interference on the radio's AM and/or FM frequency band:
A.
Perform the ignition-related radio noise diagnosis outlined in Section 9 of the Service Manual with specific attention to:
1.
Inspect and replace any spark plug wire if there is evidence of wear through and/or arcing.
2.
Inspect both the distributor's cap and rotor and replace either if there are cracks or evidence of carbon tracking.
3.
Clean both the inside of the distributor cap and the rotor if either show signs of grease contamination (reference service bulletin 83-155).
4.
Inspect both the engine compartment and instrument panel wiring for proper ground ring terminal attachements.. Insure grounding screw(s)
are tight and that either an integral or loose serrated washer exists between the ring terminal and grounding surface at each location.
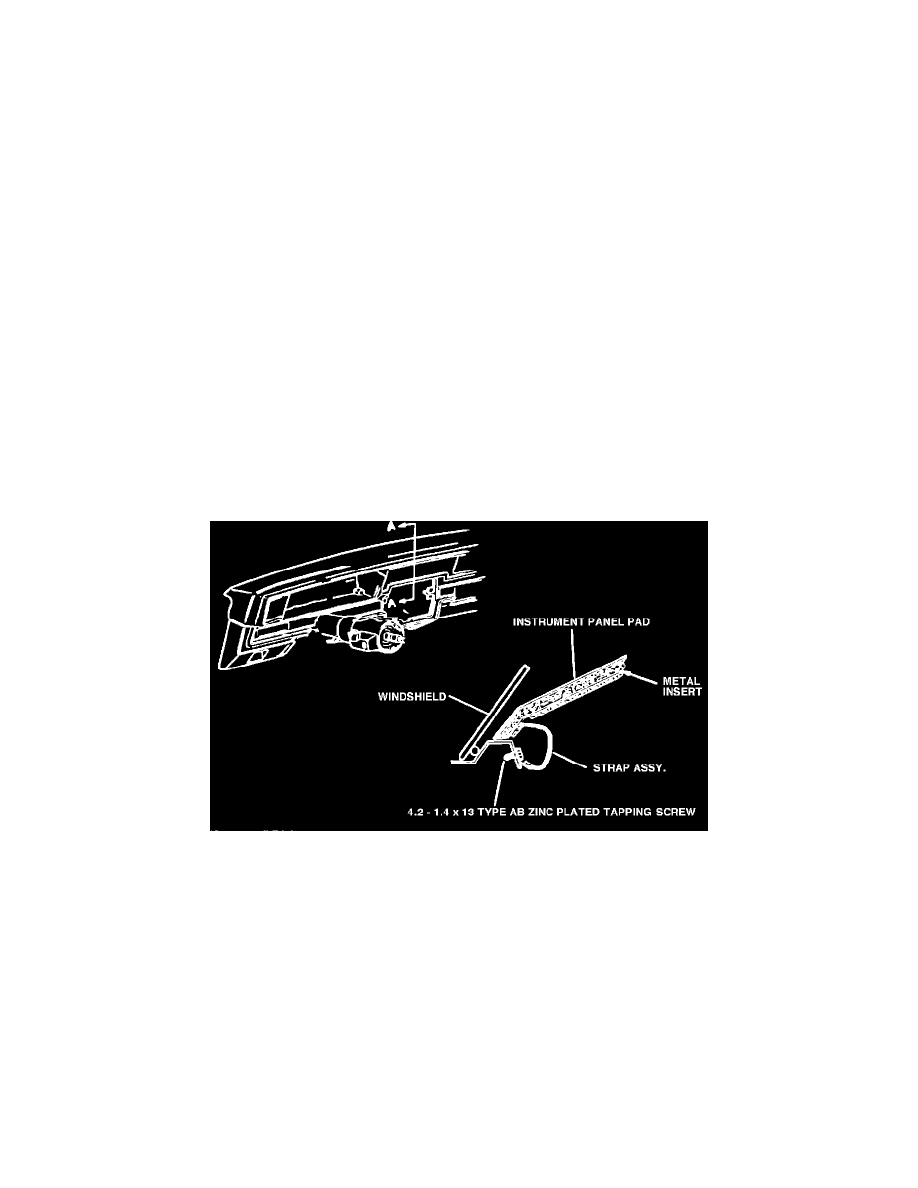
SECTION A - A - INSTRUMENT PANEL PAD
B.
If the ignition noise condition persists after performing the above steps, ground the instrument panel pad's metal insert to the vehicle's body (see
illustration) as follows:
1.
Fabricate a ground strap assembly using P/N 2977489 or equivalent ring terminal and approximately 3 inches of #11 gauge copper strap.
2.
Crimp the ring terminal onto one (1) strap end and tin the opposite with solder.
3.
Remove the instrument panel pad as outlined in Section 8C of the Service Manual.
4.
Remove approximately one (1) square inch of foam flash from the under side of the pad's forward most down flange; centerline between the
defroster duct openings.
5.
Clean the exposed area of the pad's metal insert with "00" steel wool or crocus cloth and tin with solder.
CAUTION: Overheating the insert could result in damage to the pad's vinyl.