
Enclave AWD V6-3.6L (2009)
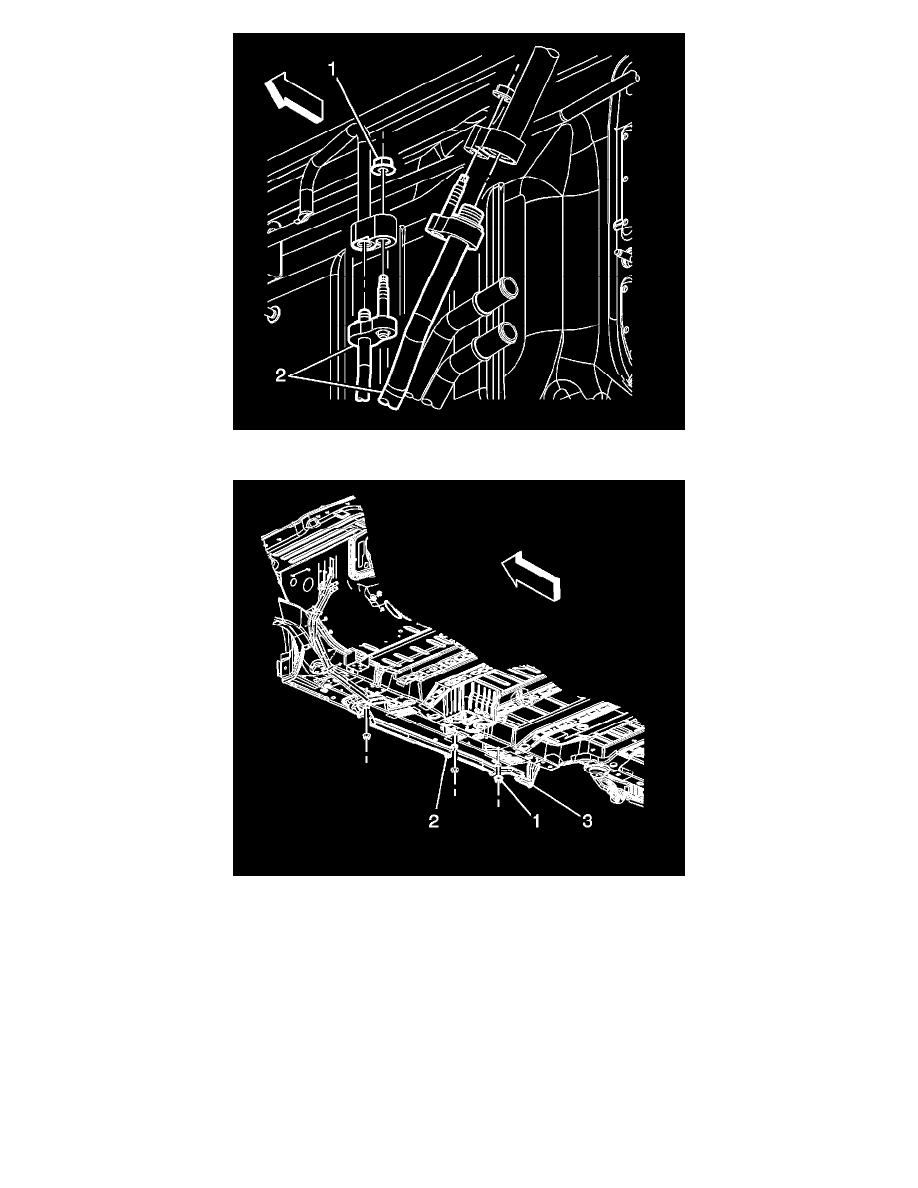
7. Remove the retaining nuts (1) and the auxiliary A/C evaporator tubes (2) from the TXV tube and condenser tube.
8. Remove the heater/A/C tubes retaining nuts (1) from the retaining studs and clips along the frame in four places.
9. Remove the auxiliary A/C evaporator tubes (3) from the clamps (2).
10. Remove the auxiliary A/C evaporator tubes from the vehicle.
Installation Procedure
Note: The replacement A/C and heater pipes are shipped in two sections and spliced together upon installation. Refer to Auxiliary Heater and Air
Conditioning Pipe Replacement/Repair (See: Heater Hose/Service and Repair/Auxiliary Heater and Air Conditioning Pipe Replacement/Repair).
1. Install the auxiliary A/C evaporator tubes to the vehicle.