
Enclave AWD V6-3.6L (2009)
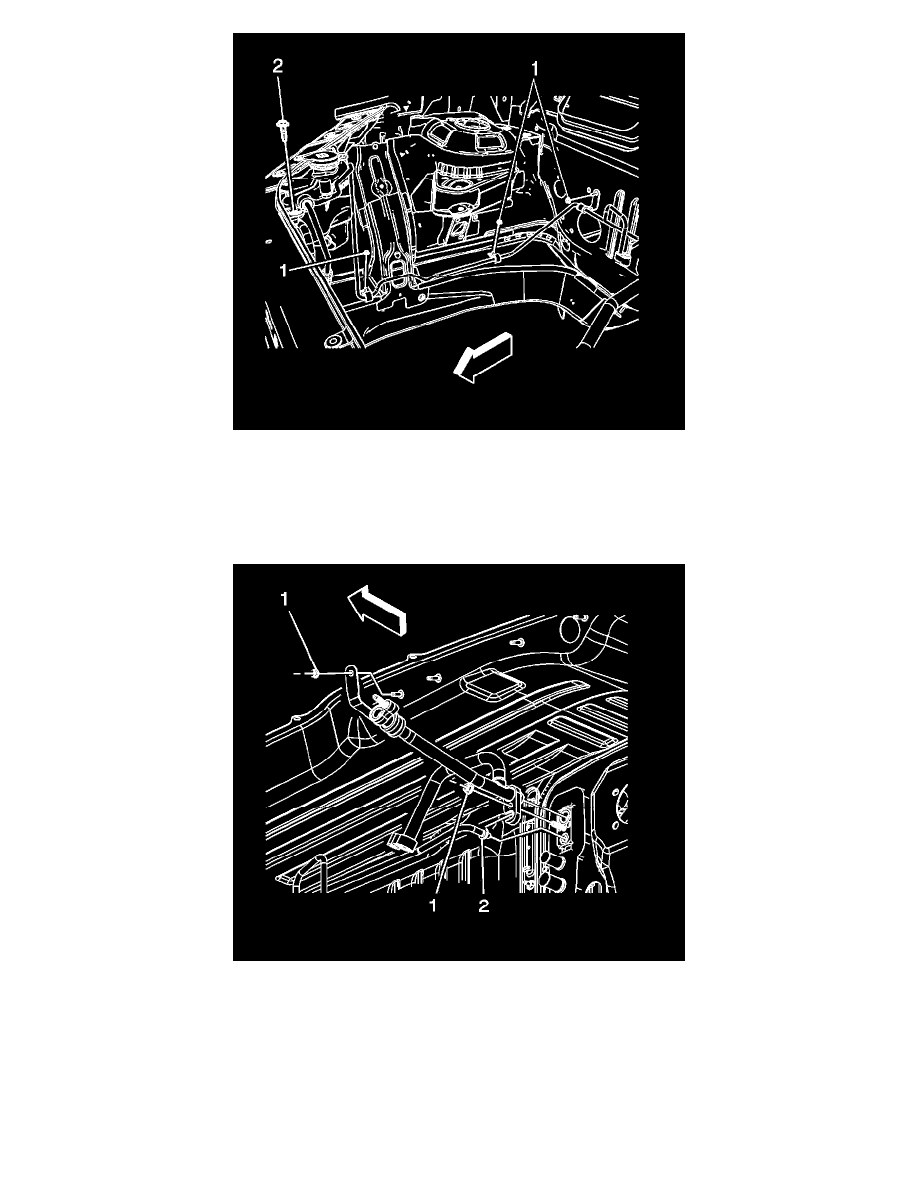
13. Remove the attaching liquid line clamp nuts along right inner frame rail and plenum panel (1).
14. Remove the liquid line bracket bolt at right side of upper tie bar support (2).
15. Remove the liquid line.
16. Remove and discard the discharge line sealing washer.
Installation Procedure
1. Install new sealing washers to the liquid line. Refer to Sealing Washer Replacement (See: Coupler HVAC/A/C Coupler O-ring/Service and
Repair/Sealing Washer Replacement).
2. Connect the liquid line (2) and evaporator hose/tube to the TXV at plenum panel.
Caution: Refer to Fastener Caution (See: Service Precautions/Vehicle Damage Warnings/Fastener Caution).
3. Install the liquid line to TXV nut (1).
Tighten the bolt to 9 Nm (80 lb in).