Enclave AWD V6-3.6L (2009)

4. Install the lower auxiliary air distributor duct. Refer to Auxiliary Air Distributor Lower Duct Replacement (See: Air Duct/Service and
Repair/Auxiliary Air Distributor Lower Duct Replacement).
5. Connect the electrical connectors to the auxiliary HVAC module.
6. Install the right rear quarter trim panel. Refer to Quarter Lower Rear Trim Panel Replacement (Traverse with TB5) (See: Body and
Frame/Interior Moulding / Trim/Trim Panel/Service and Repair)Quarter Lower Rear Trim Panel Replacement (Traverse without TB4) (See:
Body and Frame/Interior Moulding / Trim/Trim Panel/Service and Repair)Quarter Lower Rear Trim Panel Replacement (Acadia/OUTLOOK with
TB5) (See: Body and Frame/Interior Moulding / Trim/Trim Panel/Service and Repair)Quarter Lower Rear Trim Panel Replacement
(Acadia/OUTLOOK without TB4) (See: Body and Frame/Interior Moulding / Trim/Trim Panel/Service and Repair)Quarter Lower Rear Trim
Panel Replacement (Enclave with TB5) (See: Body and Frame/Interior Moulding / Trim/Trim Panel/Service and Repair)Quarter Lower Rear
Trim Panel Replacement (Enclave without TB4) (See: Body and Frame/Interior Moulding / Trim/Trim Panel/Service and Repair).
7. Raise the vehicle.
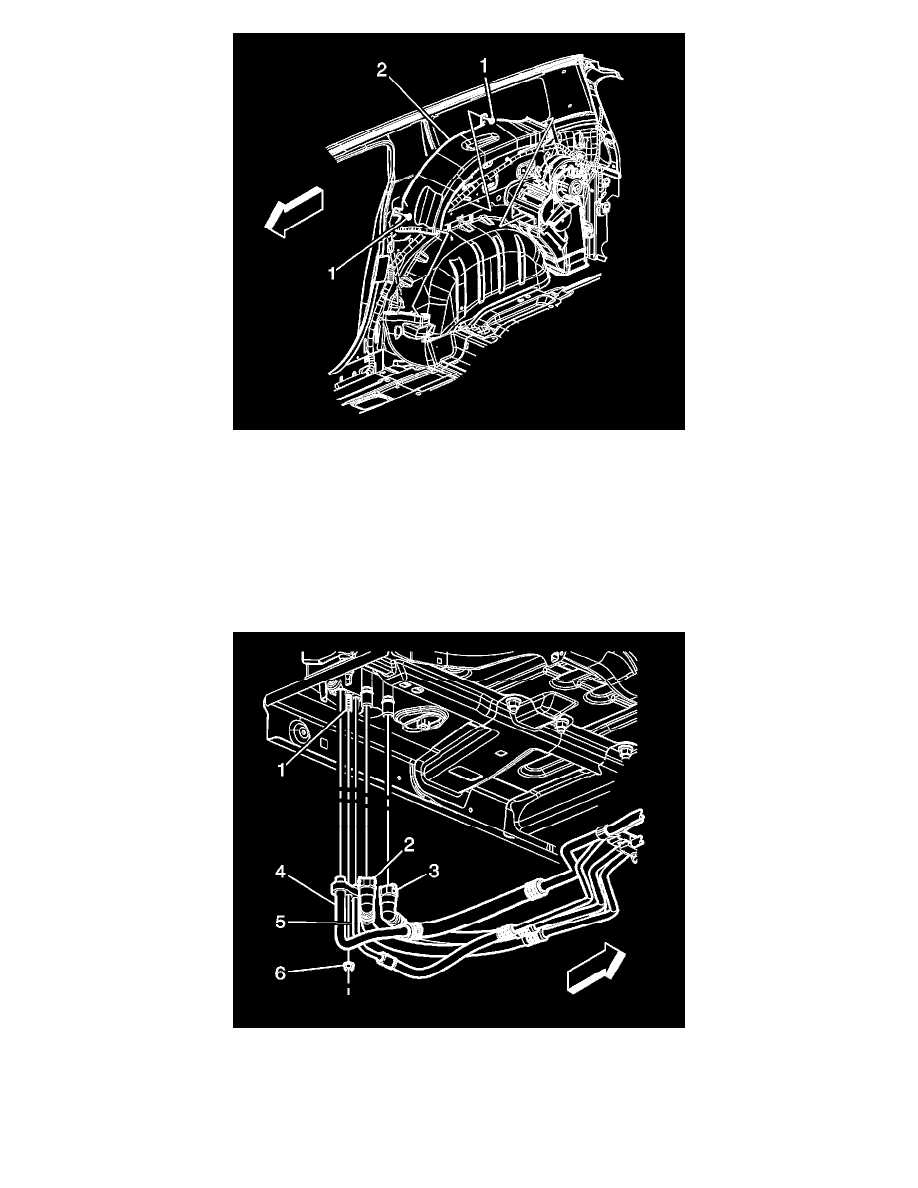
8. Install the nuts that secure the auxiliary HVAC module to the vehicle.
Caution: Refer to Fastener Caution (See: Service Precautions/Vehicle Damage Warnings/Fastener Caution).
Tighten the nuts to 9 Nm (80 lb in).
