
Enclave AWD V6-3.6L (2009)
1. Inspect the CMP actuator solenoid valve seal for damage. Replace the seal if necessary.
Caution: Use the correct fastener in the correct location. Replacement fasteners must be the correct part number for that application. Do
not use paints, lubricants, or corrosion inhibitors on fasteners, or fastener joint surfaces, unless specified. These coatings affect fastener
torque and joint clamping force and may damage the fastener. Use the correct tightening sequence and specifications when installing
fasteners in order to avoid damage to parts and systems. When using fasteners that are threaded directly into plastic, use extreme care
not to strip the mating plastic part(s). Use hand tools only, and do not use any kind of impact or power tools. Fastener should be hand
tightened, fully seated, and not stripped.
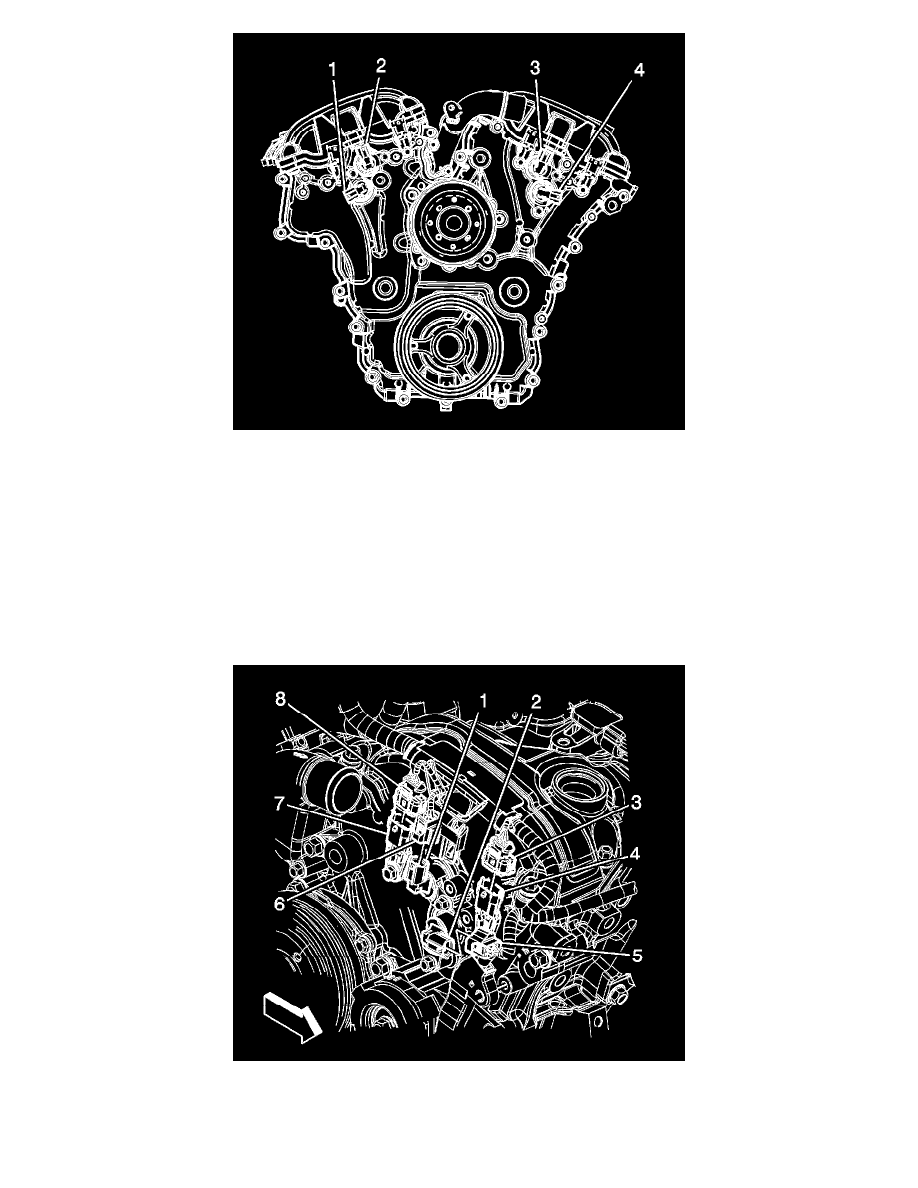
2. Install the CMP actuator solenoid valve (3) and bolt.
Tighten the bolt to 10 Nm (89 lb in).
3. Connect the engine wiring harness electrical connector (6) to the bank 2 intake CMP actuator solenoid valve.