
Enclave FWD V6-3.6L (2008)
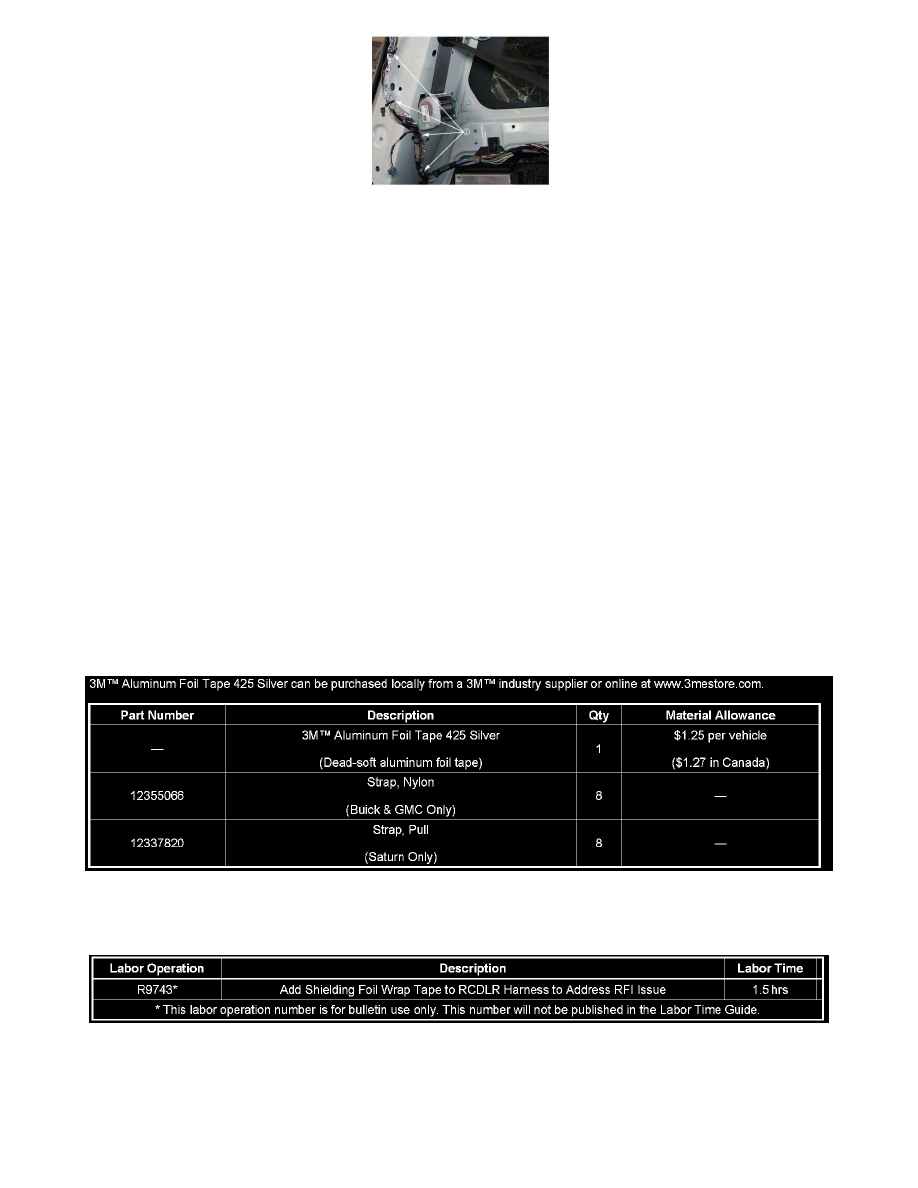
17.
Route the RCDLR wiring harness along the side of the existing rear body harness with tie straps (1).
18.
Connect the RCDLR connector to the RCDLR module.
19.
Remove the block if used, reposition the headliner back to the roof panel and reposition the liftgate weatherstrip.
20.
If the vehicle is equipped with a power liftgate, install the liftgate actuator assembly. Refer to Liftgate Actuator Replacement in SI.
21.
Install the left body upper trim panel. Refer to Body Lock Pillar Upper Trim Panel Replacement in SI.
22.
Start to install the left rear lower quarter trim panel, connect the electrical connectors for the speaker and the outlet.
23.
Install the left rear lower quarter trim panel. Refer to Rear Quarter Lower Trim Panel Replacement in SI.
24.
Install the left and right rear quarter upper trim panel. Refer to Quarter Upper Trim Panel Replacement in SI.
25.
Install the rear storage compartment. Refer to Rear Storage Compartment Replacement in SI.
26.
Install the rear liftgate door sill plate. Refer to Liftgate Door Sill Plate Replacement in SI.
27.
Install the left rear liftgate door sill plate. Refer to Liftgate Door Sill Plate Replacement in SI.
28.
Position the second and third row seats to the down positions.
29.
Close the liftgate and doors.
30.
Reconnect the OnStar(R) VCIM fuse and test the range for the RVS and RKE to verify that the condition has been corrected.
Parts Information
Warranty Information
For vehicles repaired under warranty, use the table above.