
LaCrosse V6-3.6L (2007)
Trunk / Liftgate Latch: Service and Repair
Rear Compartment Lid Latch Replacement
Removal Procedure
1. Open the rear compartment.
2. Remove the rear compartment lid carpet.
3. Use a grease pencil to mark the location of the rear compartment lid latch to the rear compartment lid.
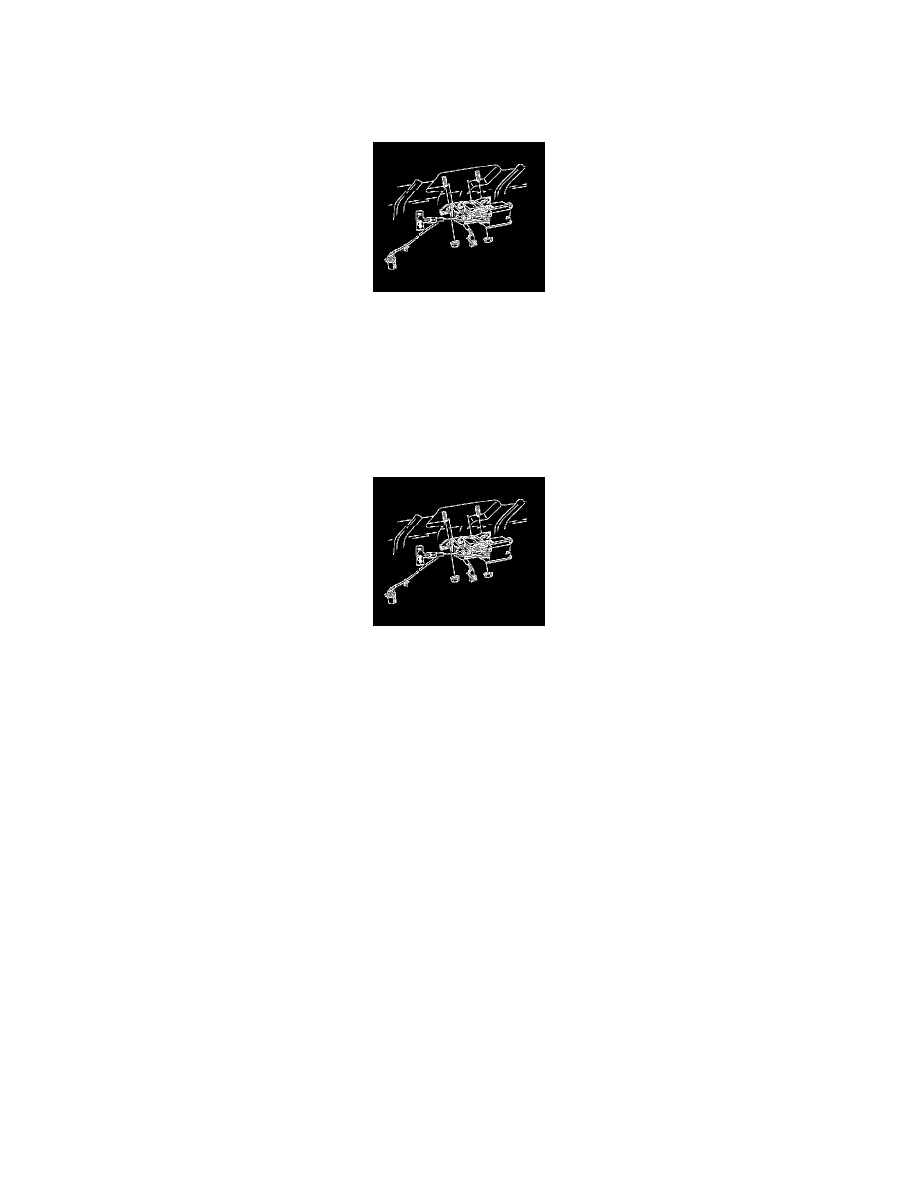
4. Disconnect the electrical connectors from the rear compartment lid latch.
5. Disconnect the lock cylinder actuator cable from the lock cylinder.
6. Remove the rear compartment lid latch to rear compartment lid nuts.
7. Remove the rear compartment lid latch from the rear compartment lid.
Installation Procedure
1. Position the rear compartment lid latch to the alignment marks on the rear compartment lid.
Notice: refer to Fastener Notice.
2. Install the rear compartment lid latch to rear compartment lid nuts.
Tighten the nuts to 10 N.m (89 lb in).
3. Connect the electrical connectors to the rear compartment lid latch.
4. Connect the lock cylinder actuator cable to the lock cylinder.
5. Install rear compartment lid carpet.
6. Close the rear compartment.