LaCrosse V6-3.6L (2007)

Upper Side Moulding / Trim: Service and Repair
Body Side Molding Replacement
Tools Required
J 25070 Heat Gun
Removal Procedure
1. When replacing or repairing a body side molding do the following:
1. Use tape to protect the mounting surface during removal.
2. Use tape for alignment marks for installation of the body side molding.
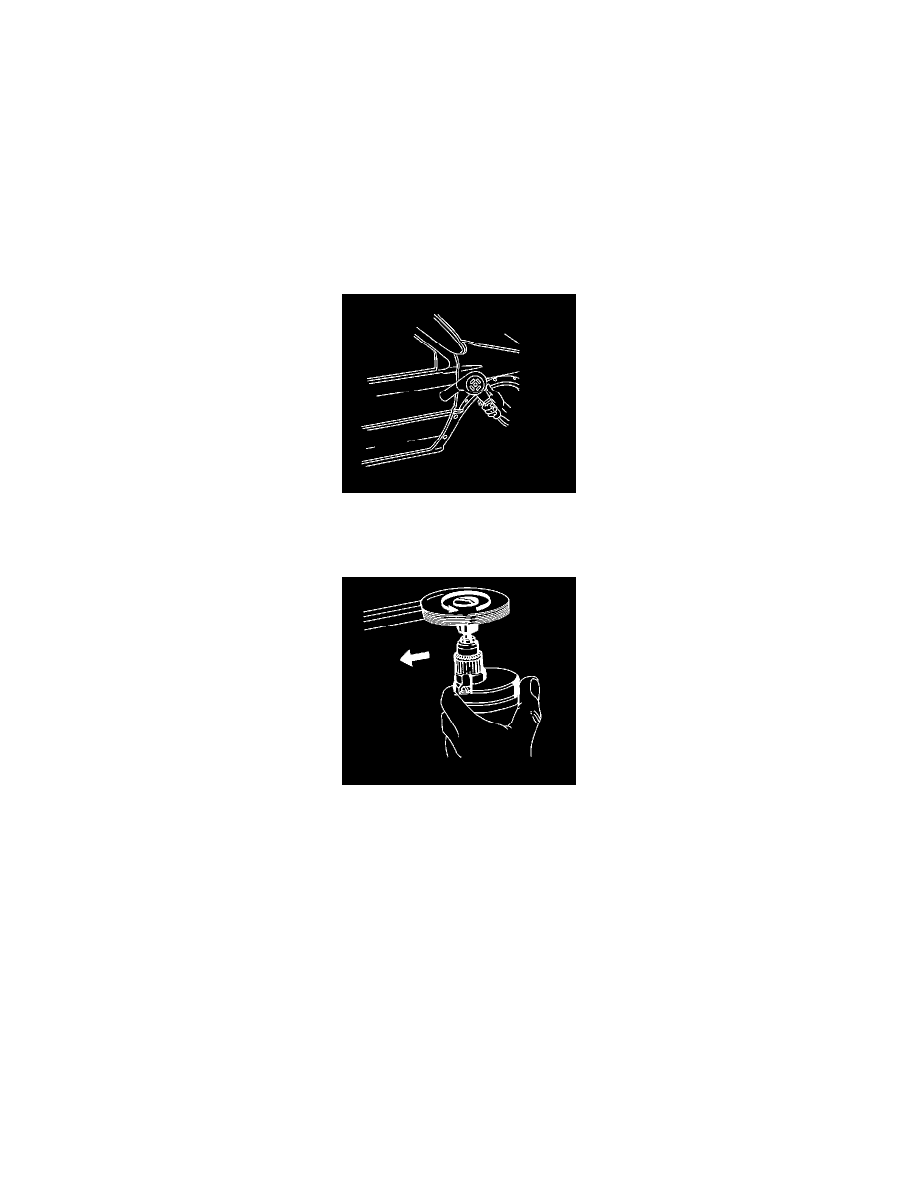
2. To remove a body side molding, heat the body side molding using a J 25070 .
3. Hold the J 25070 approximately 152 mm (6 in) from the surface.
4. Apply heat using a circular motion for about 30 seconds.
Notice: Refer to Exterior Trim Emblem Removal Notice in Cautions and Notices.
5. Use a plastic, flat-bladed tool to lift or remove the body side molding from the panel surface.
Important: If tape is still intact on the molding or panel, do not remove the tape. Clean the tape and the mating surface with adhesive
cleaner. Wipe the tape and the mating surface with a clean, lint free cloth. If the tape is damaged, continue with the replacement
procedure.
6. Apply the adhesive foam tape to the back of the body side molding and press the molding in place.
7. When replacing, remove all adhesive as follows:
*
For body panels, use a 3M(TM) Scotch Brite molding adhesive remover disk 3M(TM) P/N 07501 or equivalent.
*
For plastic panels, use a lint free cloth and Varnish Makers and Painters (VMP) naphtha or a (50/50 mixture) by volume of isopropyl alcohol
and water to remove the adhesive.
Installation Procedure
Important: Apply the body side molding in an environment that is free from dust or other dirt that could come into contact with the
sticky backing. Foreign material may cause improper adhesion.
