
LaCrosse V6-3.6L (2007)
1. Install a new heater core foam seal (1) to the HVAC module assembly.
2. Install the heater core to the HVAC module assembly.
3. From the inside of the heater core cover, drill the dimples adjacent to the heat stakes using a 5.5 mm (7/32 in) drill bit.
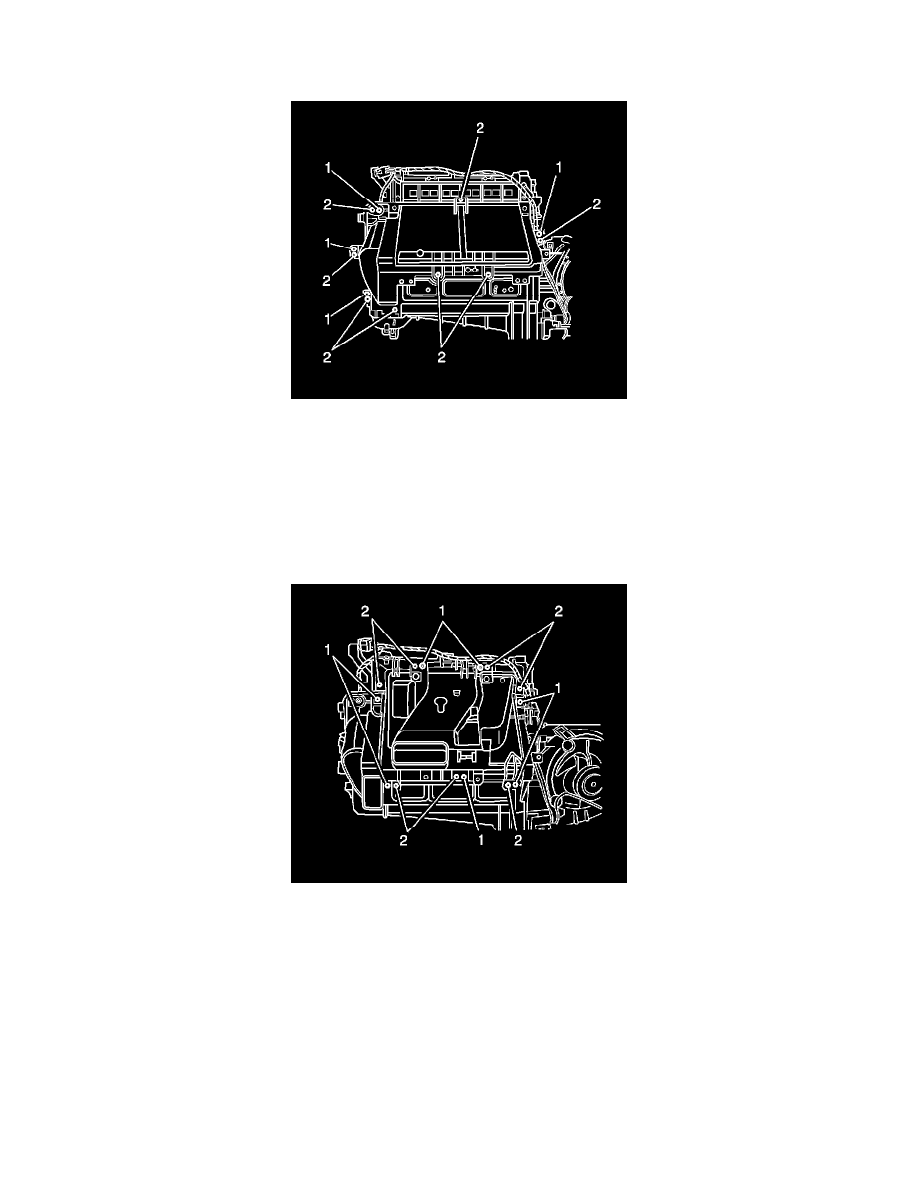
4. Install the heater core cover.
Notice: Refer to Fastener Notice.
5. Install the heater core cover screws to the heater core cover.
Tighten all the screws to 1.5 N.m (13 lb in).
6. From the inside of the heater core outlet cover, drill the dimples adjacent to the heat stakes using a 5.5 mm (7/32 in) drill bit.
7. Install the heater core outlet cover.
8. Install the heater core outlet cover screws (2).
Tighten the screws to 1.5 N.m (13 lb in).
9. Connect the rear floor air outlet duct to the heater core outlet cover.
10. Install the rear floor air outlet duct to the holes in the floor reinforcement.
11. Install the communication interface module.
12. Install the floor carpet.
13. Install the RH instrument panel closeout/insulator panel.
14. Install the RH instrument panel closeout/insulator panel.
15. Connect the inlet and outlet heater hose to the heater core.
16. Use J 38185 in order to reposition the heater hose inlet and outlet clamps to the heater core.
17. Refill the coolant. Refer to Draining and Filling Cooling System (GE 47716 Fill) Draining and Filling Cooling System (L26 Static Fill) Draining