
LaCrosse V6-3.6L VIN 7 (2006)
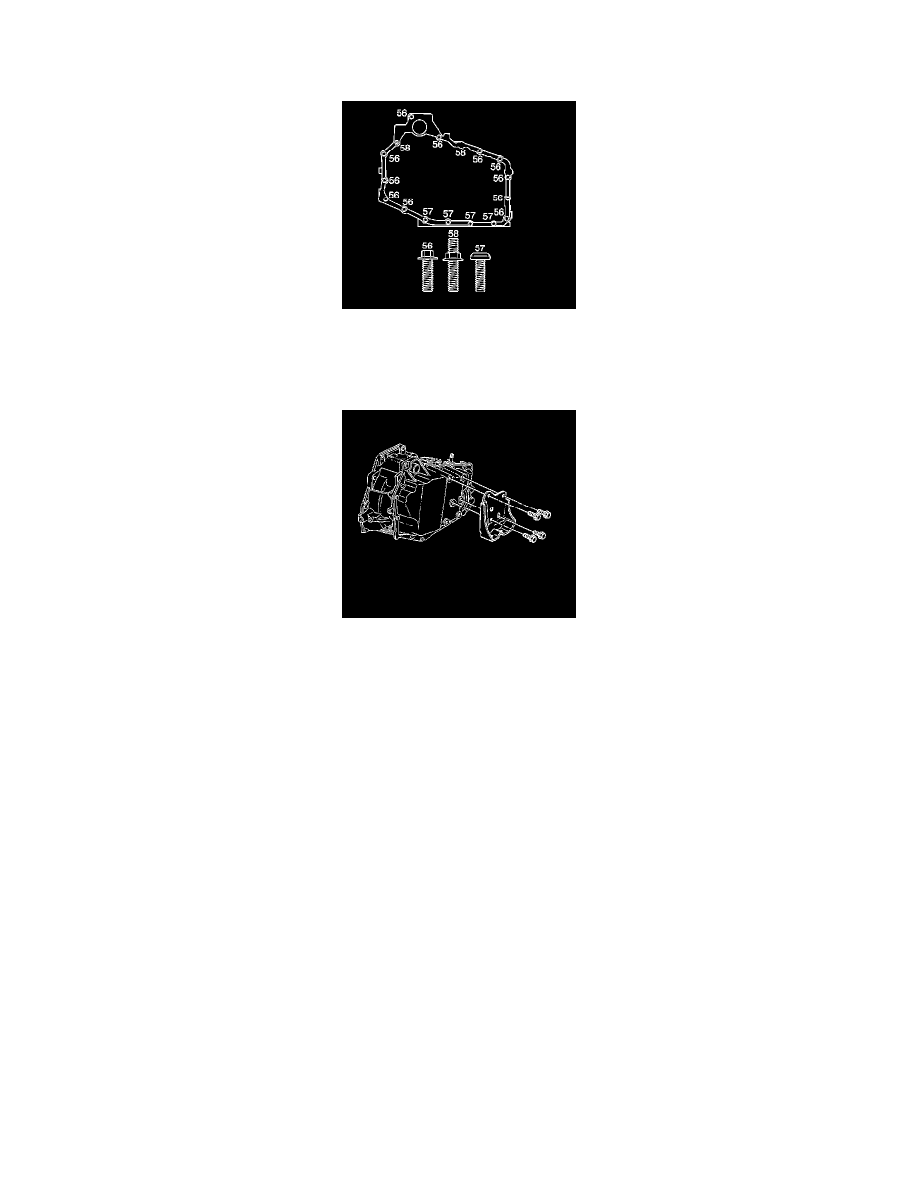
2. Install the O-ring (59) to the case side cover.
3. Install the case side cover gasket (54).
4. Install the case side cover (53).
5. Notice: Refer to Fastener Notice in Service Precautions.
Install the case side cover bolts (56,57,58) except top bolt.
^
Tighten bolts to 25 Nm (18 ft. lbs.).
6. Install the transaxle mount bracket
7. Install the transaxle mount bracket bolts.
^
Tighten the bolts to 95 Nm (70 ft. lbs.)
8. Install a jack stand under the left frame rail and raise frame while aligning transaxle mount bolts with frame and ball joint with the steering
knuckle.
9. Install and tighten the left side frame-to-body bolts (2).
10. Install front cradle to radiator support brackets and bolts to both sides.
11. Install drive axle to transaxle.
12. Install transaxle mount nuts (2).
13. Install the ball joint nut and cotter pin.
14. Install the steering gear-to-frame bolts.
15. Install the positive battery cable center retainer on front frame rail.
16. Reposition the stabilizer bar and install bolts to stabilizer.
17. Install the wheel speed sensor harness to four retainers on the lower control arm.
18. Install the inner fender splash shield.
19. Install the left front wheel.
20. Lower the vehicle and remove the engine support fixture.