
LaCrosse V6-3.8L (2009)
Fan Shroud: Service and Repair
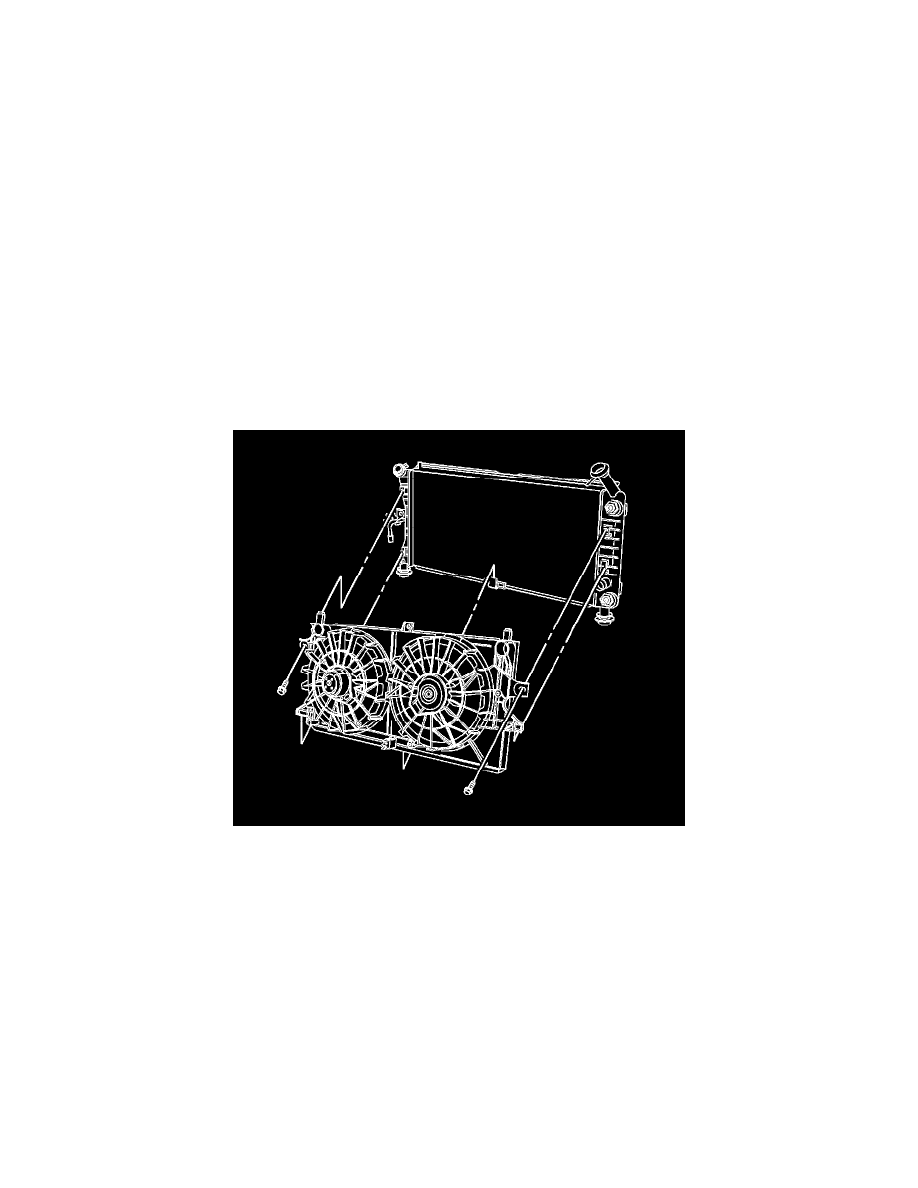
Engine Coolant Fan Shroud Replacement (L26) (3.8L)
Removal Procedure
Warning: Refer to Electric Coolant Fan Warning (See: Service Precautions).
Warning: Refer to Damaged Fan Blade Warning (See: Radiator Cooling Fan/Service Precautions).
Warning: Refer to Battery Disconnect Warning (See: Starting and Charging/Battery/Service Precautions).
1. Disconnect the negative battery cable. Refer to Battery Negative Cable Disconnection and Connection (L26) (See: Starting and
Charging/Battery/Battery Cable/Service and Repair)Battery Negative Cable Disconnection and Connection (LS4) (See: Starting and
Charging/Battery/Battery Cable/Service and Repair).
2. Remove the right and the left engine mount struts. Refer to Engine Mount Strut Replacement - Left Side (See: Engine/Drive Belts, Mounts,
Brackets and Accessories/Engine Mount/Service and Repair) and Engine Mount Strut Replacement - Right Side (See: Engine/Drive Belts,
Mounts, Brackets and Accessories/Engine Mount/Service and Repair).
3. Remove the air cleaner assembly. Refer to Air Cleaner Assembly Replacement (See: Engine/Tune-up and Engine Performance Checks/Air
Cleaner Housing/Service and Repair).
4. Remove the powertrain control module (PCM) harness clip from the fan shroud.
5. Remove the transmission oil cooler lines from the lower fan shroud clip and reposition the oil cooler lines aside.
6. Remove the fan shroud clip from the condenser tubes.
7. Remove the cooling fan shroud bolts.