
LaCrosse V6-3.8L (2009)
Caution: Do not scrape, shim, or file bearing inserts. If the bearing surface of the insert is touched with bare fingers, the skin oil and acids will
etch the bearing surface.
Note: Make sure that the connecting rod cap bolt holes and the connecting rod cap mating surfaces are clean and dry.
1. Dip the connecting rod cap bolts in clean engine oil.
2. Use clean engine oil in order to lubricate the bearing surface.
3. Install the upper connecting rod bearing.
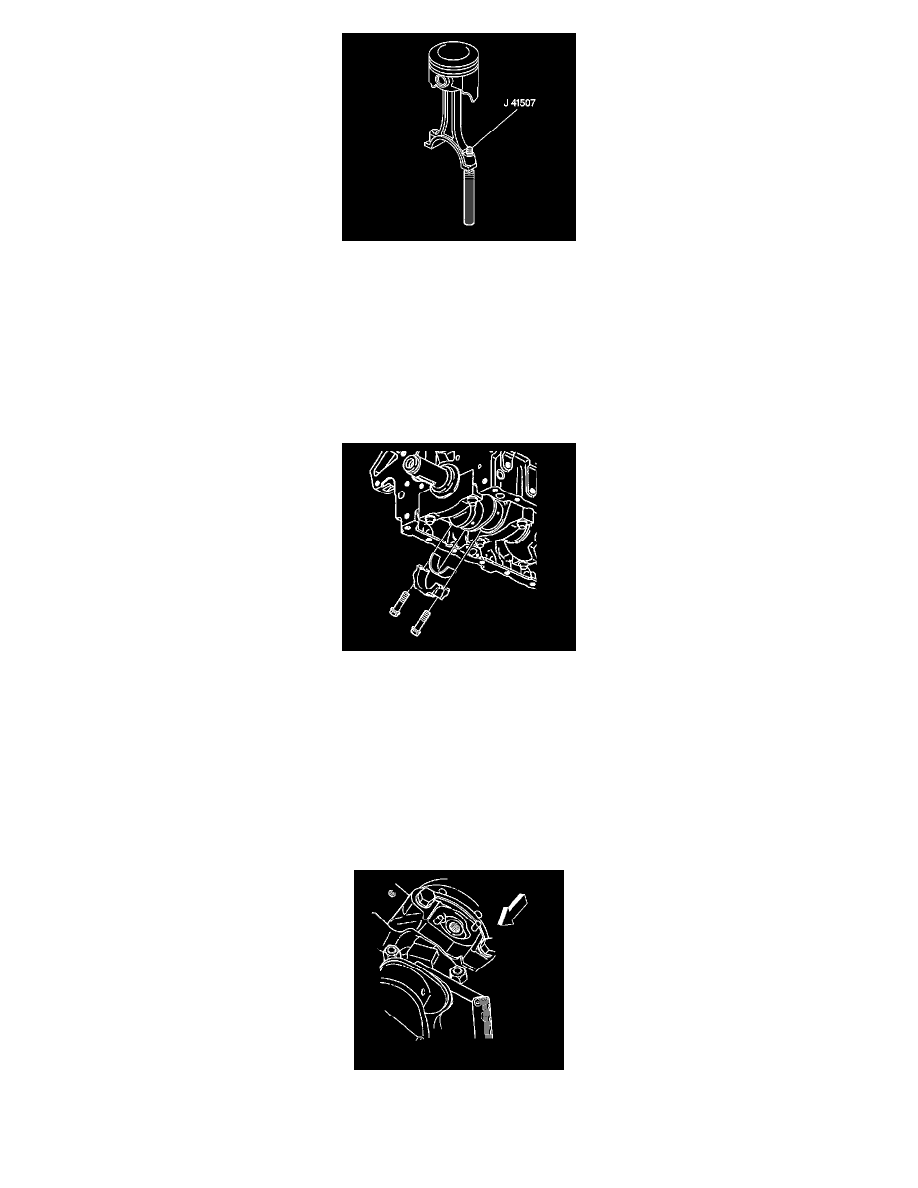
4. Use the J 41507 , in order to pull down the piston, connecting rod and upper connecting rod bearing.
5. Remove the J 41507 .
6. Install the lower connecting rod bearing to the connecting rod cap.
7. Install the connecting rod cap.
Caution: Refer to Fastener Caution (See: Service Precautions/Vehicle Damage Warnings/Fastener Caution).
8. Install the connecting rod cap bolts.
1. Tighten the connecting rod cap bolts to 27 Nm (20 lb ft).
2. Use the J 45059 to rotate the connecting rod cap bolts an additional 50 degrees.
9. Pry the connecting rod back and forth in order to check for binding. If necessary, loosen and then retighten the connecting rod cap bolts.
10. Measure the connecting rod side clearance. Refer to Engine Mechanical Specifications (See: Specifications/Service Limit & General
Specifications).
11. Install the spark plugs to the cylinders. Refer to Spark Plug Replacement (See: Tune-up and Engine Performance Checks/Spark Plug/Service and