
LaCrosse V6-3.8L (2009)
Ignition Switch Lock Cylinder: Removal and Replacement
Ignition Lock Cylinder Replacement
Ignition Lock Cylinder Replacement
Removal Procedure
Warning: Refer to Battery Disconnect Warning (See: Battery/Service Precautions).
1. Disconnect the battery negative cable. Refer to Battery Negative Cable Disconnection and Connection (L26) (See: Battery/Battery Cable/Service
and Repair)Battery Negative Cable Disconnection and Connection (LS4) (See: Battery/Battery Cable/Service and Repair).
Warning: Refer to SIR Warning (See: Restraint Systems/Service Precautions/SIR Warning).
2. Disable the SIR system. Refer to SIR Disabling and Enabling (See: Body and Frame/Interior Moulding / Trim/Dashboard / Instrument Panel/Air
Bag(s) Arming and Disarming/Service and Repair).
3. Turn the ignition lock cylinder to the start position.
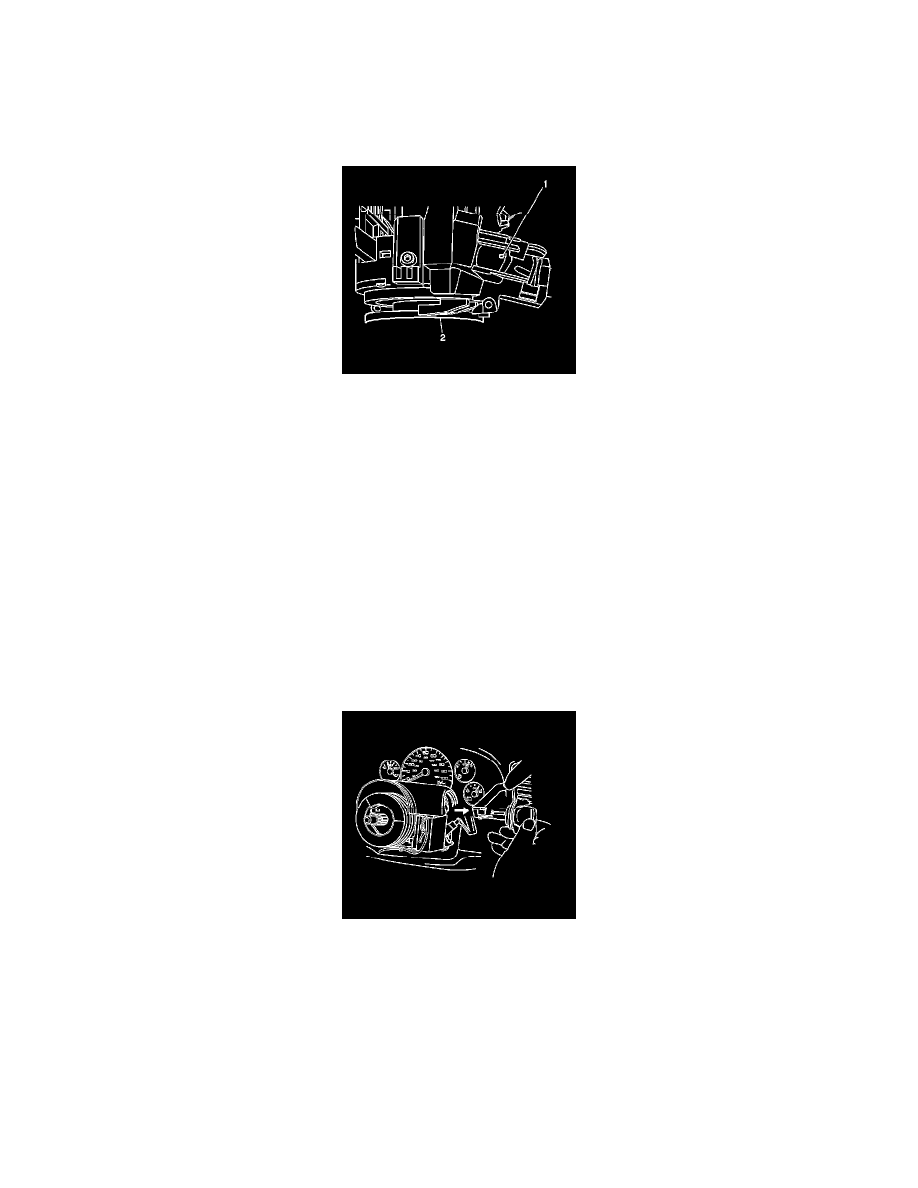
Note: In order to remove the upper trim cover and lock cylinder you will need to release the lock cylinder retaining pin in the access hole of the
ignition lock cylinder case.
4. Remove the steering column trim covers. Refer to Steering Column Trim Cover Replacement (See: Steering and Suspension/Steering/Steering
Column/Service and Repair/Steering Column Trim Cover Replacement).
Gently lift the upper trim cover so you may insert the tip of an awl into the access hole (1) of the ignition lock cylinder case.
5. Push down and hold the retaining pin of the ignition lock cylinder.
6. Release the ignition lock cylinder to the run position.
7. Remove the ignition lock cylinder by pulling the cylinder away from the steering column.
Installation Procedure