
LaCrosse V6-3.8L VIN 2 (2005)
Hood Latch Release Cable: Service and Repair
Hood Latch Release Cable Replacement
Removal Procedure
1. Open the hood.
2. Remove the left front headlamp.
Important: Block the hood latch in order to prevent the hood from locking until you have installed the hood latch release cable.
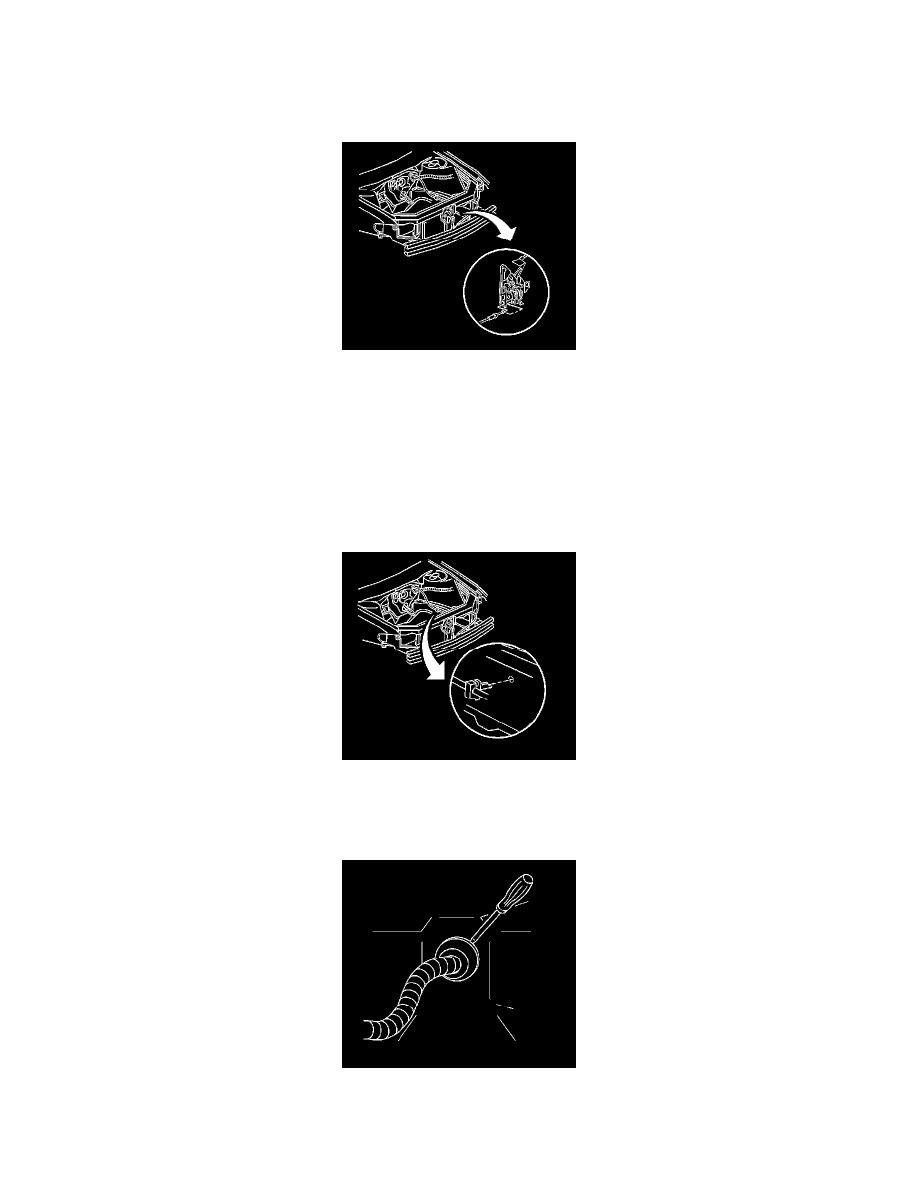
3. Remove the hood latch release cable from the latch mechanism.
4. Remove the front fender upper diagonal brace.
5. Remove the air cleaner.
6. Tie a wire or string to the end of the hood release cable, in order to aid in the installation of the new hood release cable. Ensure that the end of the
wire or string remains in the engine compartment.
7. Remove the hood release cable retainers from the engine compartment side rail.
8. Pull the carpet back in order to access the hood latch release cable.
9. Remove the hood latch release handle.
10. Remove the hood latch release cable from the hood latch release handle.
11. Using a small, flat-bladed tool remove grommet from the dash panel.
12. Remove the hood latch release cable from the dash panel.