
LaCrosse V6-3.8L VIN 2 (2005)
Trunk / Liftgate Striker: Service and Repair
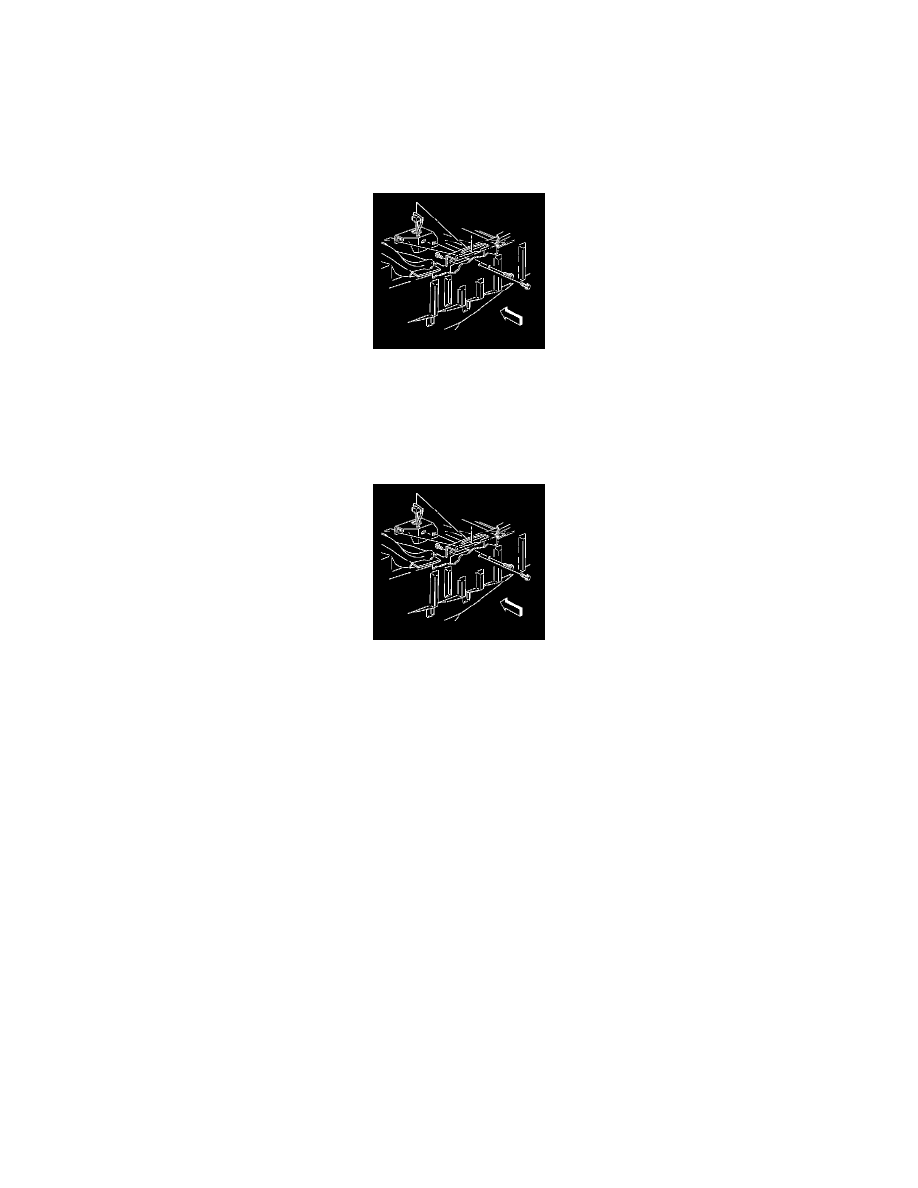
Lock Striker Replacement - Rear Compartment Lid
Removal Procedure
1. Pull back the rear compartment trim as required to access the lock striker. Refer to Compartment Trim Panel Replacement - Rear.
2. Use a grease pencil to mark the location of the lock striker to the rear compartment for its location at installation.
3. Remove the bolt from the rear compartment lid lock striker in the rear compartment.
4. Remove the rear bumper fascia.
5. Remove the rear compartment lid lock striker bolts from under the rear bumper fascia above the impact bar to the body panel.
6. Remove the rear compartment lid lock striker from the rear compartment body panel.
Installation Procedure
1. Position the rear compartment lid lock striker to the rear compartment body panel.
2. Install the bolts in the center hole in the rear compartment lid lock striker under the rear bumper fascia above the impact bar to the rear body panel.
3. Partially tighten the bolt to allow for adjustment of the rear compartment lid lock striker.
4. Close the rear compartment lid and adjust the rear compartment lid striker as required.
Notice: Refer to Fastener Notice in Service Precautions.
5. Install the other rear compartment lid lock striker bolts to under the rear bumper fascia above the impact bar to the rear body panel.
Tighten the bolts to 16 N.m (12 lb ft).
6. Install the bolts to the lock striker in the rear compartment.
Tighten the bolts to 16 N.m (12 lb ft).
7. Install the rear bumper fascia.
8. Install the rear compartment trim.
9. Close the rear compartment.