
LaCrosse V6-3.8L VIN 2 (2005)
9. Remove the fuel sender retaining ring completely off the sender assembly..
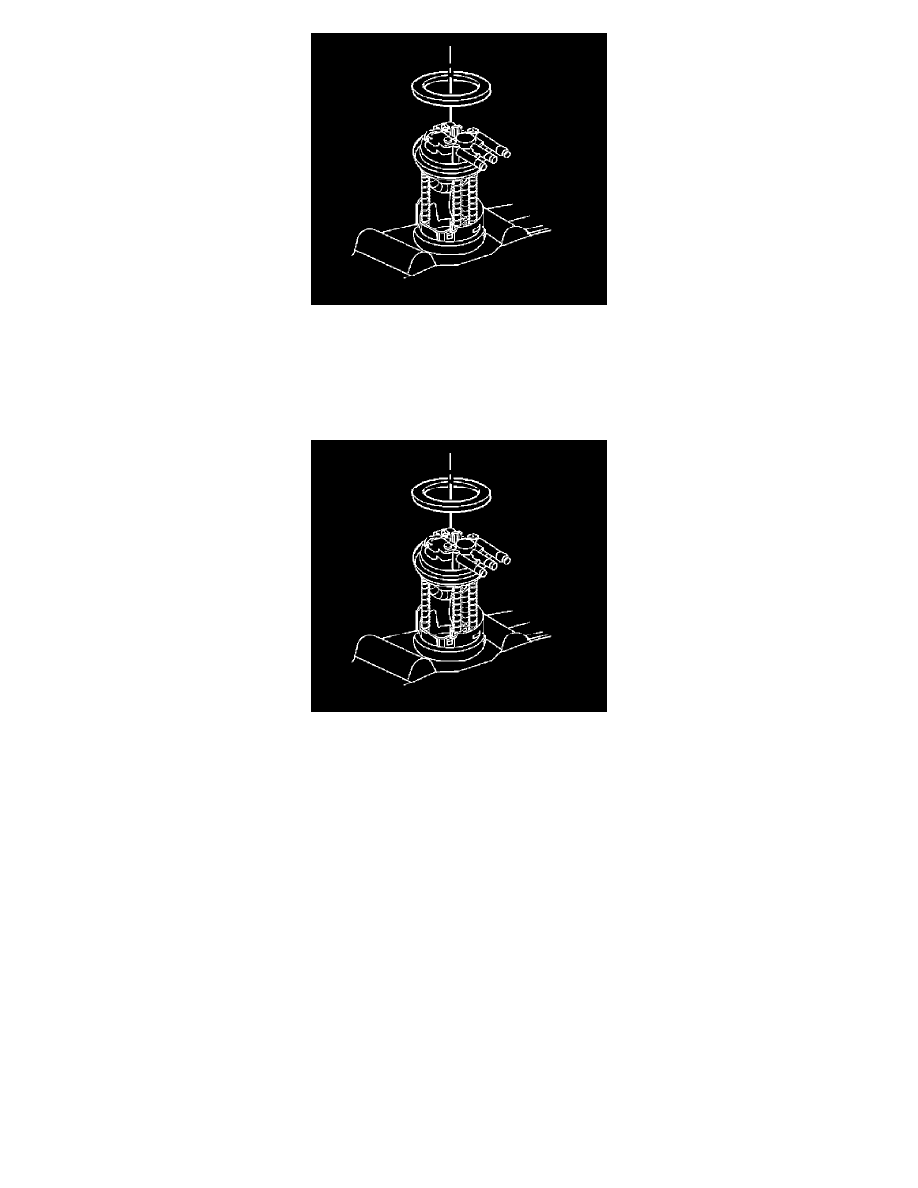
10. Remove the modular fuel sender assembly.
11. Clean the fuel sender assembly O-ring sealing surfaces.
12. Inspect the fuel sender assembly O-ring sealing surfaces.
INSTALLATION PROCEDURE
1. Position the new fuel sender assembly O-ring on the fuel tank.
NOTE: Refer to Fuel System Ground Notice in Service Precautions.
IMPORTANT:
-
Care should be taken not to fold over or twist the fuel pump strainer when installing the fuel sender assembly, as this will restrict fuel flow. Also,
assure that the fuel pump strainer does not block full travel of float arm.
-
Ensure that the fuel sender assembly retaining snap ring is fully seated within the tab slots on the fuel tank.
2. Install the fuel sender assembly into the fuel tank.
3. Install the fuel sender assembly retaining ring while holding the fuel sender assembly down.
4. Connect the fuel sender electrical connector.
5. Connect the fuel tank pressure sensor electrical connector.
6. Connect the quick-connect fittings at the fuel sender assembly.
7. Install the fuel filler cap.
8. Connect the negative battery cable.
9. Inspect for leaks.
1. Turn ON the ignition for 2 seconds.
2. Turn OFF the ignition for 10 seconds.
3. Turn ON the ignition.
4. Inspect for fuel leaks.