LaCrosse V8-5.3L (2008)

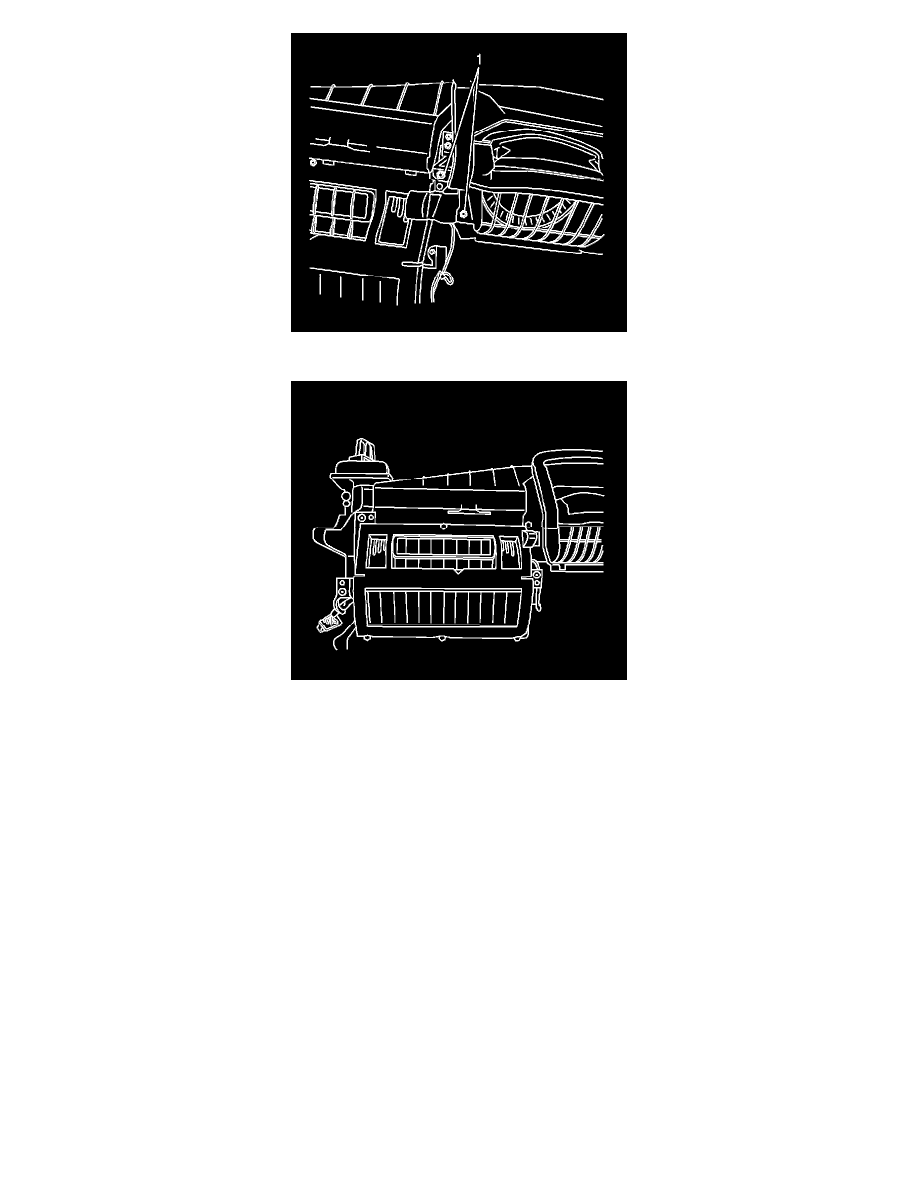
4. Install the two rearward retaining screws to the recirculation housing.
5. Install three new screws in the locations adjacent to the removed heat stakes in the mode valve assembly.
6. Install the screws that were removed from the mode valve assembly to there original position.
Notice: Refer to Fastener Notice (See: Service Precautions/Vehicle Damage Warnings/Fastener Notice).
7. Tighten the recirculation housing, mode valve assembly and heat stake replacement screws.
Tighten all the screws to 1.5 N.m (13 lb in).
8. Position the mode actuator on to the HVAC module assembly.
9. Install the mode valve actuator bolts.
Tighten the bolts to 1.5 N.m (13 lb in).
10. Install the I/P carrier to the vehicle. Align the I/P carrier to the HVAC module and the hinge pillars.
11. Install the bolts to the right and the left I/P carrier.
Tighten the bolts to 25 N.m (18 lb ft).
