LaCrosse V8-5.3L (2008)

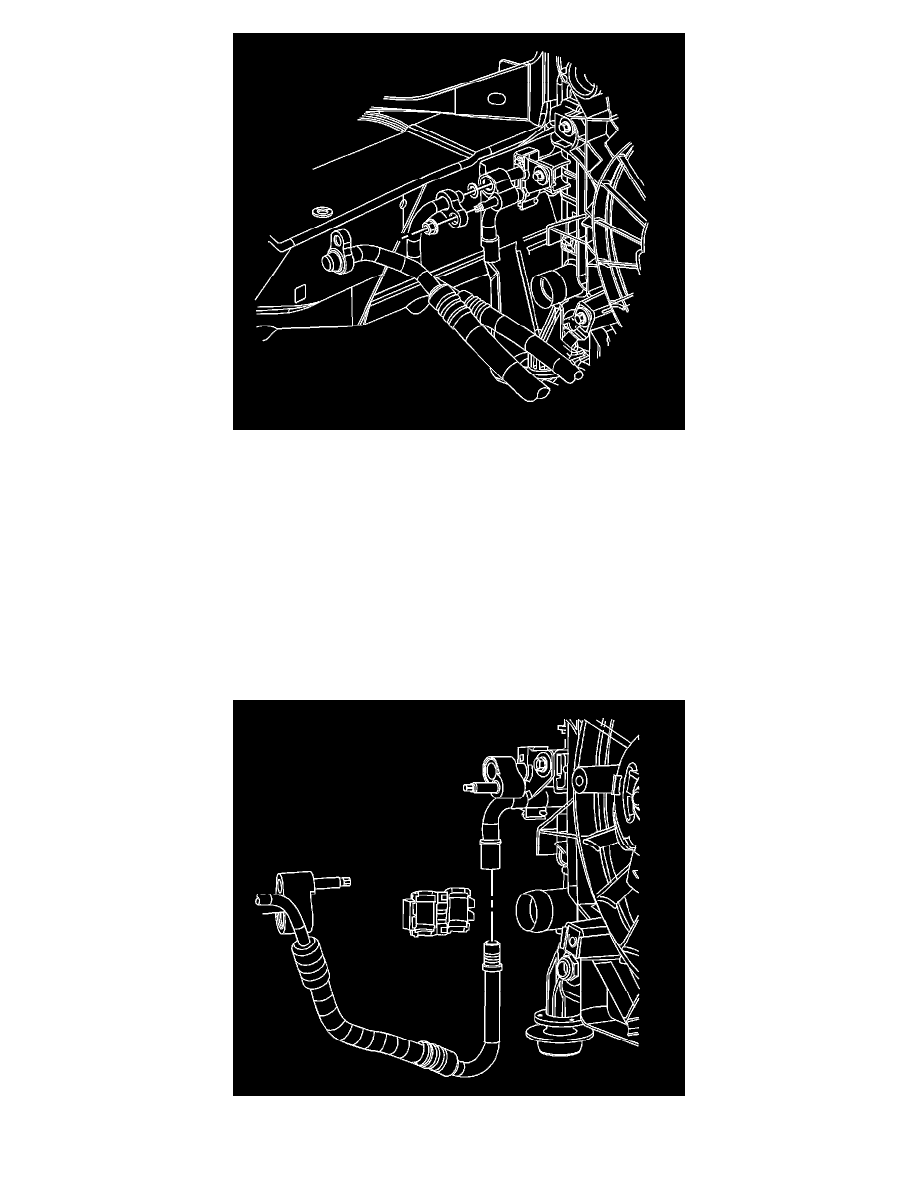
4. Remove the A/C compressor line nut from the condenser and position the A/C compressor line aside.
5. Remove the condenser from the vehicle.
6. Remove and discard the O-ring seals and seal washer.
Installation Procedure
1. If replacing the condenser, add refrigerant oil to the condenser. Refer to Refrigerant System Capacities (See: Specifications/Capacity
Specifications) for system capacity information.
2. Install the condenser to the vehicle.
3. Install a new seal washer onto the A/C compressor hose. Refer to Sealing Washer Replacement (See: Coupler HVAC/A/C Coupler O-ring/Service
and Repair/Sealing Washer Replacement).
4. Install new O-ring seals onto the evaporator tube. Refer to O-Ring Replacement (See: Coupler HVAC/A/C Coupler O-ring/Service and
Repair/O-Ring Replacement).
5. Install the radiator. Refer to Radiator Replacement (LS4) (See: Engine, Cooling and Exhaust/Cooling System/Radiator/Service and Repair).
6. Install the evaporator tube to the condenser tube.
7. Install the A/C line coupling to the evaporator tube and the condenser tube. Refer to Air Conditioning Line/Tube Connector Removal/Replacement
