
LaCrosse V8-5.3L (2008)
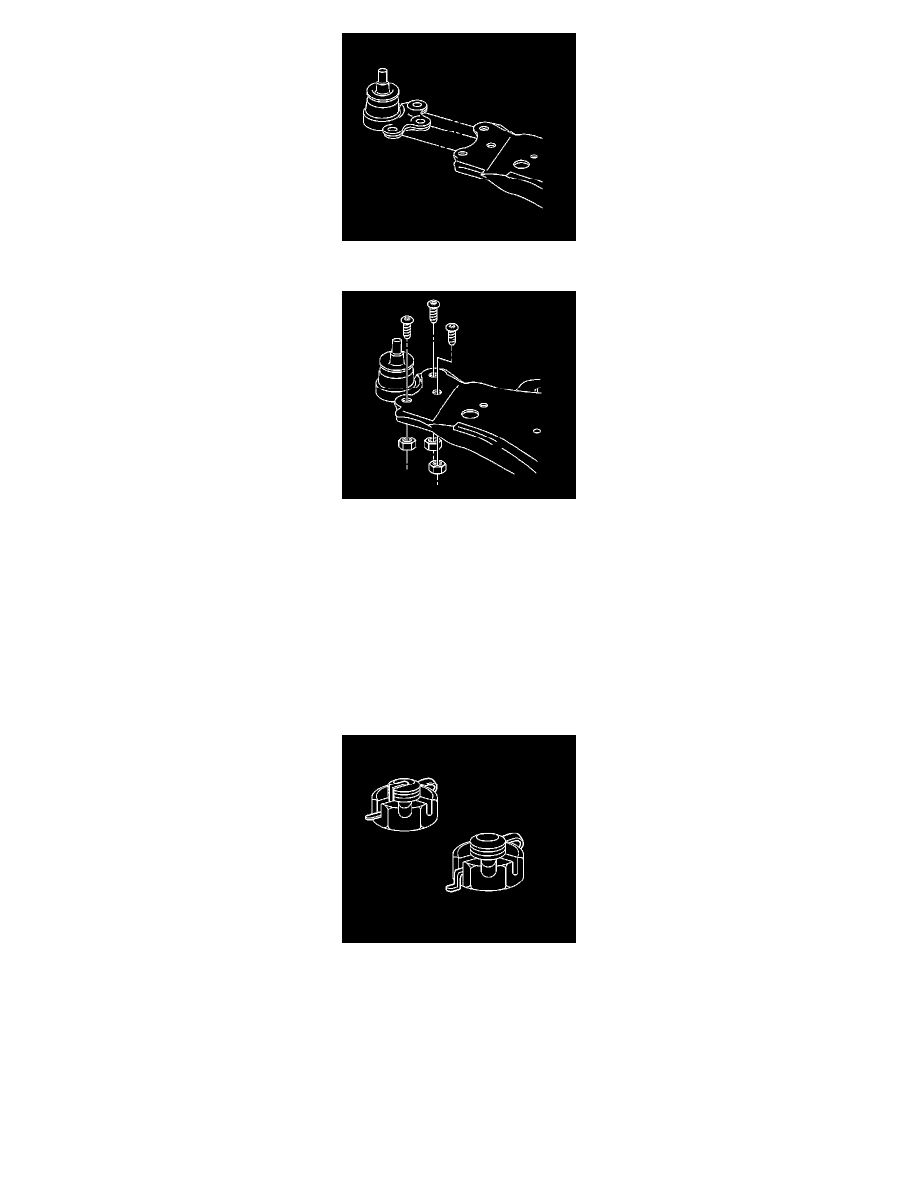
1. Install the ball stud to the lower control arm.
2. Install the NEW ball stud bolts facing down, away from the ball stud.
Notice: Refer to Fastener Notice (See: Service Precautions/Vehicle Damage Warnings/Fastener Notice).
3. Install the NEW ball stud nuts.
Tighten the NEW ball stud nuts to 68 N.m (50 lb ft).
4. Install the ball stud to the steering knuckle.
5. Install the ball stud castle nut.
Tighten the nut to 20 N.m (15 lb ft) plus an additional 120 degrees.
6. Install a new cotter pin and bend the ends.
7. Install the tire and wheels. Refer to Tire and Wheel Removal and Installation (See: Wheels and Tires/Service and Repair).
8. Lower the vehicle.
9. Check the wheel alignment. Refer to Wheel Alignment Measurement (See: Alignment/Service and Repair/Wheel Alignment Measurement).