
LaCrosse V8-5.3L (2008)
Valve Body: Service and Repair
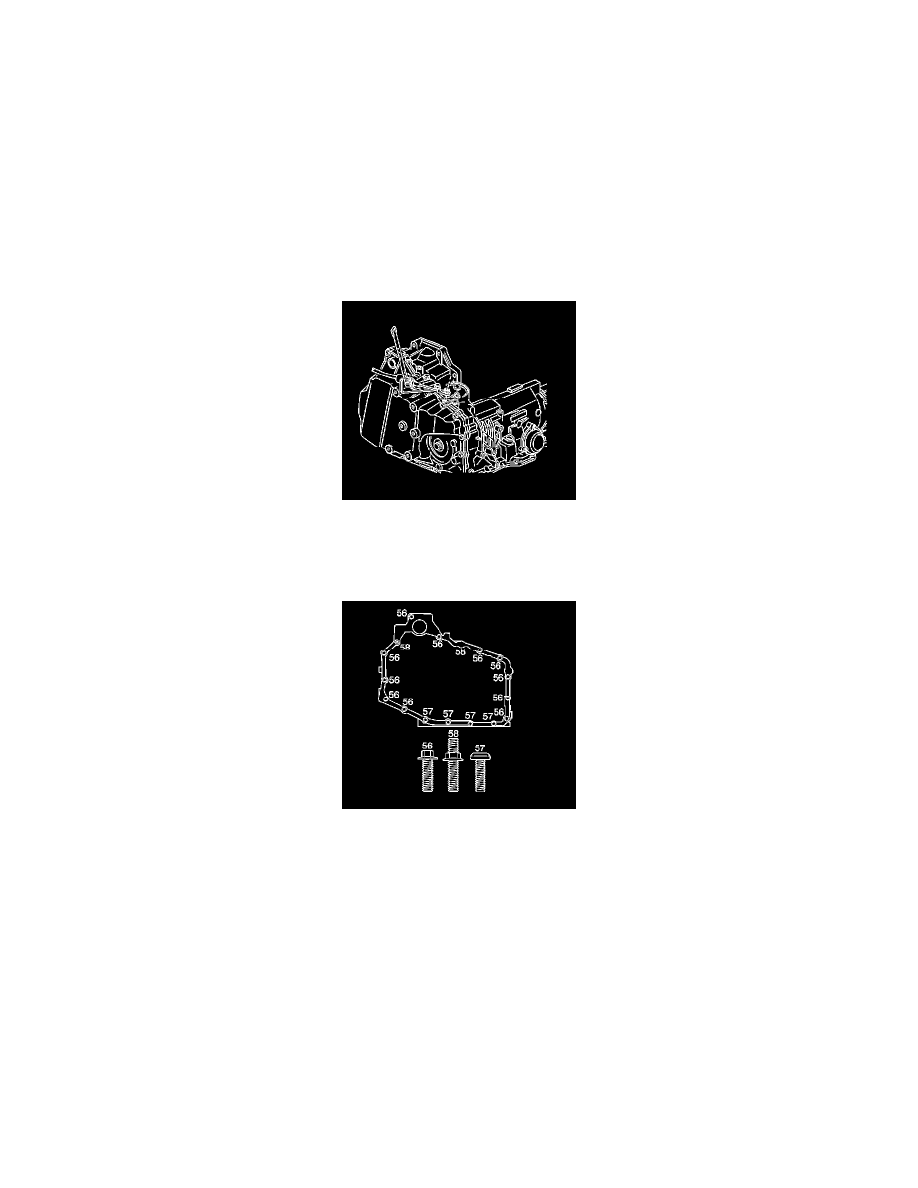
Control Valve Body Cover Replacement
Control Valve Body Cover Replacement
Special Tools
J 36850 Transjel Lubricant
Removal Procedure
1. Remove the engine dress cover.
2. Disconnect the MAF sensor harness connector from the MAF and disconnect the air intake duct from throttle body.
3. Disconnect the EVAP emission hose from the EVAP valve.
4. Remove the shift cable from the transaxle range selector.
5. Remove the transaxle shift cable bracket bolts and the bracket from the transaxle.
6. Disconnect the transaxle wiring harness connector.
7. Remove both engine supports from the engine and radiator support.
8. Remove top side cover bolt (56, 58).
9. Install the engine support fixture. Refer to Engine Support Fixture (See: Engine, Cooling and Exhaust/Engine/Service and Repair/Removal and
Replacement/Engine Support Fixture) 3.8L, Engine Support Fixture (See: Engine, Cooling and Exhaust/Engine/Service and Repair/Removal and
Replacement/Engine Support Fixture) 3.6L, Engine Support Fixture (See: Engine, Cooling and Exhaust/Engine/Service and Repair/Removal and
Replacement/Engine Support Fixture) 5.3L.
10. Raise and support the vehicle. Refer to Lifting and Jacking the Vehicle (See: Maintenance/Vehicle Lifting/Service and Repair).
11. Remove the left front wheel. Refer to Tire and Wheel Removal and Installation (See: Maintenance/Wheels and Tires/Service and Repair).
12. Remove the inner fender splash shield.
13. Remove the wheel speed sensor harness from 4 retainers on lower control arm.
14. Remove the transmission mount-to-frame nuts (2).
15. Using side cutters, remove the plastic pencil-like support on the left side of the front splash shield, just below the left front frame bolt.
16. Remove the front cradle to radiator support brackets on each side.
17. Remove both stabilizer links from the stabilizer and reposition stabilizer to access steering gear- to-frame bolts.
18. Remove steering gear-to-frame bolts and support steering gear.
19. Remove the positive battery cable center retainer at front rail.
20. Remove the left side ball joint from the steering knuckle.
21. Support the left frame rail with a jack stand.
22. Remove only the left two frame-to-body bolts. DO NOT LOOSEN RIGHT SIDE FRAME-TO-BODY BOLTS.
23. Lower the frame with jack stand and remove jack stand.