
LaCrosse FWD V6-3.0L (2010)
Note: Ensure plastic thrust washer is in place before installing the actuator.
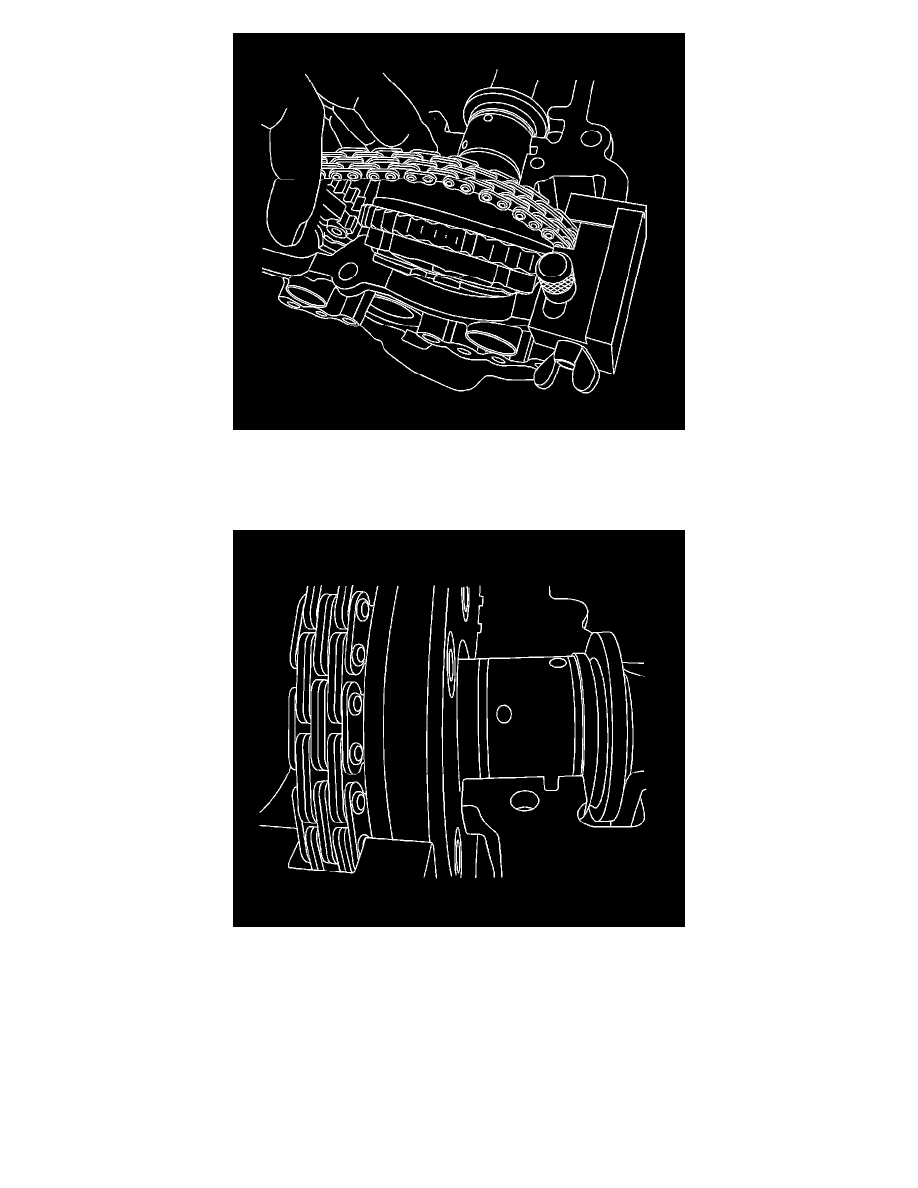
3. Install the intake camshaft position actuator first by inserting the actuator between the timing chain and front cover. Tilt the actuator in and engage
the chain while aligning the marks you made on the chain and position actuator.
4. Ensure the camshaft position actuator fits snugly to the end of the camshaft.
Caution: Refer to Fastener Caution (See: Service Precautions/Vehicle Damage Warnings/Fastener Caution).
5. Install the intake camshaft position actuator retaining bolt, and lightly tighten the bolt to hold the camshaft actuator in place. DO NOT torque at
this time.
6. Install the exhaust camshaft position actuator retaining bolt, and lightly tighten the bolt to hold the camshaft actuator in place. DO NOT torque at
this time.
7. Double-check that the marks on both the intake and exhaust camshaft position actuators to ensure that they are aligned with their respective paint
marks on the chain.