LaCrosse FWD V6-3.0L (2010)

Camshaft: Service and Repair
Camshaft Position Actuator Replacement - Bank 1
Camshaft Position Actuator Replacement - Bank 1
Special Tools
*
EN49982-1 - Timing Chain Retainer
*
EN49982-2 - Timing Chain Retainer
For equivalent regional tools, refer to Special Tools (See: Tools and Equipment/Special Tools).
Removal Procedure
1. Remove the camshaft cover. Refer to Camshaft Cover Replacement - Right Side (See: Cylinder Head Assembly/Valve Cover/Service and
Repair/Camshaft Cover Replacement - Right Side).
2. Remove the camshaft position actuator solenoid valve solenoid - intake. Refer to Camshaft Position Actuator Solenoid Valve Solenoid
Replacement - Bank 1 (Right Side) Intake (See: Actuators and Solenoids - Engine/Variable Valve Timing Solenoid/Service and Repair/Camshaft
Position Actuator Solenoid Valve Solenoid Replacement - Bank 1 (Right Side) Intake).
3. Remove the intake camshaft position sensor. Refer to Camshaft Position Sensor Replacement - Bank 1 (Right Side) Intake (See: Powertrain
Management/Computers and Control Systems/Camshaft Position Sensor/Service and Repair/Camshaft Position Sensor Replacement - Bank 1
(Right Side) Intake).
4. Remove the exhaust camshaft position sensor. Refer to Camshaft Position Sensor Replacement - Bank 1 (Right Side) Exhaust (See: Powertrain
Management/Computers and Control Systems/Camshaft Position Sensor/Service and Repair/Camshaft Position Sensor Replacement - Bank 1
(Right Side) Exhaust).
5. Remove the camshaft position actuator solenoid valve solenoid - exhaust. Refer to Camshaft Position Actuator Solenoid Valve Solenoid
Replacement - Bank 1 (Right Side) Exhaust (See: Actuators and Solenoids - Engine/Variable Valve Timing Solenoid/Service and
Repair/Camshaft Position Actuator Solenoid Valve Solenoid Replacement - Bank 1 (Right Side) Exhaust).
6. Rotate engine clockwise using crankshaft dampener retaining bolt until the flats at the rear ends of the camshafts are pointing up. This puts the
camshafts on "base circle" and will reduce their tendency to rotate from valve spring pressure when the camshaft position actuators/drive chains
are removed.
Note: Do NOT remove or back out the camshaft position actuator bolt(s) significantly, simply break them loose from their fully-torqued position.
The position actuators must stay firmly attached until the retaining tools are in place, but they should be broken loose while the chain is still tight
and in position.
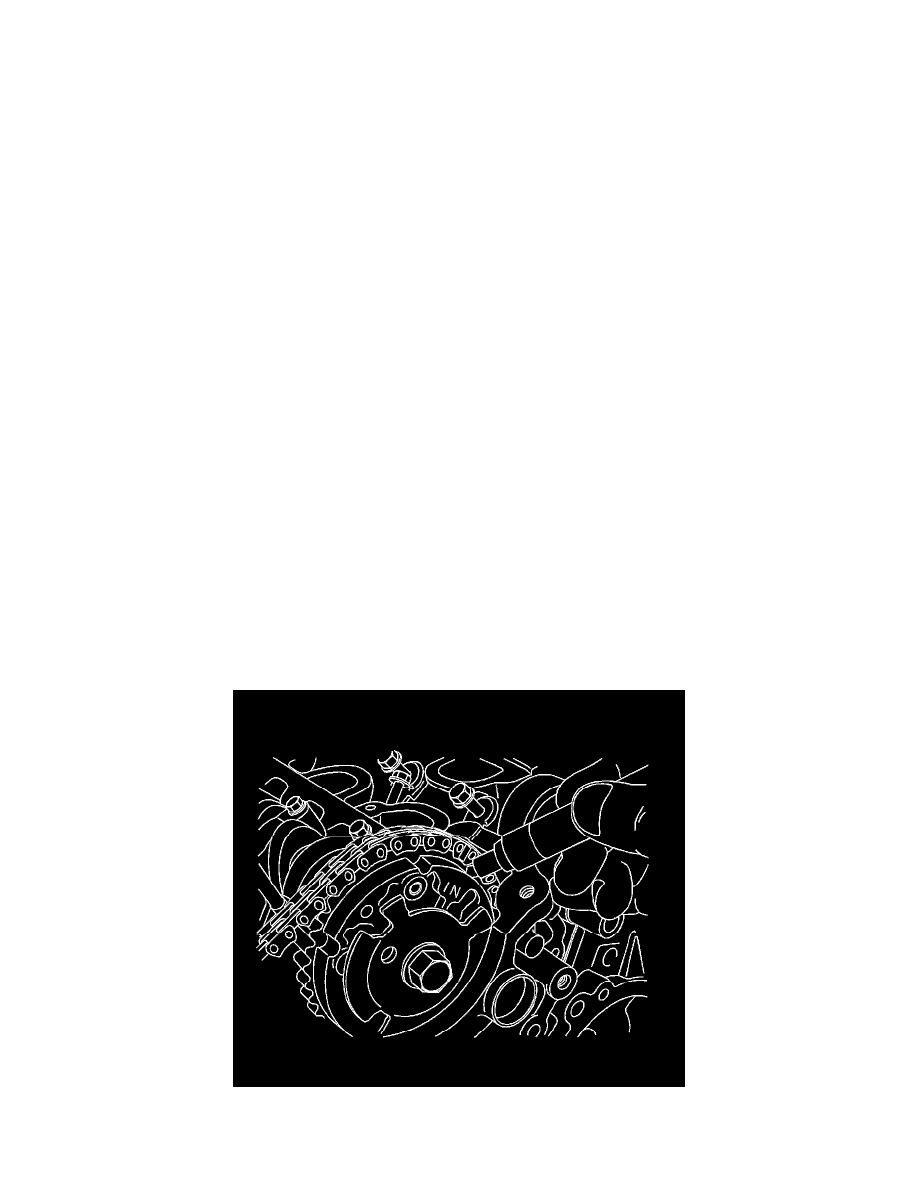
7. Loosen intake and/or exhaust camshaft position actuator retaining bolts, depending on which camshaft position actuator and/or camshaft you will
be servicing. If servicing both camshaft position actuators and/or camshafts, loosen both bolts.
Note: Be certain to clearly mark the position of the chain to the camshaft position actuator(s). Though the engine does not need to be set to a
specific timing mark before starting the procedure, the relationship of the chain to the actuator(s) is critical and must be reestablished on assembly.
